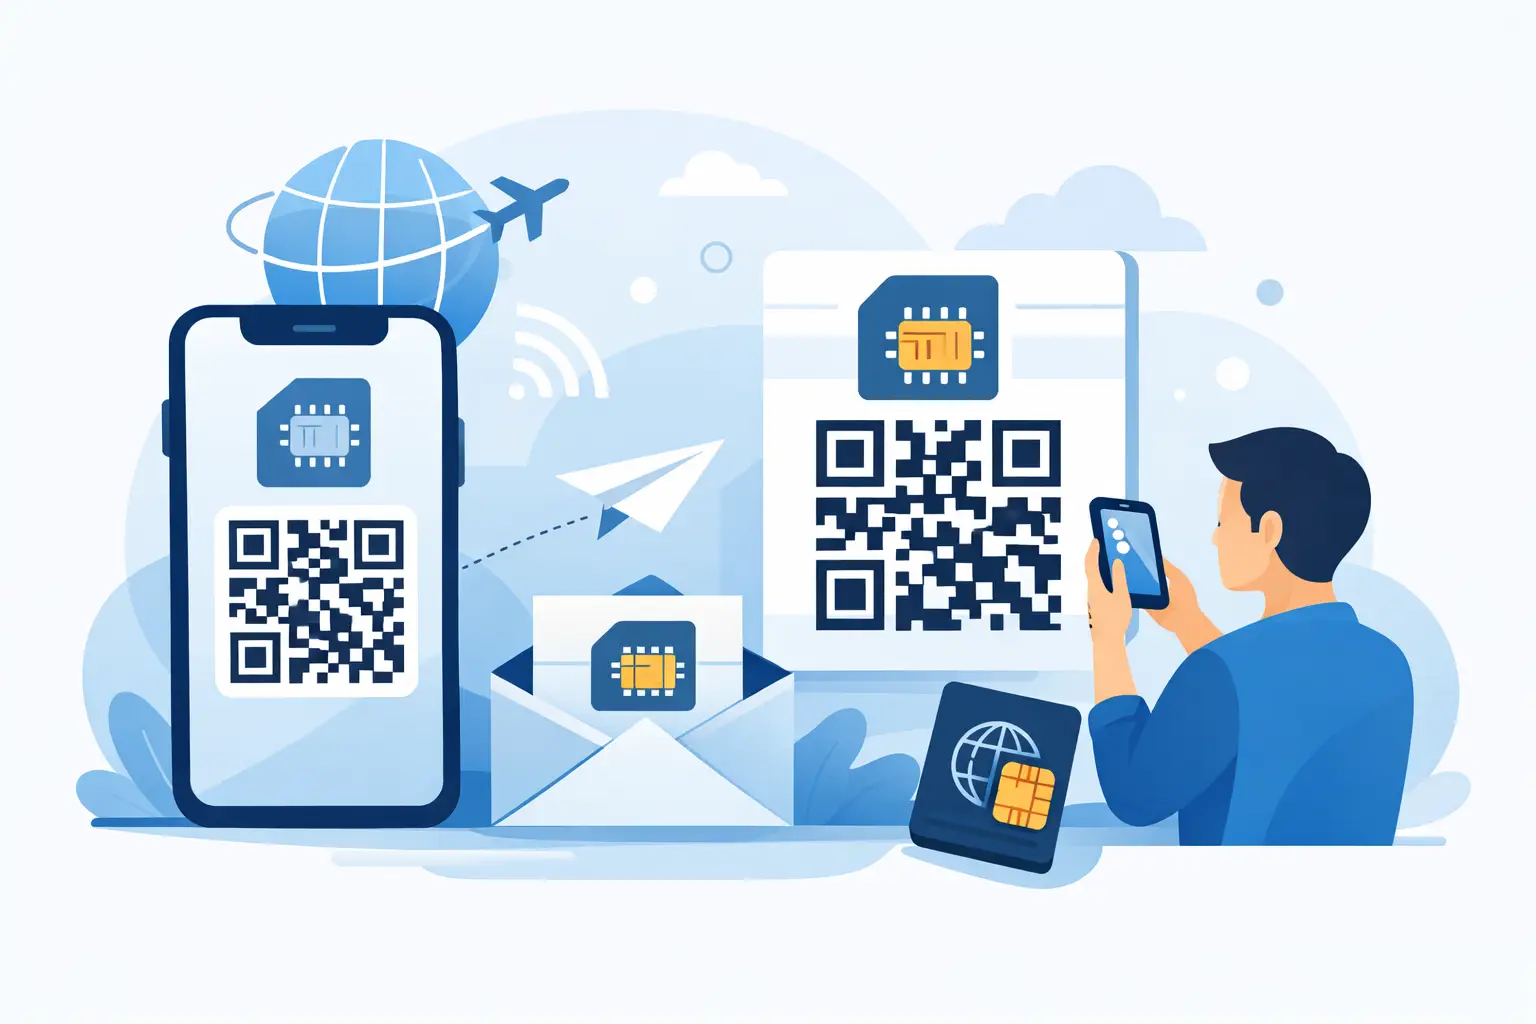
eSIM for Business Travel: What to Know
Learn how esim for business travel cuts roaming costs, speeds arrival setup, and keeps teams connected with clear data limits and fewer surprises.

You’ve just landed, ready to start your adventure, but your phone has other plans. An error message pops up: “Could not activate mobile data network.”
Sound familiar? This is likely a PDP authentication failure, a surprisingly common hiccup for travelers using eSIMs. Don’t let the technical jargon worry you. In simple terms, it means your phone is having trouble logging into the local mobile data network. The good news is, it’s almost always an easy fix.
Seeing a “PDP authentication failure” message can feel like you’ve hit a major technical wall, but the reality is usually much simpler.
Think of it like trying to join a private Wi-Fi network. You need the right network name and password to get online. For mobile data, your phone uses something similar called an Access Point Name (APN) to connect. If those details are wrong, or the network can’t verify your data plan, it rejects the connection.
From a traveler’s perspective, this error is just a sign of a miscommunication between your device and the local network. It rarely means your eSIM is faulty or your phone is broken. More often than not, it’s a simple settings issue you can sort out yourself in just a few minutes.
Before diving into the fixes, let’s look at the usual suspects.
This table gives you a quick summary of the most frequent reasons travelers encounter the PDP error, helping you diagnose the issue in seconds.
| Potential Cause | What It Means for You | How to Quickly Check |
|---|---|---|
| Incorrect APN Settings | Your phone doesn’t have the right “address” to connect to the network. This is the #1 cause for travelers. | Go to your phone’s mobile/cellular data settings and see if the APN field matches the one provided by your eSIM provider. |
| Delayed Plan Activation | Your eSIM plan hasn’t “woken up” yet. Some plans only activate upon arrival in the destination country. | Check your confirmation email for any activation instructions or specific start times for your data plan. |
| Data Roaming is Off | Your phone is blocked from connecting to a foreign network. eSIMs need roaming to be enabled to work abroad. | In your mobile/cellular settings, find the “Data Roaming” toggle for your eSIM and make sure it’s switched on. |
| Temporary Network Glitches | The local network is temporarily busy or down. It’s not a problem with your phone or eSIM at all. | Try toggling Airplane Mode on and off to force your phone to reconnect. If that doesn’t work, wait a few minutes and try again. |
Understanding these common triggers is half the battle. Now, let’s get you connected.
Several things can trip up the authentication process, especially when you’re in a new country. Here are the culprits we see most often:
The key takeaway is that a PDP authentication failure is a roadblock, not a dead end. It’s your device’s way of saying, “I can’t get the right credentials to connect.” Your first move should always be to check the most basic settings. With these simple checks, you can usually get back online and get on with your travels.
Before diving deep into your phone’s settings, let’s try a few simple tricks that often fix a PDP authentication failure. Think of this as your connectivity first-aid kit—quick, easy steps to refresh your device’s connection.
Often, the simplest solution is the right one. Many connection hiccups are just temporary software glitches that a quick reset can easily sort out.
Your first move should always be the easiest one. Toggling Airplane Mode on and off is a surprisingly effective way to force your phone to establish a brand-new connection with the local network towers.
If that doesn’t do the trick, a full restart is your next best bet. Powering your phone completely off and on again clears out its temporary memory and can resolve underlying software conflicts blocking your data.
When you’re traveling and juggling different SIMs, it’s easy to overlook a couple of crucial settings. One of the most common culprits is having the wrong SIM selected for mobile data.
Go into your phone’s settings and double-check that your TapSim eSIM is the one selected as the primary line for mobile data. If you need a refresher on the setup process, our guide on how to activate an eSIM on your iPhone can walk you through it.
Just as important is your data roaming setting. To connect to partner networks abroad, your eSIM needs this to be enabled.
A Traveler’s Pro Tip: Always make sure Data Roaming is switched ON for your TapSim eSIM. This doesn’t mean you’ll face unexpected charges; it’s simply the setting that allows your eSIM to work properly when you’re abroad. This single switch is responsible for a huge number of connection failures.
This simple flowchart can help you visualize the first troubleshooting steps to take when that PDP error pops up.
As you can see, confirming your connection status and checking basic details like your APN settings should be your immediate priority. For most travelers, running through these initial checks is all it takes to solve the problem and get back to enjoying their trip.
If the easy fixes didn’t get you online, it’s time to look at the most common culprit behind a PDP authentication failure: your Access Point Name (APN) settings.
Think of the APN as the digital gateway your phone uses to connect to the local mobile network. Most of the time, this happens automatically. But sometimes, especially when you’re using an eSIM in a new country, your phone needs a nudge in the right direction.
Don’t let the technical name fool you; this is much simpler than it sounds. You’re just going to check that the details on your phone match what was provided when you installed your TapSim eSIM.
The exact spot for these settings can differ slightly depending on your phone, but they’re always tucked away in your mobile data options.
Settings > Cellular (or Mobile Data) > Cellular Data Network. You should see fields for APN, Username, and Password.Settings > Network & Internet > Mobile network > Access Point Names. The wording might vary a bit between manufacturers like Samsung or Google, but it’s always in that general area.Once you’ve got that screen open, you’re halfway there.
This is the part where you need to be precise. Grab the installation guide or email for your TapSim eSIM—it has the exact information you need to enter.
Now, compare what’s on your phone with the guide.
Getting this handshake right is often all it takes to bring your data connection back to life. If you’re struggling, our more detailed guide to iPhone APN settings has extra screenshots and pointers that can help.
Key Tip: Don’t forget to save your changes! On Android, you’ll usually find a save option in the three-dot menu at the top right. On iPhones, the settings save automatically when you leave the screen.
Incorrect APN settings are a frequent cause of connection problems. Taking a minute to double-check these details is easily the most effective way to solve a stubborn PDP authentication failure.
So, the quick fixes and APN check didn’t do the trick. Don’t worry, that happens sometimes. A stubborn connection issue occasionally needs a more forceful nudge to get it working again. We’re going to try a couple of more powerful solutions that often clear up persistent problems.
Think of this as giving your phone’s network connection a clean slate. We’re aiming to wipe out any old, conflicting settings that might be causing that PDP authentication failure, giving your TapSim eSIM a fresh start.
Your phone constantly saves network data—old Wi-Fi passwords, Bluetooth connections, and cellular settings. Over time, especially when you travel, these saved configurations can sometimes clash with a new eSIM profile.
A network settings reset is a great move for tricky connection bugs. It completely clears out these configurations but, crucially, leaves your personal data like photos, apps, and contacts untouched.
Settings > General > Transfer or Reset iPhone > Reset > Reset Network Settings.Settings > System > Reset options > Reset Wi-Fi, mobile & Bluetooth.The only minor hassle is that you’ll need to reconnect to your Wi-Fi networks afterwards. But it’s a small price to pay to solve a frustrating data problem. This step can often fix hidden conflicts that a simple phone restart won’t touch.
If the network reset still hasn’t got you online, the last thing to try before contacting support is to completely remove and then reinstall your eSIM profile. It might sound drastic, but it’s a remarkably effective way to sort out a corrupted profile or a lingering activation glitch causing the PDP failure.
One important thing: before you start, make sure you have a stable Wi-Fi connection. You’ll need it to download the eSIM profile again.
First, you’ll have to remove the current eSIM from your device.
Once it’s gone, just install it again, exactly like you did the first time using the QR code from your installation email. This forces your phone to pull down a brand-new, clean configuration directly from our network partners.
A fresh installation often resolves deeper authentication problems that other fixes can’t reach. It ensures there are no lingering, incorrect settings from previous networks interfering with your connection.
If you’ve patiently worked through all these steps—from the initial checks to a full reinstallation—and you’re still stuck without data, it might be time for a deeper dive. Our comprehensive troubleshooting guide for mobile data has even more tips. However, at this point, reaching out for help is probably your best bet.
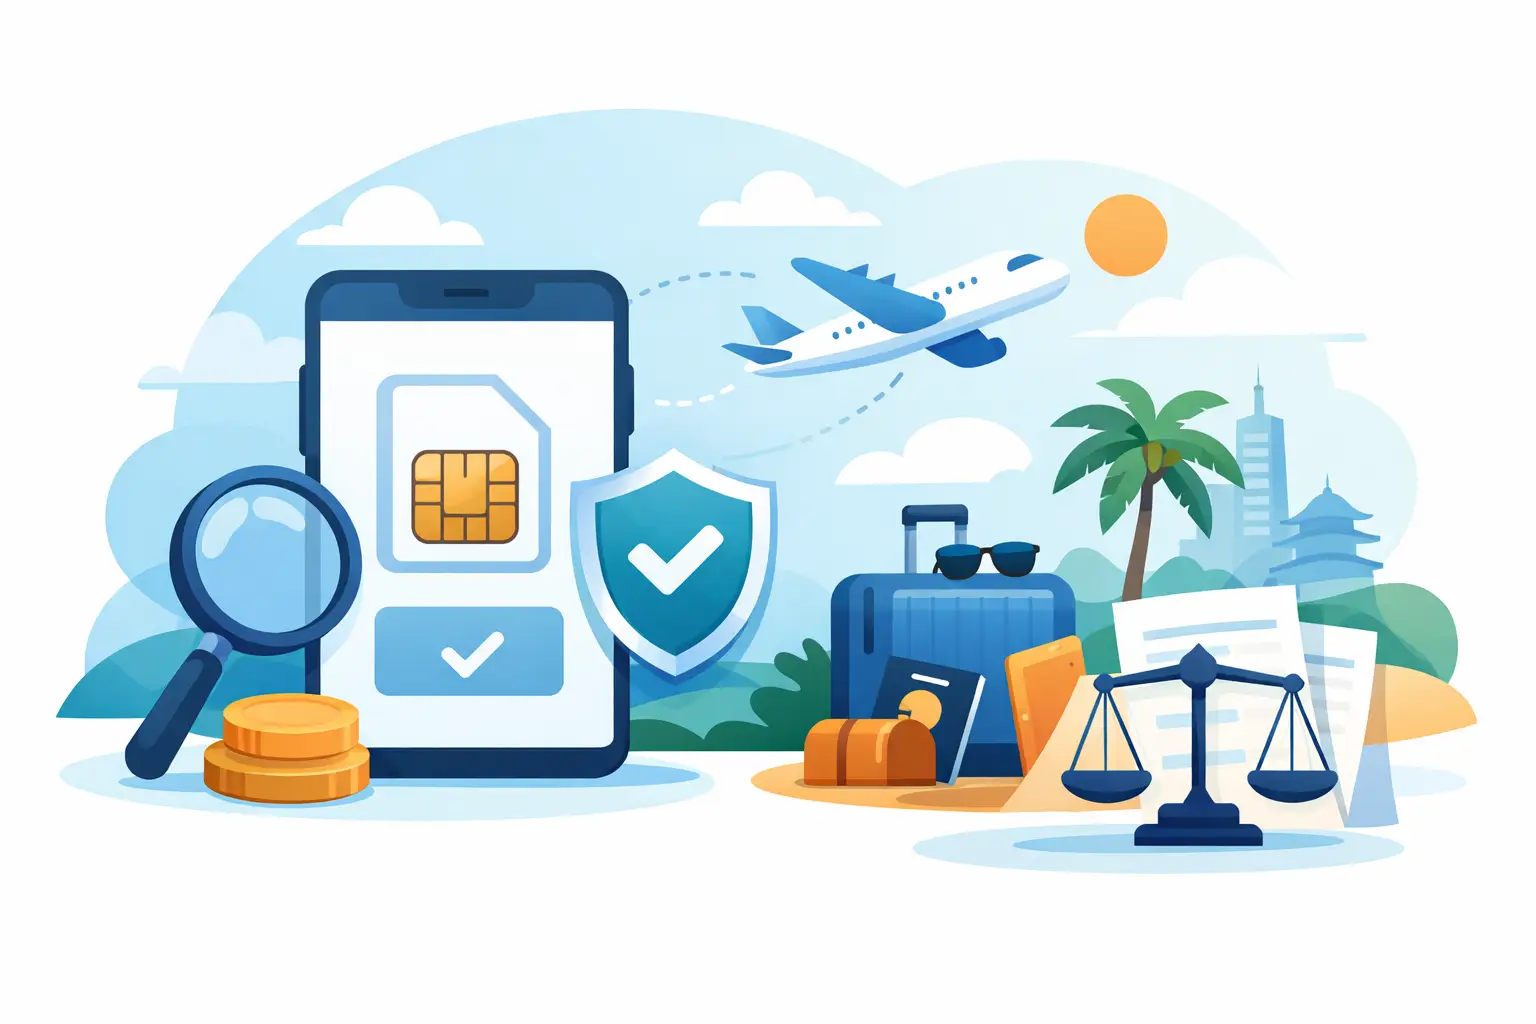
While it’s great knowing how to fix a PDP authentication failure when you’re already abroad, the best trips are the ones where your phone just works the moment you land. A few minutes of prep before you pack your bags can save you a world of connection headaches later on.
The trick is to be proactive. Getting everything sorted in a familiar environment, with your trusty home Wi-Fi, takes all the stress out of the equation.
If there’s one piece of advice to take away, it’s this: install and activate your TapSim eSIM before you leave the house. The installation process needs a solid internet connection to download the eSIM profile onto your device.
By getting this done ahead of time, your data plan is primed and ready. As soon as you arrive, it’ll kick in and connect to the local network automatically. This is, without a doubt, the most reliable way to guarantee a smooth start to your travels.
Before you dash off to the airport, run through this quick list. Taking a moment to double-check these things can prevent the vast majority of common connection issues travelers run into.
This kind of prep isn’t just about troubleshooting; it’s about making sure problems don’t happen in the first place. Many of these headaches are avoidable. Find out more about how UK users are impacted by these connection errors.
By preparing in advance, you turn your eSIM from a simple travel accessory into a reliable tool you can count on. Those five minutes at home will save you from potential stress at your destination, letting you focus on what really matters—enjoying your trip.
Even with a step-by-step guide, it’s natural to have a few lingering questions. Here are answers to some of the most common queries we get from travelers dealing with eSIM issues, especially that frustrating PDP authentication failure.
Yes, absolutely. Think of it like a phone call that keeps breaking up. If your device’s signal is too weak or unstable, it can’t maintain a solid “conversation” with the network’s servers to get verified. This interruption is often enough to trigger a PDP authentication error.
If you’re stuck in a spot with notoriously bad reception—deep inside a building, in a remote valley, or on the subway—the first thing to try is simply moving. Pop outside or get near a window. Often, that small change is all it takes to get a strong enough signal to connect properly.
In most cases, no. Your TapSim eSIM is designed to be clever; it should automatically configure the APN settings for you as soon as you land in a new country. Ideally, you just switch off airplane mode, and your data kicks in.
But technology isn’t always perfect. If you hit a snag and can’t connect, manually checking or entering the APN is one of the most reliable fixes in your toolkit. We always recommend saving the correct settings somewhere offline, just in case the automatic setup doesn’t work.
This is a common concern, and the short answer is no, it won’t. Whether you’re on an iPhone or an Android, using the “Reset Network Settings” option is a safe and effective troubleshooting step. It will not remove your installed eSIMs.
Be aware that this reset will clear out your saved Wi-Fi networks and passwords, and you’ll have to re-pair any Bluetooth devices. Your eSIM, however, will remain untouched and ready to go once the reset is finished.
So, you’ve been patient. You’ve worked through every step in this guide, from a simple restart to a full reinstallation of your eSIM, and you’re still staring at “No Service.” It’s time to let us help.
When you contact our support team, giving us a bit of context saves a lot of time. Let us know your phone model and a quick summary of what you’ve already tried. That way, we can skip the basic questions and jump straight into the deeper diagnostics to get you connected.
Ready to travel without connectivity headaches? With TapSim, you get fair, fast, and honest mobile data in over 150 destinations. Install your eSIM before you leave and land connected.