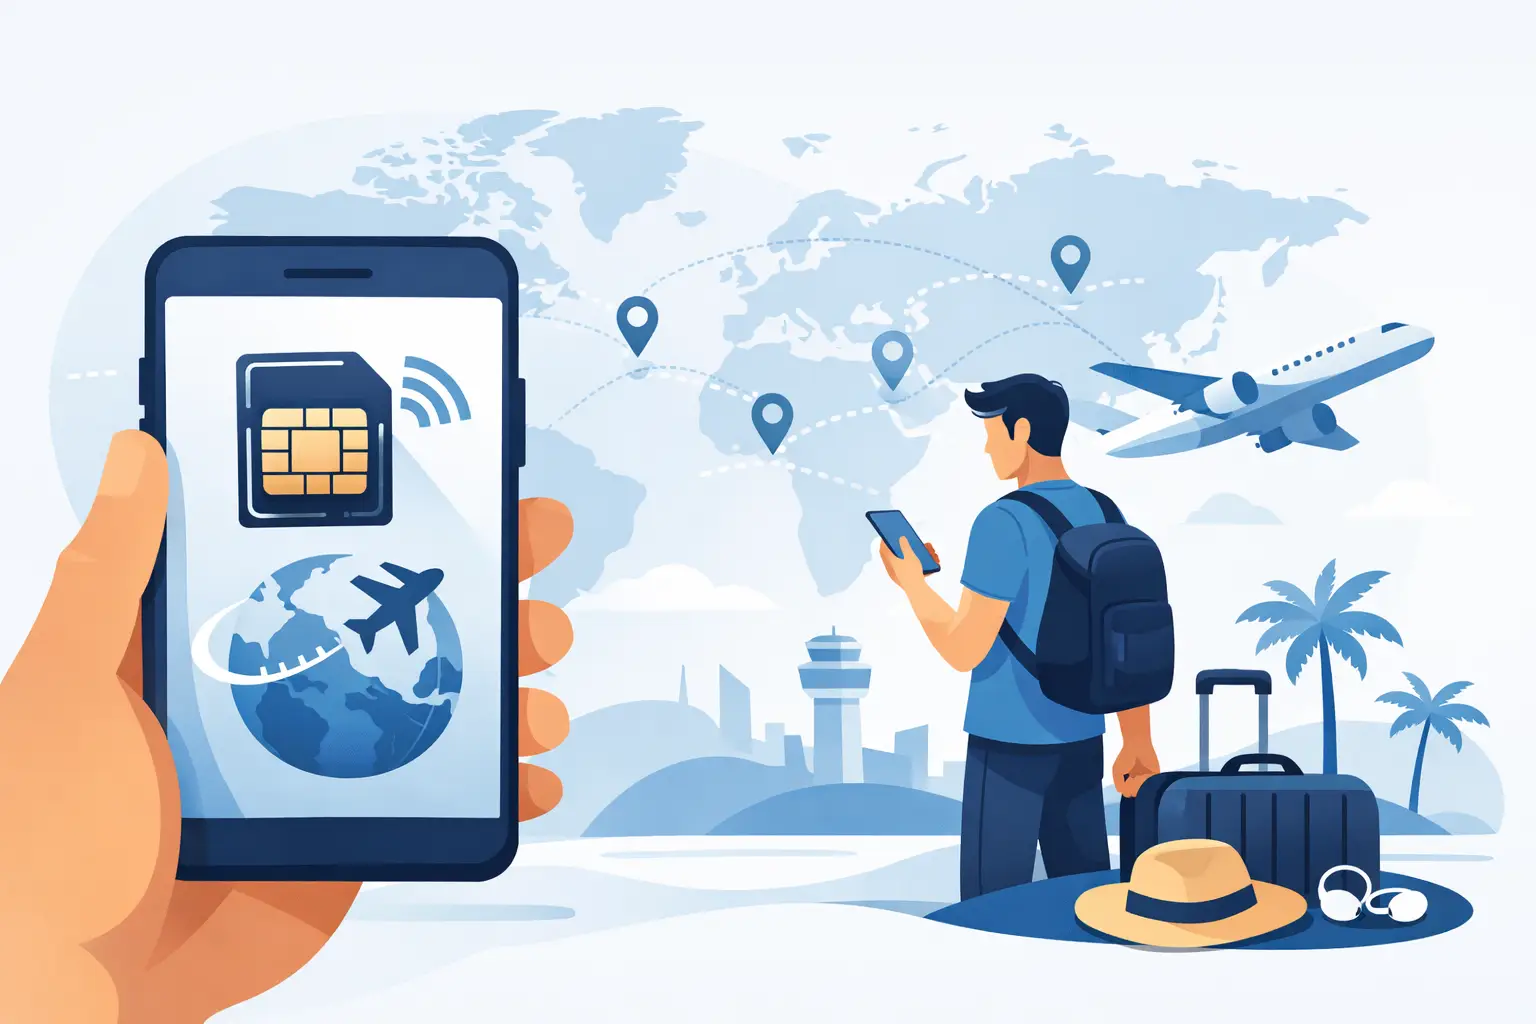
Instant eSIM QR Code Delivery Explained
Learn how instant eSIM QR code delivery works, what to expect after purchase, and how it helps travelers get connected fast without roaming stress.

You’ve just landed, your travel eSIM is active, but your iPhone stubbornly shows ‘No Service.’ It’s a frustrating moment, and the culprit is often a simple but critical detail: the Access Point Name (APN).
Think of the APN as the secret handshake that gets your iPhone onto a local mobile network for data. Without it, you’re cut off.
Getting your APN settings right is the key to unlocking seamless mobile data abroad. If the configuration is wrong, your iPhone simply can’t find the gateway to the internet. That means no maps, no messages, and no browsing—even with a perfectly good data plan.
While your phone usually handles this automatically at home, international travel can throw a wrench in the works. When you switch to a travel eSIM in a new country, your iPhone might not fetch the correct APN from the local network. This is where a little bit of traveler’s know-how becomes incredibly valuable.
Back home, carriers often push these configurations automatically. Apple’s system lets carriers populate these fields when you set up a new SIM or eSIM, which is why most of us never have to think about it. You can read more about how Apple handles these configurations in their official support documentation.
As a globetrotter, though, you can’t always rely on that convenience. When you’re using a travel eSIM, you’re connecting to various partner networks, and a quick manual check is sometimes needed to get things working smoothly.
Understanding how to view and edit your iPhone APN settings isn’t just a technical chore—it’s an essential skill for any modern traveler. Knowing this simple fix can save you from connection headaches and keep your trip on track.
This is especially true when juggling different SIMs or eSIMs. It’s important to remember that APN settings are separate for each line on your device. Correctly setting the APN for your travel eSIM won’t interfere with your home SIM, which is crucial for managing your connectivity. If you’re new to using eSIMs for travel, it’s also a great idea to learn how to properly manage your primary line, like in our guide on how to turn off roaming on your iPhone to avoid nasty surprise charges.
Fortunately, many modern eSIM providers like TapSim are designed to make this process as simple as possible, often automating the APN setup upon activation. But being prepared is what separates a savvy traveler from a stranded one. This guide will walk you through everything you need to know about your APN iPhone settings.

If you’ve just activated a new travel eSIM and your mobile data isn’t cooperating, a quick dive into your APN iPhone settings is usually the fix. It’s a common hiccup for travelers. Finding the right menu is pretty simple, though the exact path can differ slightly based on which version of iOS you’re running.
You’re generally looking for one of these two routes:
Whichever path you take, it’ll lead you to the screen where you can pop in the details your eSIM provider gave you. It’s a small, manual tweak that often gets you back online in seconds.
It can be a bit confusing when you follow the steps above, only to find the ‘Mobile Data Network’ option is completely gone. Don’t panic; this happens more often than you’d think. It usually just means your carrier has locked or hidden the menu to stop people from changing things by mistake.
While a bit frustrating, this is often a sign that the APN is supposed to set itself up automatically. If you’re using an eSIM and the data isn’t working, try giving your iPhone a full restart first. If you’re still stuck without a connection, it might be time to get in touch with the provider for help or a new configuration profile.
Once you get into the APN menu, you’ll see a few different fields. For most travel eSIMs, you only really need to focus on three of them. Your provider will always give you the exact details, but here’s a quick breakdown of what they do:
globaldata or internet.Pro Tip: Before you start typing, take a quick screenshot of the original APN settings. It’s a simple trick I always recommend, as it gives you a safety net to fall back on if you ever need to undo your changes. It’s a two-second habit that can save you a world of hassle.
With TapSim, the right APN details are always included with your plan information. The vast majority of the time, our eSIMs configure themselves automatically upon activation. Still, knowing how to do it yourself is a fantastic backup skill to have. For a complete walkthrough, take a look at our guide on how to activate an eSIM on your iPhone.
While a travel eSIM is usually the easiest way to stay connected, there are times when picking up a local SIM card makes more sense for your trip. If you find yourself in that boat, you might have to manually enter your APN settings to get your mobile data working.
Think of this as your go-to reference for those moments. Instead of scrambling for Wi-Fi to look up carrier details when you’ve just landed, you can use this table as a solid starting point. It covers some of the major mobile providers in popular travel regions, giving you the essential details to get online.
Here’s a quick reference for common APN settings from popular mobile carriers in major travel destinations. Always verify with your provider as these can change.
| Country | Carrier | APN | Username | Password |
|---|---|---|---|---|
| United Kingdom | O2 | idata.o2.co.uk | O2 | password |
| United Kingdom | Vodafone | internet | web | web |
| France | Orange | orange | orange | orange |
| Germany | T-Mobile (Telekom) | internet.telekom | t-mobile | tm |
| Italy | TIM | ibox.tim.it | (leave blank) | (leave blank) |
| Spain | Movistar | movistar.es | movistar | movistar |
| United States | AT&T | NXTGENPHONE | (leave blank) | (leave blank) |
| United States | T-Mobile | fast.t-mobile.com | (leave blank) | (leave blank) |
| Canada | Rogers | ltemobile.apn | (leave blank) | (leave blank) |
| Canada | Bell | pda.bell.ca | (leave blank) | (leave blank) |
| Japan | NTT Docomo | mpr.ex-dcm.ne.jp | (leave blank) | (leave blank) |
| Thailand | AIS | internet | (leave blank) | (leave blank) |
| Australia | Telstra | telstra.internet | (leave blank) | (leave blank) |
| Mexico | Telcel | internet.itelcel.com | webgprs | webgprs2002 |
| Brazil | Vivo | zap.vivo.com.br | vivo | vivo |
A Quick Word of Caution: Mobile networks can (and often do) update their APN settings without much notice. The details here are a fantastic starting point, but for guaranteed accuracy, it’s always best to check the carrier’s official support website.
We’ve put this reference together to be a genuinely practical tool for any traveler. Of course, if you’re a TapSim user, your correct APN settings will be in your installation guide and should configure themselves automatically. Still, having a cheat sheet like this in your back pocket means you’re ready for any connection challenge your adventures throw at you.
So, you’ve double-checked your APN iPhone settings, but your data is still stubbornly refusing to connect. Don’t worry, this is a super common scenario, especially when you’re traveling. The fix often involves looking beyond the APN itself. I’ve put together a checklist based on years of sorting out these exact issues on the road.
Let’s start with the easy stuff. Sometimes, the simplest fixes are the ones that work, and they can save you a lot of time before you start digging into more complex settings. Think of these as a quick reset for your iPhone’s connection.
This flowchart gives you a great visual path for troubleshooting. As you can see, after the basic checks fail, the next port of call is always your APN configuration.

If you’ve already verified the APN and you’re still offline, it’s time to work through a few more reliable fixes.
I’ve ordered these steps from the simplest to the most involved to hopefully get you sorted without any unnecessary hassle.
These initial steps will sort out the vast majority of connectivity hiccups. If you’re still stuck, however, it’s time for a slightly more hands-on approach.
There are times when your iPhone just needs a bit of a nudge to hook up to the right network, particularly when you’re in a place with several different mobile carriers.
Try manually selecting a network operator. This can force your device onto a specific, supported partner network when the automatic selection isn’t working. Just go to Settings > Mobile Service > Network Selection on your eSIM’s line. Switch ‘Automatic’ off and pick one of the networks from the list that appears. It might take a moment, but this can establish a stable connection.
If you’re seeing a persistent error like a PDP authentication failure, that usually points to a deeper issue with the network handshake. Our guide explaining what PDP authentication failure means breaks down this specific error in more detail.
As a final resort, you can Reset Network Settings. Think of this as the nuclear option. You’ll find it under Settings > General > Transfer or Reset iPhone > Reset > Reset Network Settings. Just be warned, this action will wipe all your saved Wi-Fi passwords and other network configurations. But, it’s often the silver bullet for stubborn APN-related conflicts.
By working through these steps methodically, from simplest to most drastic, you can diagnose and fix most data connection problems on your own. It puts you in control, turning you into your own tech support while you’re away from home.
While this guide is here to empower you to solve connection issues on your own, the best-case scenario is never having to deal with them in the first place. That’s precisely the philosophy behind TapSim eSIMs. We’ve designed them to make getting online abroad as seamless as possible, keeping technical fiddling to an absolute minimum.
For the vast majority of countries we cover, your TapSim eSIM will configure the correct APN iPhone settings automatically the second it activates. This means you can land, switch on your eSIM, and be connected before you’ve even collected your luggage. No digging into your iPhone’s settings menu required.
We believe in being straightforward with travelers. Our system is built for an automatic, hassle-free setup, but technology can sometimes have a mind of its own. In very rare cases, a local network might not sync up perfectly on the first try, which might require a quick manual check to get your data flowing.
This is where our commitment to honest support really shines. We don’t pretend that issues are impossible; instead, we make sure you’re ready for them if they pop up.
The key takeaway is this: with TapSim, APN setup is almost always a non-issue. But if you ever need to intervene, the knowledge in this guide and the info in your plan details mean you’re already set to sort it out in minutes.
Ultimately, our goal is to get you connected with zero fuss so you can focus on your trip. By automating the technical side of things, we let you skip the troubleshooting and get straight to ordering a taxi or finding the best coffee shop. It’s all part of our promise to provide a fair, fast, and reliable connection, wherever your journey takes you.
You can see how easy it can be by browsing our worldwide eSIMs at TapSim.net.
When you’re trying to get your travel eSIM working, a few common questions always pop up. Let’s tackle them head-on with some practical, experience-driven advice.
This is a classic head-scratcher. You dive into Settings > Mobile Service, ready to tweak your APN, and the ‘Mobile Data Network’ option is nowhere to be found. It’s frustrating, but there’s a simple explanation.
More often than not, your mobile provider has hidden it. Your home carrier might lock it to prevent you from accidentally messing up your connection. Similarly, some travel eSIMs install a configuration profile that sets the APN automatically and then hides the menu to keep things simple.
If your data isn’t working and you can’t get to the settings, try these two things first:
Still no luck? The ‘Reset Network Settings’ option can force the menu to reappear, but be warned: this will wipe all your saved Wi-Fi passwords. Think of it as a last resort.
Relax, it won’t. This is one of the best things about the dual-SIM setup on an iPhone. The APN settings for each line—whether it’s a physical SIM or an eSIM—are kept completely separate.
When you adjust the APN for your travel eSIM, your home SIM’s settings are left untouched. As soon as you land back home and switch your mobile data back to your primary line, it’ll connect using its original APN. No need to change anything back.
The iPhone’s dual-SIM system is designed to keep your home and travel profiles completely independent. This means you can adjust your travel eSIM’s APN settings with confidence, knowing your primary line is safe and ready for when you get back.
Don’t panic! Entering the wrong APN information won’t damage your phone or cause any lasting harm. All it does is stop your mobile data from connecting because your iPhone can’t find the right “gateway” to the internet.
The worst-case scenario is a temporary loss of your data connection. To fix it, simply head back into the APN settings and carefully re-enter the correct details from your eSIM provider. This is exactly why it’s a smart habit to screenshot the original settings before you start editing—it gives you a quick and easy way to revert if needed.
That really depends on the kind of eSIM you’re using. One of the huge advantages of a regional or global eSIM is that you usually don’t have to.
With a multi-country plan like those from TapSim, you generally set the APN just once. That single setting is designed to work across all the countries included in your plan, as the eSIM automatically hops between local partner networks.
On the other hand, if you’re buying a new local SIM card in every country you visit, then yes, you’ll almost certainly need to configure the APN for each new SIM you install.
Staying connected should be the easiest part of your trip. At TapSim, we design our eSIMs to work right out of the box with automatic APN configuration, so you can focus on your adventure.
Ready for a hassle-free connection on your next journey? Check available eSIMs on TapSim.net.