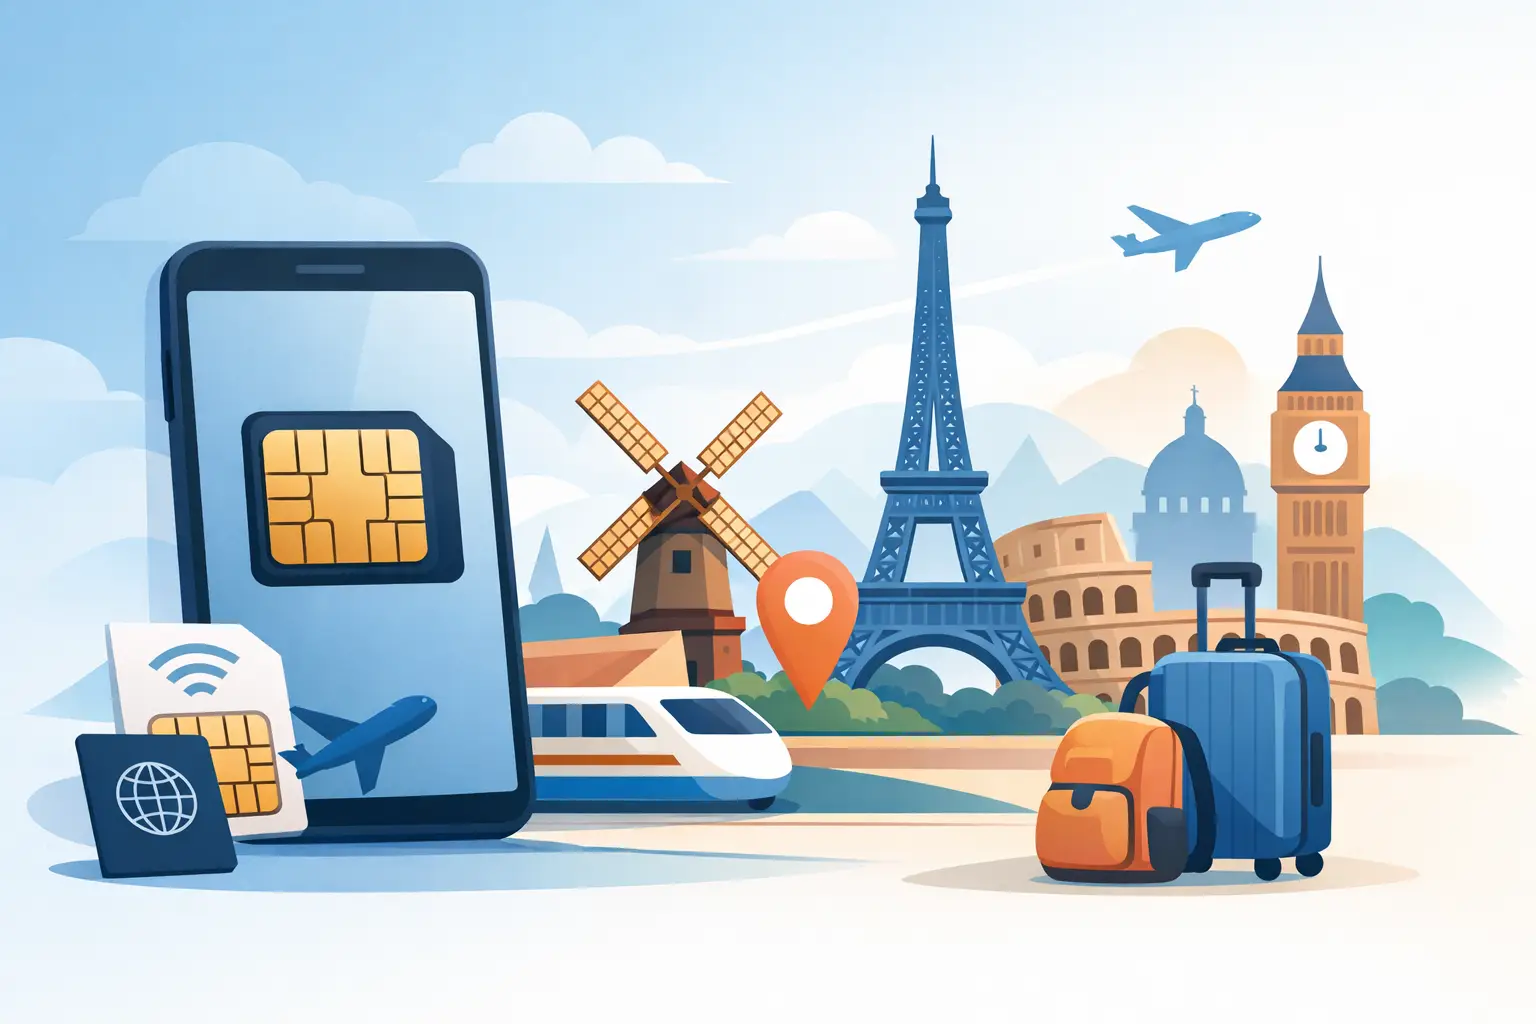
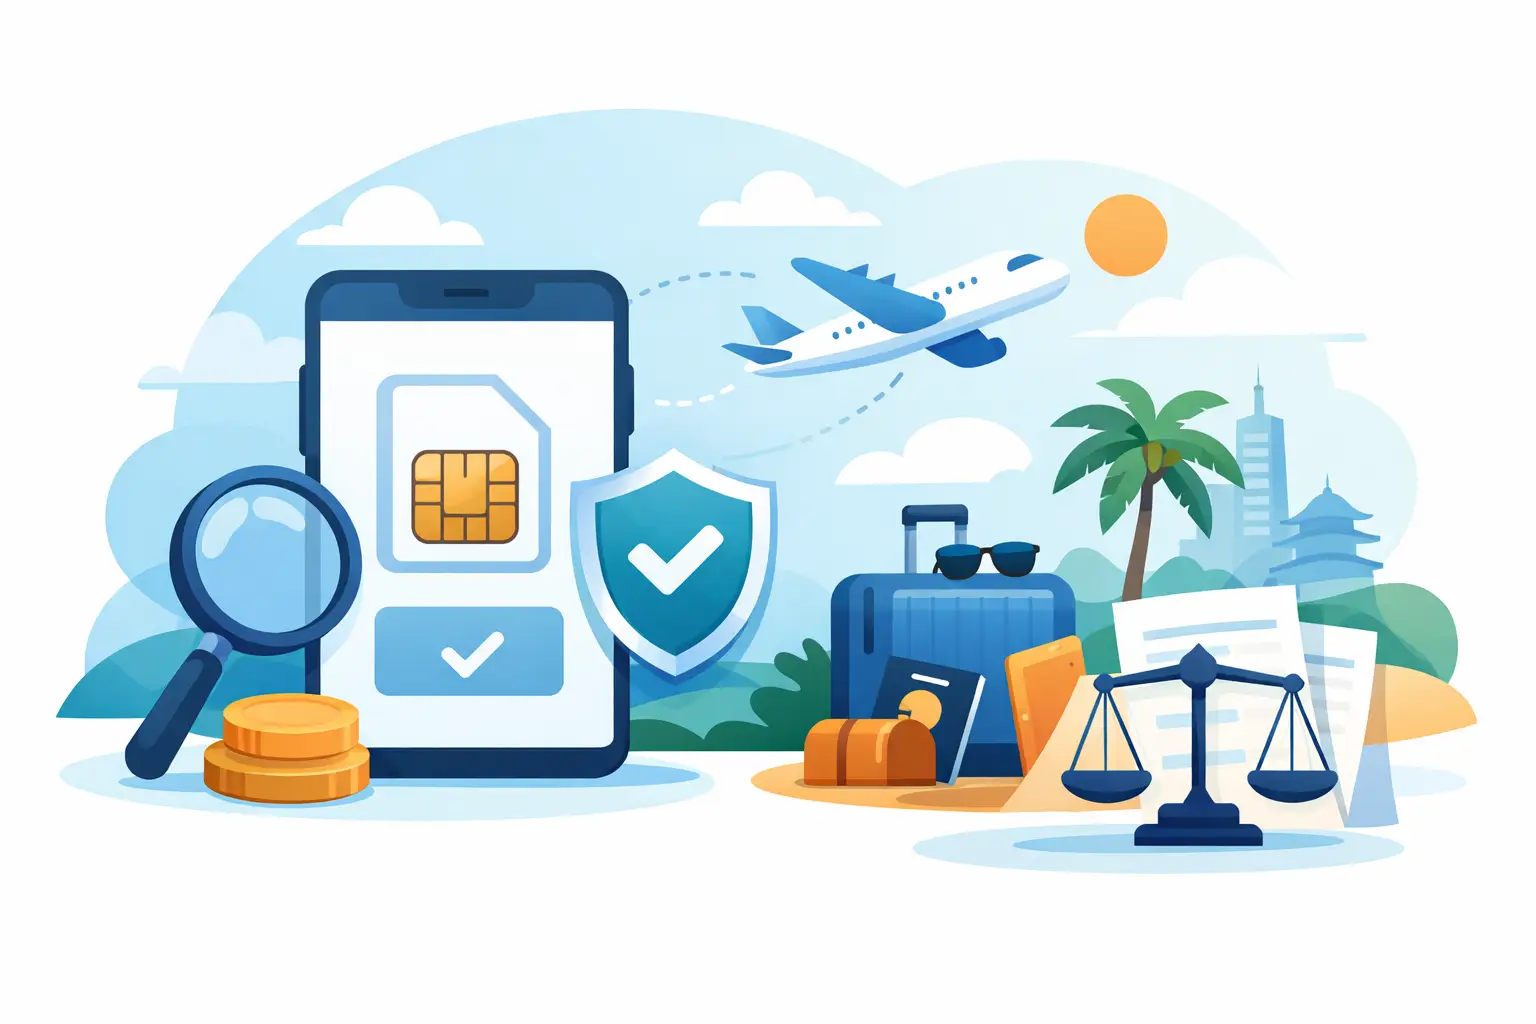
eSIM for Business Travel: What to Know
Learn how esim for business travel cuts roaming costs, speeds arrival setup, and keeps teams connected with clear data limits and fewer surprises.

Getting a new iPhone is always exciting, but for a traveler, ensuring your eSIM transfers smoothly is crucial. Whether it’s your primary number or a travel data plan for an upcoming trip, a little preparation makes all the difference. Before you unbox that shiny new device, let’s walk through a quick checklist.
We’ll cover the essentials, like updating both iPhones, connecting to Wi-Fi, and enabling Bluetooth—the foundations for Apple’s seamless transfer process. I’ll also explain why a recent iCloud or computer backup is your non-negotiable digital safety net. For those of us managing a home number alongside a TapSim data plan for a trip to Europe, we’ll clarify how to identify each plan and decide which ones need to make the jump.
Think of it as packing your digital bags correctly. A few minutes of prep now will save you from connectivity headaches when you land.
Just a few minutes of prep can be the difference between a smooth transition and a major headache, especially when your phone is your lifeline on the road. It’s like getting your digital passport in order before a big trip.
First things first, let’s get both your old and new iPhones ready for the handover. Creating the right environment ensures Apple’s transfer magic can happen without any snags.
Your phone is a vault of memories, travel plans, and important contacts. A backup is your ultimate guarantee that nothing gets left behind in the move.
You’ve got two solid options here: iCloud Backup or backing up to a computer. iCloud is often the easiest since it’s wireless. However, if you have a ton of photos and apps, a computer backup via Finder or iTunes can be significantly faster. The crucial part is to have a recent backup made right before you start the transfer.
And as you get ready for your new iPhone, what about the old one? To help you get the best return on your previous device, it’s worth learning how to maximize your used phone value. That extra cash could easily fund your next adventure.
Apple’s Quick Start is one of those features that just works, and it’s by far the easiest way to move your life from an old iPhone to a new one, including your eSIMs. If you’re a traveler who relies on seamless connectivity, this method is your go-to for a stress-free upgrade.
The process begins the moment you turn on your new iPhone next to your old one. An animation will appear on your old device, prompting you to begin the setup. It’s intuitive and guides you through every step.
First, you’ll use your old iPhone’s camera to scan a swirling blue pattern on the new screen. Then, you’ll enter your old passcode and confirm your Apple ID – just the usual security checks. After that, you’ll see the option to Transfer from iPhone. This is the key to a painless eSIM switch.
This is the most important step for staying connected. During the setup, your new iPhone will display a list of all cellular plans on your old device and ask which ones you want to move over.
Let’s say you have two plans:
The screen will clearly list both, and you just select the ones you need. It’s incredibly handy because you have complete control. You can move your main number but leave behind a travel eSIM that’s about to expire—no problem.
Once you’ve made your choices and tapped continue, your iPhone handles the rest. It securely communicates with the carriers to move your eSIM profiles from the old device to the new one.
Seeing the ‘Cellular Setup Complete’ notification on your new screen is a great feeling. It’s confirmation that your numbers are active and ready to use, often before your apps and photos have even finished transferring.
With your cellular plans sorted, the phone will continue copying over your apps, photos, and settings. How long this takes depends on how much data you have, but the important part—your connection to the world—is already in place.
This process gives you total peace of mind. You can open Settings on your new iPhone and see your primary number and your travel eSIM sitting there, ready to go. It removes the guesswork, ensuring you’re all set for your next adventure without missing a beat.
Travel rarely goes exactly as planned. While Apple’s Quick Start is the smoothest way to transfer your eSIM, it’s not always an option. Maybe you’ve already completed the new iPhone setup, or your old phone isn’t available. Don’t worry, you’re not stuck.
There are a few solid backup plans to get your eSIM onto your new device. These methods ensure you can stay connected, whether you’re sorting things out at home or need to make a switch mid-trip.
So, you got excited and finished setting up your shiny new iPhone without transferring your eSIM? It happens to the best of us. Luckily, Apple has a feature for this exact situation.
On your new device, go to Settings > Cellular > Add eSIM. You should see an option that says Transfer From Nearby iPhone. Just make sure your old iPhone is close by, unlocked, and has Bluetooth switched on. A notification will pop up on the old phone asking you to approve the transfer. It’s a clean and simple process that works just as well as the Quick Start method.
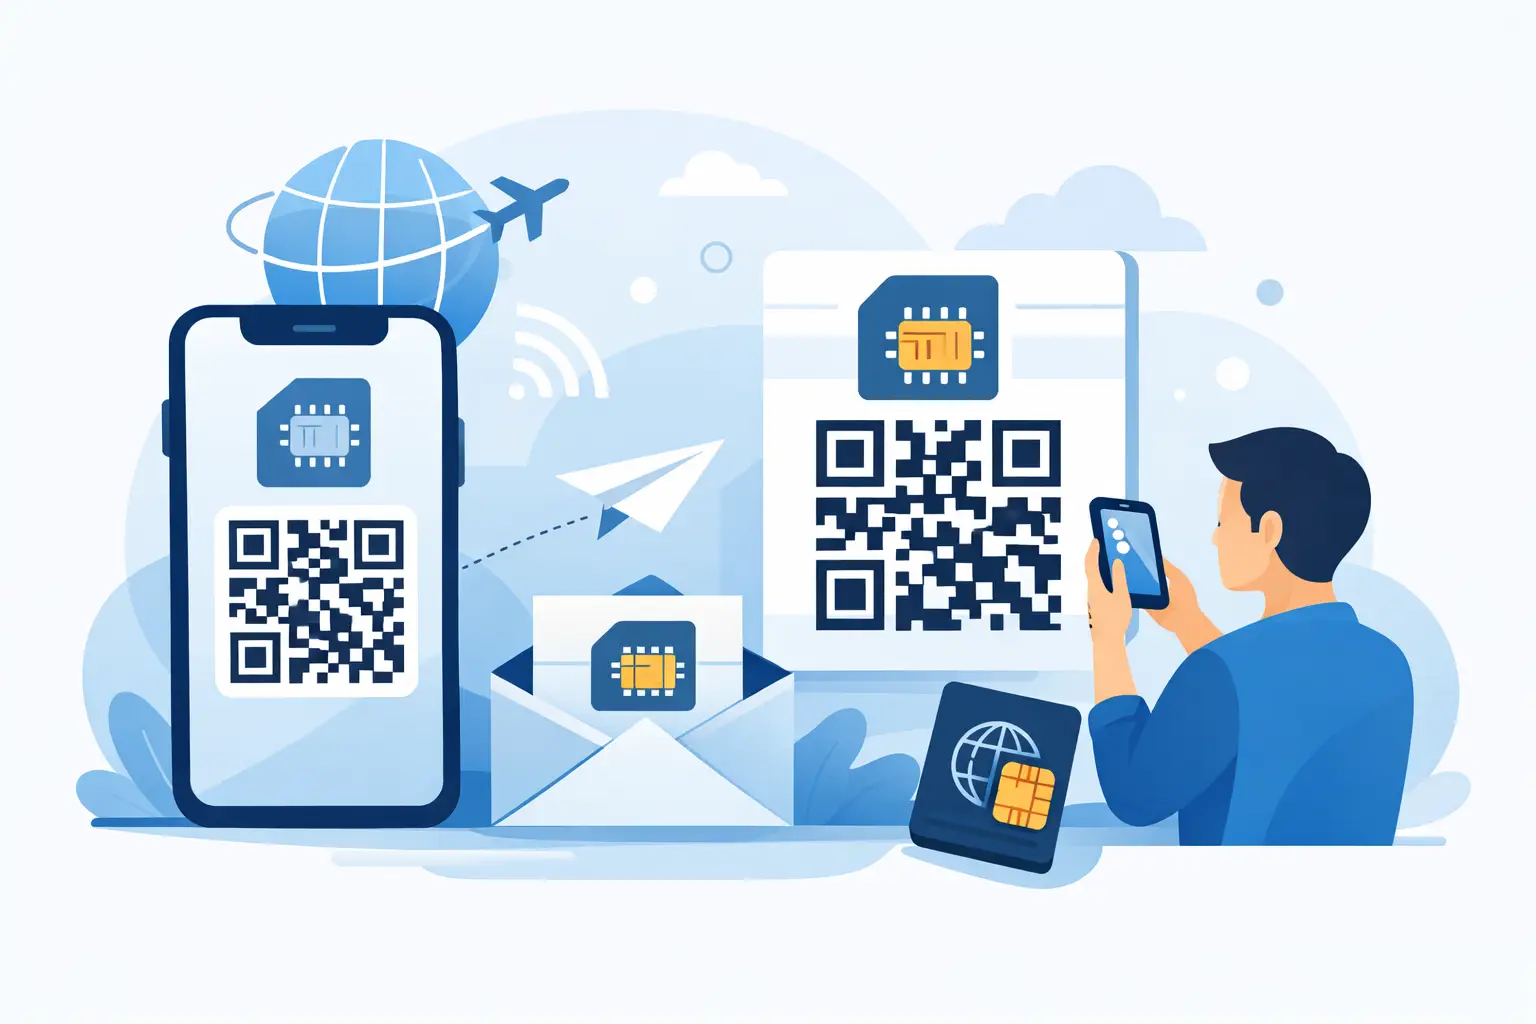
What if your old phone is lost, broken, or simply not with you? This is where your mobile provider can help. Most carriers make it easy to get a new QR code for your eSIM.
You’ll typically need to log into your account on their website or through their official app. From there, look for a section related to SIM or device management and request a new eSIM. Your provider will generate a unique QR code.
Once you have it, just go to Settings > Cellular > Add eSIM on your new iPhone and scan the code with the camera. You’ll be back online in minutes.
For more detailed instructions on this part of the process, our guide on how to activate an eSIM on your iPhone covers every step.
This flowchart maps out the different paths you can take, showing that even if you skip Quick Start, you still have clear options.
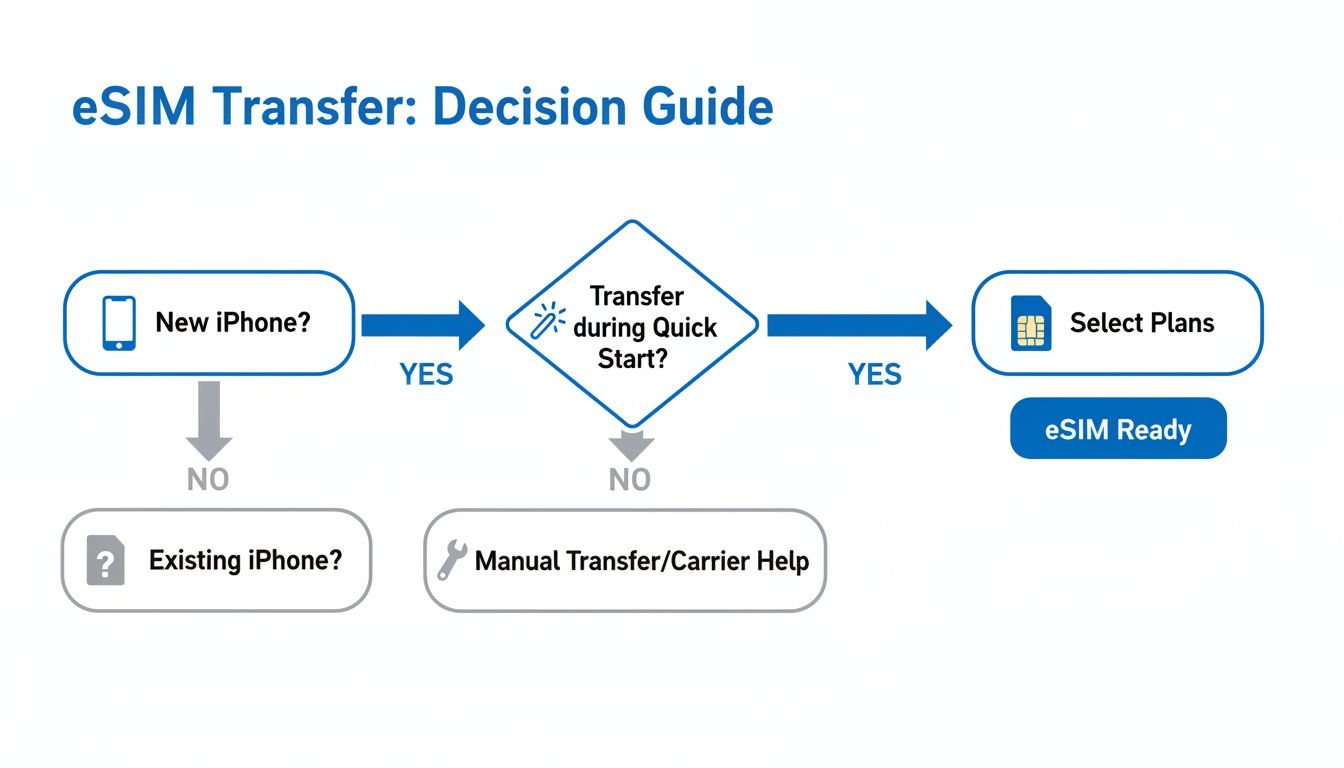
As you can see, there’s always a reliable route to get your mobile plan running on your new device.
Still not sure which method is right for you? This table breaks it down to help you decide at a glance.
| Method | Best For | Requirements | Typical Time |
|---|---|---|---|
| Quick Start Transfer | Setting up a brand-new iPhone from scratch. | Both iPhones running iOS 16+, Bluetooth on, side-by-side. | 5-10 minutes |
| Transfer After Setup | If you’ve already set up your new iPhone. | Both iPhones running iOS 16+, Bluetooth on, side-by-side. | 5-10 minutes |
| QR Code Method | If the old phone is lost, broken, or not present. | Carrier app/website access, Wi-Fi connection, new iPhone. | 10-15 minutes |
| Manual Input | As a last resort if the QR code fails to scan. | Carrier app/website access, Wi-Fi, activation details. | 15-20 minutes |
Ultimately, having both iPhones handy is the quickest way to get things done. But if that’s not possible, contacting your carrier for a new QR code is a dependable backup.
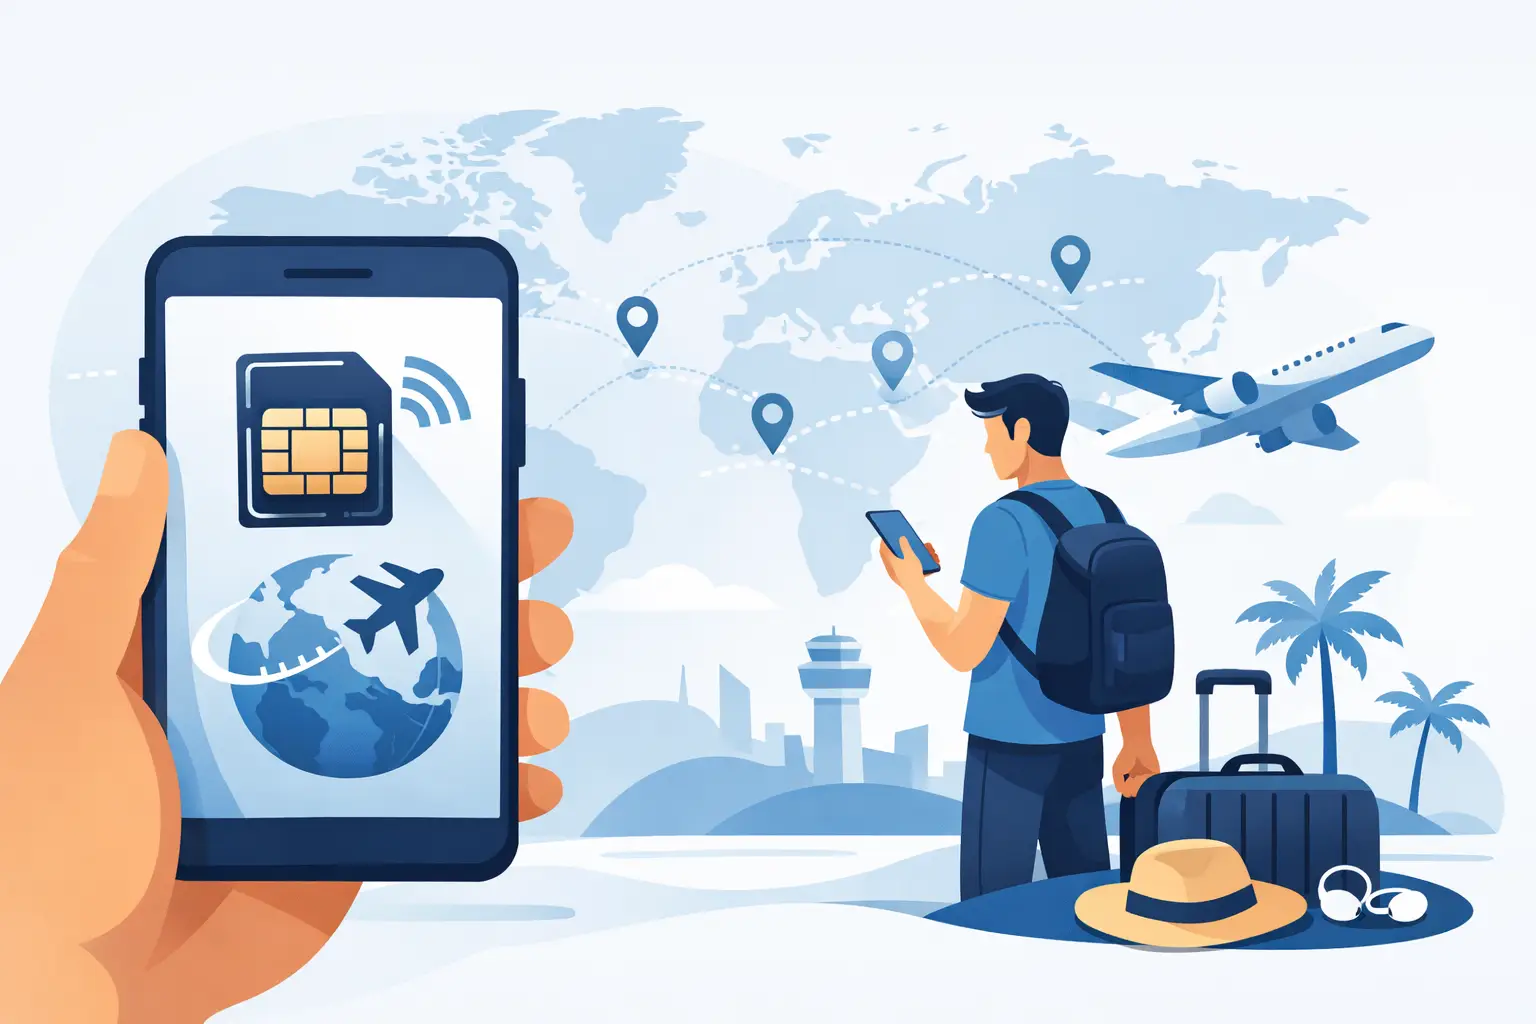
While the standard iPhone transfer methods are perfect for your primary mobile number, a travel eSIM like those from TapSim requires a different approach. Your travel eSIM is your ticket to affordable data abroad, so you’ll want to get this right to avoid any headaches when you land.
Here’s the key thing to remember about most travel eSIMs: they are designed for a one-time installation on a single device. Because of this, trying to move one using Apple’s direct transfer feature usually won’t work. The system often sees the eSIM as already ‘used’ on your old phone, which can deactivate the plan.
Thankfully, the solution is incredibly simple and fits right into your pre-travel checklist.
The most reliable way to manage your TapSim plan during an upgrade is to install it fresh on your new iPhone just before you travel. Forget transferring—think new phone, new setup.
Here’s how to do it:
This approach gives you a clean slate, bypassing any potential transfer glitches and ensuring your data plan is ready to go when you are.
The growth in travel eSIMs really highlights how vital this technology is for global travelers. In fact, some analysts predict the booming travel eSIM market and its future will see significant growth, underscoring how important a smooth setup is when upgrading your phone. For anyone using TapSim, it just shows that you’re ahead of the curve.
What happens if you need to get a new iPhone while you’re already traveling? Since you can’t reuse the original QR code and a direct transfer is off the table, you still have an option.
In this situation, your best move is to contact the support team. Simply explain what’s happened, and they can typically help reissue the plan to your new device, ensuring you don’t lose out on the data you’ve paid for. It’s a quick fix that offers real peace of mind when your travel plans hit an unexpected bump.
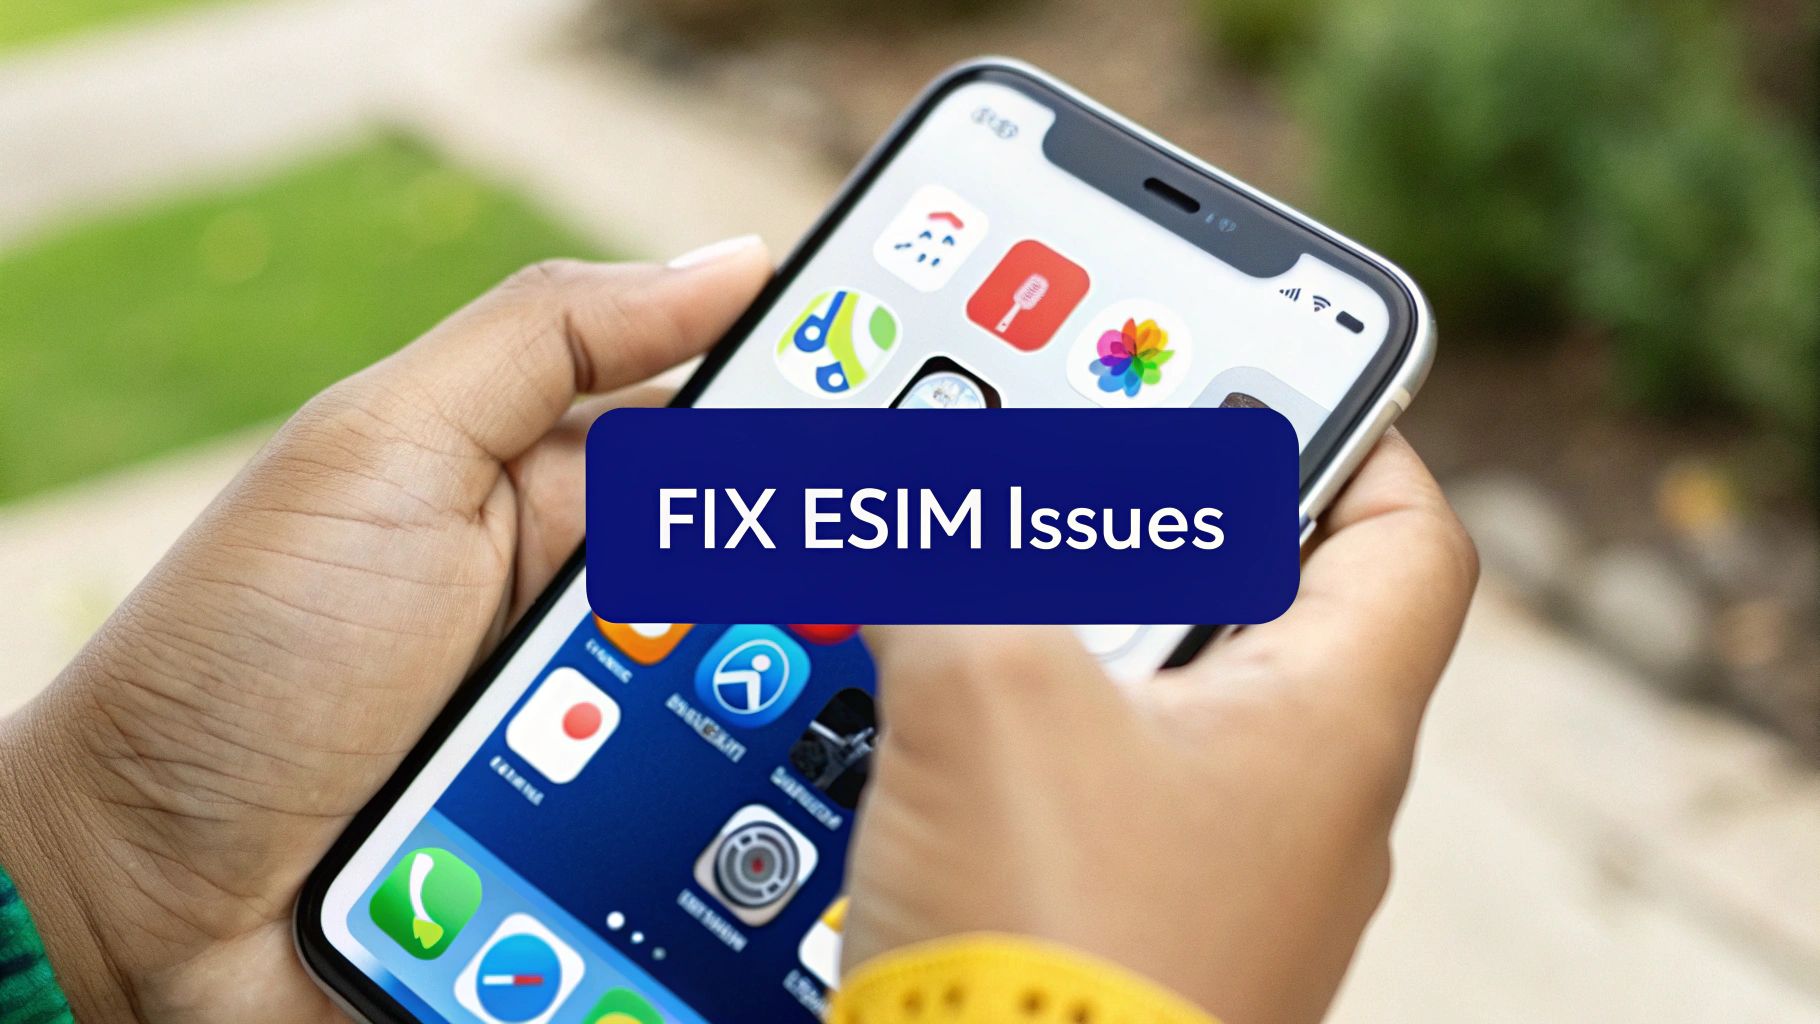
Even with the best preparation, technology can have its moments. An eSIM transfer is usually a smooth ride, but if you hit an error, don’t panic. This is your first-aid kit for common transfer problems, designed to get you connected without the stress.
Most of the time, the fix is surprisingly simple. The trick is to approach it logically, step by step, much like you would if the hotel Wi-Fi suddenly stopped working.
That pop-up message on your screen can be confusing, but it’s often a direct clue to what’s gone wrong. Knowing what it means is half the battle.
The good news is that these issues are becoming less common as eSIM technology matures. For example, some reports on the trends in the UK’s eSIM market show that reliability and user satisfaction are consistently improving as the technology becomes more widespread.
When the transfer grinds to a halt, don’t get discouraged. Just work through these proven fixes, starting with the easiest one first.
If you keep running into issues, especially with errors that hint at network authentication problems, our guide on fixing a PDP authentication failure provides some deeper technical advice that might help.
If you take away just one thing, let it be this: Never delete the eSIM from your old iPhone until you have confirmed it is fully working on the new one. This is your safety net. Think of your old phone as your backup, ensuring you’re not left without service while you get the new one sorted.
Here are answers to some of the most common questions from travelers getting a new iPhone. Let’s clear up any confusion so you can make the switch with confidence.
Yes, absolutely. If you skipped the eSIM transfer option during the initial Quick Start setup, you haven’t missed your chance.
Just go to Settings > Cellular > Add eSIM on your new iPhone. You should see a ‘Transfer from Nearby iPhone’ option. As long as your old iPhone is unlocked, nearby, has Bluetooth on, and is running iOS 16 or newer, it will get a prompt to approve the move. It works just as well as doing it during the initial setup.
Once you’re 100% sure your service is working correctly on the new iPhone (make a quick call or browse a website to test it), you can safely remove the eSIM from your old device.
On the old phone, navigate to Settings > Cellular, tap the cellular plan you moved, and select ‘Delete eSIM.’ This tidies things up and prevents any potential conflicts, ensuring the plan is only active on your new handset. Always test the new phone first.
Think of it like checking the keys to a new apartment. You want to be certain your new key works perfectly before you hand back the old one. Confirming your eSIM works on the new iPhone is your assurance before you digitally ‘retire’ your old device’s connection.
This is a major concern for anyone on the road. Most travel eSIMs, like those from TapSim, are built for a single installation. They aren’t designed to be transferred using the standard iPhone feature, and trying to do so will almost certainly deactivate the plan.
If you need to switch phones while you’re already traveling, your best bet is to contact TapSim support. Explain the situation, and our team can usually reissue the plan to your new device. This way, you don’t lose the data you paid for. It’s always best to ask before you act.
For the vast majority of users, transferring an eSIM costs nothing. Apple doesn’t charge for its transfer features, and most mobile carriers have made it a free, self-service process.
While very rare, a few providers in certain countries might charge a small administrative fee for generating a new QR code. It’s worth a quick check of your home carrier’s policy, but you can generally expect to move your eSIM to a new iPhone for free.
Getting a new phone shouldn’t mean losing your connection. With these tips, you can handle your next iPhone upgrade like a seasoned traveler. For reliable data in over 150 destinations, TapSim offers fair, fast, and honest eSIMs for any journey.