Heading to India? An eSIM is the smartest way for a traveler to get online the second they land. Instead of wrestling with local SIM card registration—a process that often demands a mountain of paperwork and a local address—you can download a digital data plan straight to your phone before you even pack. The result? Instant internet from the moment you touch down.
Why You Need a Travel eSIM for India
Exploring India is an unforgettable experience, but staying connected can be a real headache for visitors. Trying to buy a local physical SIM card often throws you into a world of unexpected bureaucracy. It’s not uncommon for vendors to ask for passport copies, visa details, passport-sized photos, and even proof of a local address. After a long flight, that’s the last thing you want to deal with.
A travel eSIM lets you sidestep all of that hassle. Think of it as your digital key to India’s mobile networks. You can sort everything out from home, which means you’ll have reliable data ready to go the moment you switch off airplane mode.
The Modern Way to Stay Connected
For today’s traveler, being connected from the get-go isn’t a luxury; it’s a necessity. You need data to hail a ride from the airport, pull up Google Maps to find your hotel, or just send a quick “I’ve landed safely!” message to family. An eSIM for India is the practical answer, putting the power back in your hands.
Here’s a quick rundown of what makes it the go-to choice for most visitors:
Instant Activation: Your plan springs to life as soon as it connects to a network in India. No delays, no waiting around.
No Paperwork: Forget about hunting down a photocopier or queuing up at a mobile shop with all your documents.
Keep Your Home Number: Your primary SIM stays active, so you can still receive important calls and texts from home. Meanwhile, your travel eSIM handles all the data.
Transparent Pricing: You buy a specific amount of data upfront. This means no nasty surprises or eye-watering roaming charges when you get back.
A travel eSIM just makes your arrival so much smoother. Instead of your first mission being a frantic search for a SIM card shop, you can step off the plane, turn on your data, and get right to the adventure. It erases one of the biggest stress points for international travelers.
This hassle-free approach is ideal for short-term tourists, business travelers on a tight schedule, and digital nomads who can’t afford to be offline. With TapSim, travelers get a fair, fast data plan built for their trip. It’s the simplest way to guarantee you have the mobile internet you need for a seamless journey across India.
Comparing Connectivity Options for Your India Trip
Here’s a quick comparison of the main ways travelers get mobile data in India, highlighting the key differences in convenience and setup.
Connectivity Method
How You Get It
Typical Cost
Best For
Travel eSIM
Purchase and install online before you travel. Activates upon arrival.
Pre-paid, varies by data amount and duration
Tourists, business travelers, and anyone wanting immediate, hassle-free internet.
Local Physical SIM Card
Buy from an airport kiosk or local shop. Requires passport, visa, photo, and paperwork.
Generally low-cost, but requires a lengthy setup
Long-term stays (over 30 days) where a local number is essential.
International Roaming
Activate with your home mobile provider.
Can be very expensive; often charged per day or MB
Emergency use or very short trips if you’re prepared for the high cost.
Pocket Wi-Fi
Rent a portable hotspot device online and pick it up or have it delivered.
Daily rental fee plus data charges.
Groups or those with multiple devices, but means carrying another gadget.
Ultimately, an eSIM offers a fantastic balance of cost, convenience, and control, which is why it’s become the top recommendation for most people visiting India.
Understanding How an eSIM Works for Travelers
So, what exactly is this eSIM technology? Let’s break it down in simple terms.
Think of it like this: your phone already has a tiny, rewritable SIM card built right into its circuits. That’s the eSIM – the ‘e’ simply stands for ’embedded’. Instead of fumbling with plastic chips and paperclips every time you land in a new country, you just download a digital ‘SIM profile’ directly to your device.
This profile is your digital passport to a local network. When you buy a travel eSIM for India, you’re essentially getting a temporary pass that grants you data access on Indian mobile networks. The whole process is digital—usually just scanning a QR code sent to your email or activating it through an app. And just like that, you’re connected.
The biggest win for travelers is pure, simple convenience. No more hunting for a mobile shop at the airport, no more grappling with registration forms and passport copies, and definitely no more panicking about misplacing your tiny home SIM card. You can sort everything out before you even leave home.
The Digital Advantage of an eSIM
An eSIM offers a level of flexibility a physical SIM card just can’t match. Since it’s all software, you can have several eSIM profiles stored on your phone at once. This is a game-changer for anyone who travels frequently or is hopping between multiple countries on a single trip.
You could have your regular plan from back home, an eSIM for your trip to India, and maybe another one for that layover in Dubai. Switching between them is as easy as changing a setting on your phone. If you want to dive deeper, you can learn more about how an eSIM works and see the tech in detail.
Here’s how this plays out in the real world:
Before You Go: You buy an eSIM data plan online and follow the instructions to install it. Your phone tucks this digital profile away, ready to be activated when you land.
Upon Arrival: The moment your plane touches down in India, you just go into your phone’s settings and switch your mobile data over to the eSIM you installed. It immediately connects to a partner network, and you’re online.
During Your Trip: Your primary physical SIM card stays in your phone, fully active. This is crucial because it means you can still get calls and SMS messages on your usual number.
The real beauty of an eSIM is that it separates your data from your primary line. You get affordable, local data rates for maps, messaging, and browsing, all without paying expensive international roaming charges or losing access to your home number.
Why This Matters for Your India Trip
India is an incredible country, but getting a local SIM card can be a bit of a bureaucratic marathon. An eSIM lets you sidestep all that hassle. It’s a secure and refreshingly simple way to manage your mobile connection on your own terms.
Instead of your first hour in a new country being a frantic search for Wi-Fi or a SIM card vendor, imagine this: you step off the plane, turn on your data, and instantly order a ride or message your family that you’ve arrived safely. It’s a completely different travel experience.
With TapSim, travelers can activate data instantly before takeoff, ensuring their trip to India starts smoothly and without any connection stress.
Why a Travel eSIM Is Your Best Bet for a Hassle-Free Trip to India
India is an incredible country to explore, full of vibrant culture, breathtaking sights, and amazing food. But for many travelers, the first real challenge isn’t navigating the bustling streets—it’s getting a working mobile connection. The process for buying a local physical SIM card can be surprisingly complicated, often demanding a pile of paperwork just when you’re tired from a long flight.
This is exactly where a travel eSIM for India completely changes the game. It’s a modern fix designed to skip all the usual headaches tourists run into. Instead of spending your first precious hours in a new country hunting down a phone shop and wading through bureaucracy, you can have your mobile data sorted before you even leave home.
It’s a simple switch, but it makes a world of difference. You’ll land with a working internet connection, ready to book a cab, pull up your hotel on Google Maps, or message family to say you’ve arrived safely. A potential source of stress is transformed into just another easy step in your travel prep.
Sidestepping the Local SIM Card Shuffle
Getting a prepaid local SIM in India isn’t as straightforward as just popping into a shop. The process is tightly regulated, and vendors must collect specific documents from every customer through a procedure known as ‘Know Your Customer’ (KYC).
For a foreign tourist, this usually means you’ll need to have:
Passport and Visa Copies: You’ll definitely need to hand over photocopies of your passport’s main page and your Indian visa.
Passport-Sized Photographs: Many vendors still ask for one or two physical passport photos.
Proof of a Local Address: This one often trips people up. You might be asked for your hotel’s address, and sometimes even a formal letter from them.
Activation Delays: Even after you’ve jumped through all the hoops, your new SIM might not work right away. Activation can take several hours, leaving you offline when you need a connection the most.
A travel eSIM is designed to make every single one of these steps disappear. The entire process—from purchase to installation—happens online. You just scan a QR code, and you’re done. It’s a system built for the real-world needs of tourists, business travelers, and digital nomads who can’t afford to waste time.
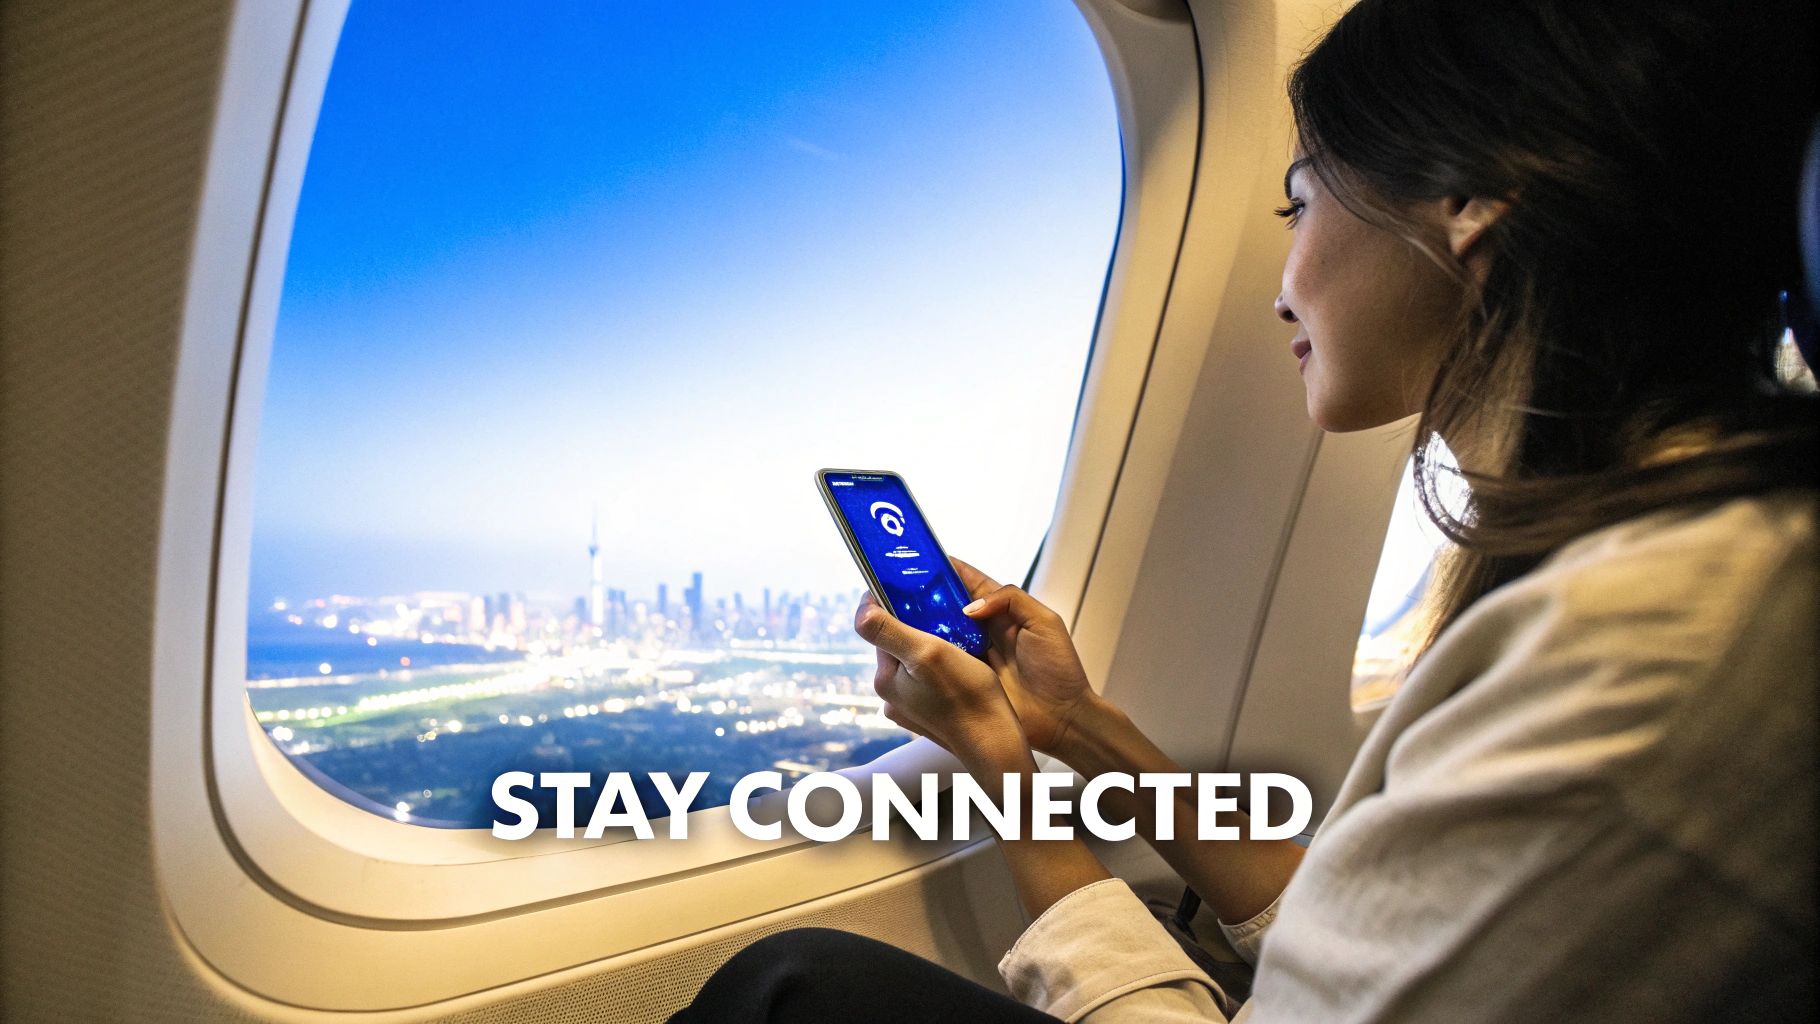
The Power of Being Connected the Moment You Land
Picture this: you step off the plane in Delhi or Mumbai. With a travel eSIM already installed, all you do is turn off airplane mode, tell your phone to use the eSIM for data, and you’re online in seconds. No more hunting for patchy airport Wi-Fi or standing in a long queue at a crowded kiosk.
For travelers, immediate connectivity isn’t just a convenience—it’s about safety and peace of mind. Having instant access to maps, translation apps, or emergency contacts makes navigating a new and unfamiliar country feel significantly less daunting.
This instant connection is especially vital if you’re traveling solo or arriving late at night. Being able to coordinate a ride or check public transport schedules without a second thought gives you a much smoother and more secure start to your trip. With a service like TapSim, your eSIM is sent straight to your email, so you can get it set up long before you take off.
This move towards simpler connectivity is a global trend. In India alone, the eSIM market was valued at around USD 389 million and is expected to soar to USD 1.46 billion by 2033. This shows just how much people want more flexible and straightforward ways to stay connected, a demand fueled by widespread smartphone use and government efforts to promote digital access. You can dig into the numbers in recent eSIM market reports.
Clear, Cost-Effective, and No Surprises
It’s true that local SIM cards in India offer some of the cheapest data rates you’ll find anywhere. But for a short-term visitor, the initial hassle can easily cancel out the savings. On the flip side, using your home provider’s international roaming plan is almost always a bad idea, with shocking daily fees for tiny amounts of data.
A travel eSIM strikes the perfect balance. You pay a clear, upfront price for a specific data package, which means no nasty surprise bills waiting for you when you get home. This transparency lets you budget properly for your communication needs. For most tourists, the small premium you might pay over a local SIM is well worth the huge amount of convenience and time you get back.
How to Activate Your India Travel eSIM Step by Step
Getting your travel eSIM for India up and running is surprisingly simple. The whole process takes just a few minutes and is best broken into two parts: a few quick jobs to do before you leave home, and the final steps once you land. This way, you’re all set before you fly and can get online the moment you arrive.
Before You Leave Home
The secret to a smooth arrival is a little prep work before you go. By sorting out your eSIM while you’re still on your home Wi-Fi, you avoid the hassle of hunting for a connection at the airport.
Here’s what to do before your flight:
Check Your Phone is eSIM-Ready: First things first, confirm your smartphone is unlocked and supports eSIMs. Most newer models from Apple, Samsung, and Google are good to go, but a quick look in your phone’s settings under “Mobile Data” or “Cellular” will tell you for sure.
Pick and Purchase Your Plan: Choose an India data plan that fits your trip’s length and how much data you think you’ll need. With a provider like TapSim, you can easily browse the options, see clear pricing, and buy your eSIM straight from their website.
Install the eSIM Profile: Once you’ve paid, you’ll get a QR code in your email. Head into your phone’s mobile settings, tap “Add eSIM” or “Add Cellular Plan,” and scan that code. Your phone will guide you through installing the digital SIM profile. Crucially, don’t activate it yet—just get it installed.
Pro-Tip: I always recommend installing your eSIM profile over a stable Wi-Fi connection before heading to the airport. This ensures the download goes smoothly, and your eSIM will be sitting on your device, ready to go when you land in India.
Upon Arrival in India
After your flight lands and you’ve switched off airplane mode, you’re literally just a couple of taps away from being connected. This is where that prep work pays off.
Follow these simple on-arrival steps:
Switch On Your eSIM: Go back into your phone’s mobile or cellular settings. You’ll see the travel eSIM you installed earlier—just toggle it on.
Set It for Mobile Data: In that same settings menu, make sure you select your new travel eSIM as the primary line for mobile data. This tells your phone to use your India plan for all internet-based apps. If you need a more detailed walkthrough, you can find guides on how to activate an eSIM on your iPhone or Android.
Enable Data Roaming: Finally, ensure data roaming is turned on for your travel eSIM. This is essential for it to connect to the local partner networks in India. Don’t worry, this won’t lead to surprise bills from your home provider since you’ve already set the eSIM to handle all your data.
And that’s all there is to it. Within a minute or two, your phone will connect to a local 4G or 5G network, and you’ll see the signal bars light up. Now you can use your maps, book a ride, or message family back home to let them know you’ve landed safely.
Your Pre-Travel and On-Arrival eSIM Checklist
To make things even easier, here’s a handy checklist. Follow these steps for a guaranteed smooth start to your trip.
Phase
Action Item
Details and Tips
Pre-Departure
Check Phone Compatibility
Make sure your device is carrier-unlocked and supports eSIM technology. A quick Google search of your model will confirm this.
Pre-Departure
Purchase Your eSIM Plan
Choose a data package from a trusted provider that matches your trip duration and expected usage.
Pre-Departure
Install the eSIM Profile
Scan the QR code from your confirmation email over a stable Wi-Fi connection. Remember, install now, but activate later!
On-Arrival
Turn On Your eSIM Line
As soon as you land, go into your cellular settings and switch on the eSIM you just installed.
On-Arrival
Set eSIM for Mobile Data
Designate the new eSIM as your primary source for mobile data to avoid using your home plan.
On-Arrival
Enable Data Roaming
This final step is crucial. Turn on data roaming for your eSIM line to allow it to connect to local networks in India.
Sticking to this simple sequence removes any guesswork and gets you connected in no time.
The visual below really captures the difference between the old way of getting a SIM card and the effortless experience of using a travel eSIM for India.
As you can see, an eSIM completely skips the paperwork, queues, and hassle of visiting a physical store, replacing it all with a simple download-and-go process you can complete from anywhere.
Making the Most of Your eSIM Data Plan in India
Once your eSIM is up and running, the real trick is to make it last. Having an eSIM for India means you can explore without the looming dread of a massive roaming bill, but it still pays to be smart about how you use your data. This is especially true when your phone is your lifeline for navigating, booking rides, and keeping in touch.
A bit of common sense goes a long way. Streaming high-definition video chews through data much faster than sending a few messages or looking up directions. If you know you’ll be uploading lots of photos or working on the go, you can pick a bigger data plan from the start.
With a provider like TapSim, what you see is what you get. You’ll always know exactly how much data is left. That clarity lets you travel with real peace of mind.
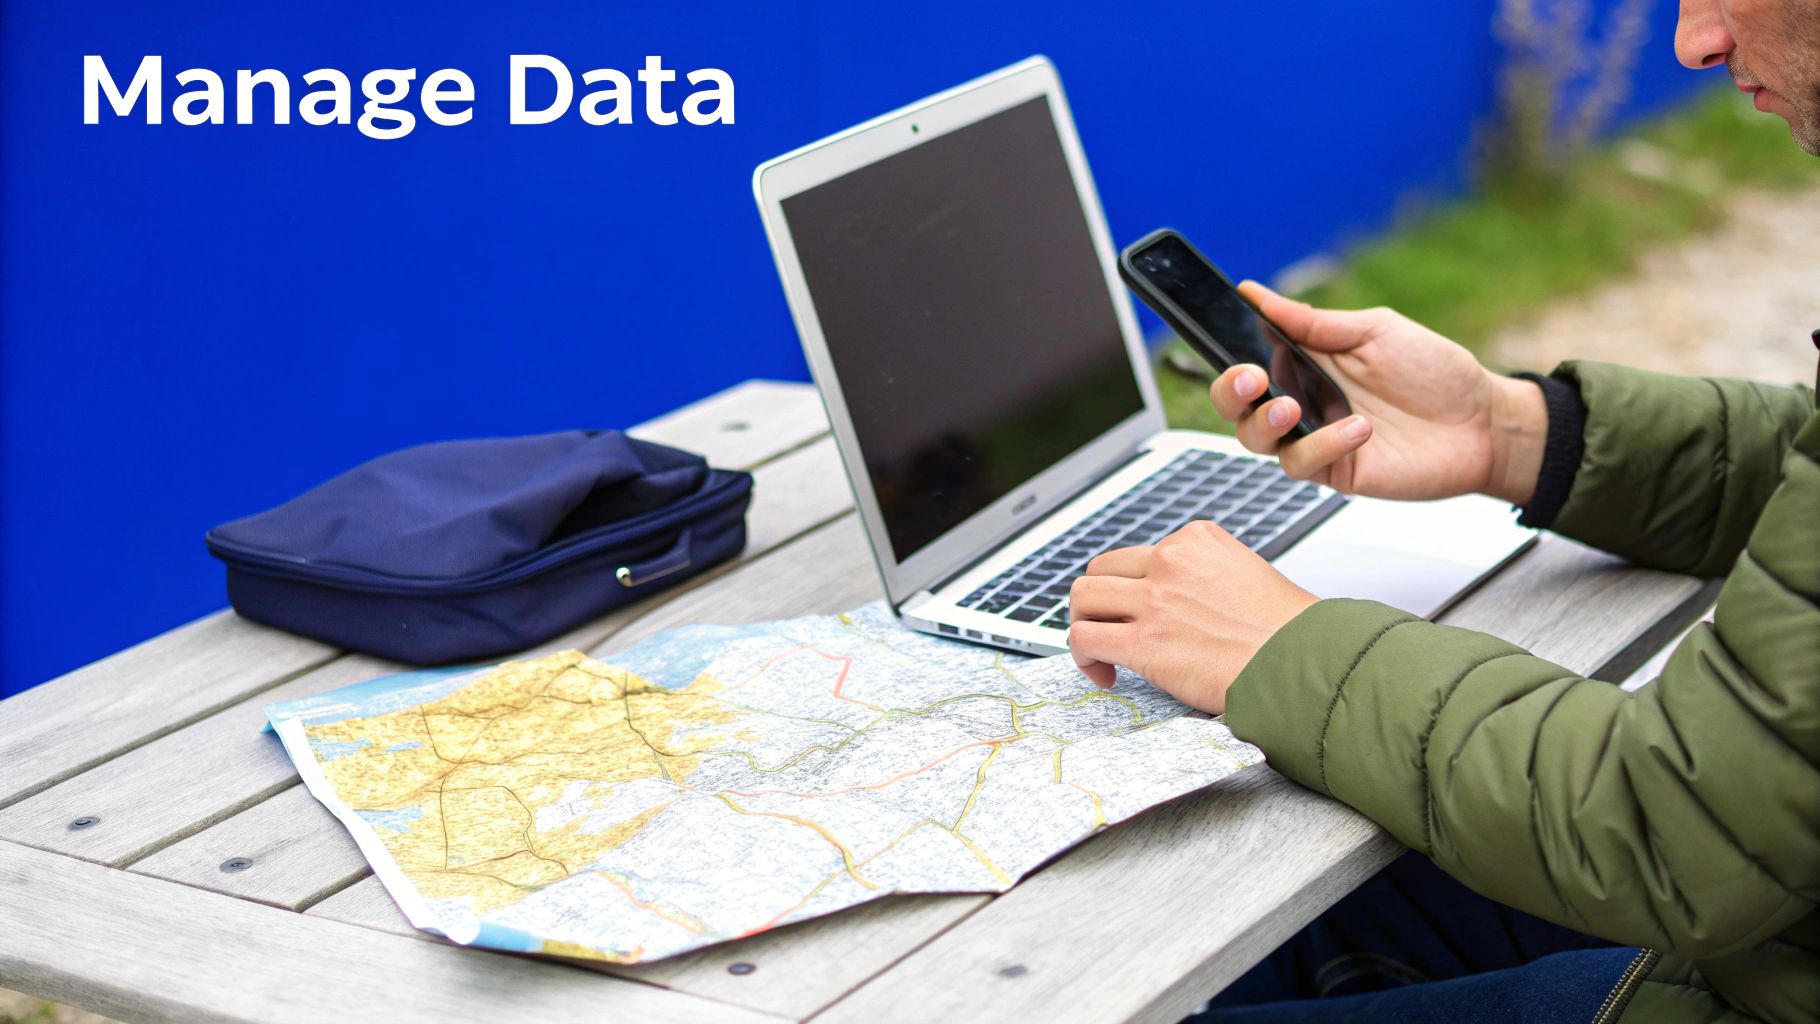
Monitoring Your Data Usage
Keeping tabs on your data consumption is surprisingly simple. Your smartphone already has built-in tools that break down exactly how much data you’ve used on your eSIM line.
You’ll typically find this in your phone’s settings under “Mobile Data” or “Cellular.” It shows a running total, which you can reset right at the beginning of your trip for a clean slate. This quick check can help you adjust your usage on the fly and avoid running out of data when you least expect it.
By checking your data usage every couple of days, you can make smarter decisions—like downloading maps over your hotel’s Wi-Fi instead of streaming them live. This small habit ensures your mobile data is there when you truly need it, like when you’re navigating a busy market or booking a last-minute train ticket.
This level of control is a huge advantage for any traveler. It puts you in charge of your connectivity, taking the guesswork out of the equation.
Using Your eSIM as a Mobile Hotspot
One of the most practical perks of a travel eSIM is turning your phone into a mobile hotspot. This lets you share your internet connection with other devices, like a laptop or a friend’s phone. For digital nomads or anyone needing to get some work done, this feature is a game-changer.
Setting up a personal hotspot couldn’t be easier:
Head into your phone’s settings menu.
Look for “Personal Hotspot” or “Tethering.”
Switch it on and create a secure password.
Connect your other devices to the new Wi-Fi network you just created.
It’s incredibly handy for firing off emails from a café or helping a travel companion get online. Just remember that tethering can drain your data allowance more quickly. The good news is that most TapSim plans for India fully support hotspot sharing, giving you the freedom to work and connect on your terms.
The shift towards this kind of flexible connectivity is happening fast. In fact, India is projected to have around 316 million eSIM smartphone connections by 2025. While physical SIMs are still around, this rapid adoption by major networks shows just how quickly travelers and locals are embracing the convenience of digital SIMs.
Managing your data smartly means you can confidently use essential apps without worry. For instance, understanding how much data Google Maps uses helps you navigate without constantly checking your remaining allowance. It’s all about using your data intelligently, so you stay connected everywhere from the bustling streets of Mumbai to the serene backwaters of Kerala.
Your India eSIM Questions Answered
Heading off to India and have a few lingering questions about getting connected? You’re not alone. Let’s walk through the most common queries travelers have about eSIMs, so you can feel completely confident before you go.
Can I Use an eSIM in India as a Tourist?
Yes, absolutely. For tourists, a global travel eSIM is the simplest way to get mobile data in India. It lets you sidestep the local SIM registration process, which can be a real headache involving passport copies, visa details, and sometimes proof of a local address.
With a travel eSIM, you buy and set everything up online before you even leave home. That means the moment you land, you have an internet connection ready and waiting.
Will My Phone Work with an eSIM for India?
Good question. The vast majority of modern smartphones from the big names—Apple, Samsung, Google—are eSIM-ready. That said, it’s always smart to double-check that your specific model is compatible before you purchase a plan.
The easiest way to check is in your phone’s settings, usually under ‘Mobile Data’ or ‘Cellular’. If you see an option to “Add eSIM” or “Add Data Plan,” you’re good to go. A quick search online for your phone model will also give you a definitive answer.
A simple compatibility check is a crucial step before you buy. It takes less than a minute and confirms your device is ready for a digital SIM, setting you up for a smooth arrival.
This quick verification means you can buy your eSIM for India knowing it’ll work perfectly with your phone.
Can I Keep My Home Phone Number Active?
You certainly can, and this is one of the biggest perks of using a travel eSIM just for data. Your main physical SIM card stays right where it is in your phone. This allows you to still receive important calls and texts on your regular number.
You just tell your phone to use the travel eSIM for all its mobile data needs, which is a simple toggle in your settings. This dual-SIM setup gives you the best of both worlds: affordable local data from the eSIM and the ability to stay reachable on your original number for essential communication.
What Should I Do if I Run Out of Data?
Running low on data is no big deal. Most travel eSIM providers, TapSim included, make managing your plan incredibly straightforward.
If you see your data allowance getting low, you can usually top up your plan right from the provider’s website or app. It only takes a few taps, the process is instant, and you can add more data whenever you need it without any service interruption. This flexibility means you can stay connected for your entire trip.
Ready to sort out your data for India? With TapSim, you can pick a plan, install it in minutes, and land with an instant connection. Skip the local SIM queues and avoid shocking roaming bills. Check available eSIMs on TapSim.net
You’ve just landed in a new country, phone in hand, but the internet isn’t working. It’s a modern traveler’s nightmare, but don’t worry—the fix is usually surprisingly simple. Before you…
Dual SIM technology is a bit like having a hybrid car. It intelligently switches between two power sources to give you the best performance and efficiency. For your phone, this…
Figuring out how much data you’ll need for a trip can feel like a shot in the dark, but it really doesn’t have to be. For a standard week-long holiday,…
For any traveler, the best pay-as-you-go (PAYG) option is almost always a modern eSIM. Think about it from a practical standpoint: you get instant activation right from your phone, transparent…
Getting a new iPhone is always exciting, but for a traveler, ensuring your eSIM transfers smoothly is crucial. Whether it’s your primary number or a travel data plan for an…
Activating a travel eSIM is one of the smartest pre-trip tasks you can do, and it’s much simpler than it sounds. Think of it as a digital SIM card that…
Not long ago, staying connected abroad meant navigating a minefield of eye-watering roaming charges or scrambling to find a local SIM card the moment you landed. Thankfully, things have moved…