Getting an eSIM working on your iPhone is a breeze—most of the time, you can get it done in just a few minutes. All it really takes is a quick trip into your settings to scan a QR code from your provider. It’s a completely digital way to add a new mobile plan, no fiddly plastic SIM cards required.
Your Quick Start to iPhone eSIM Activation
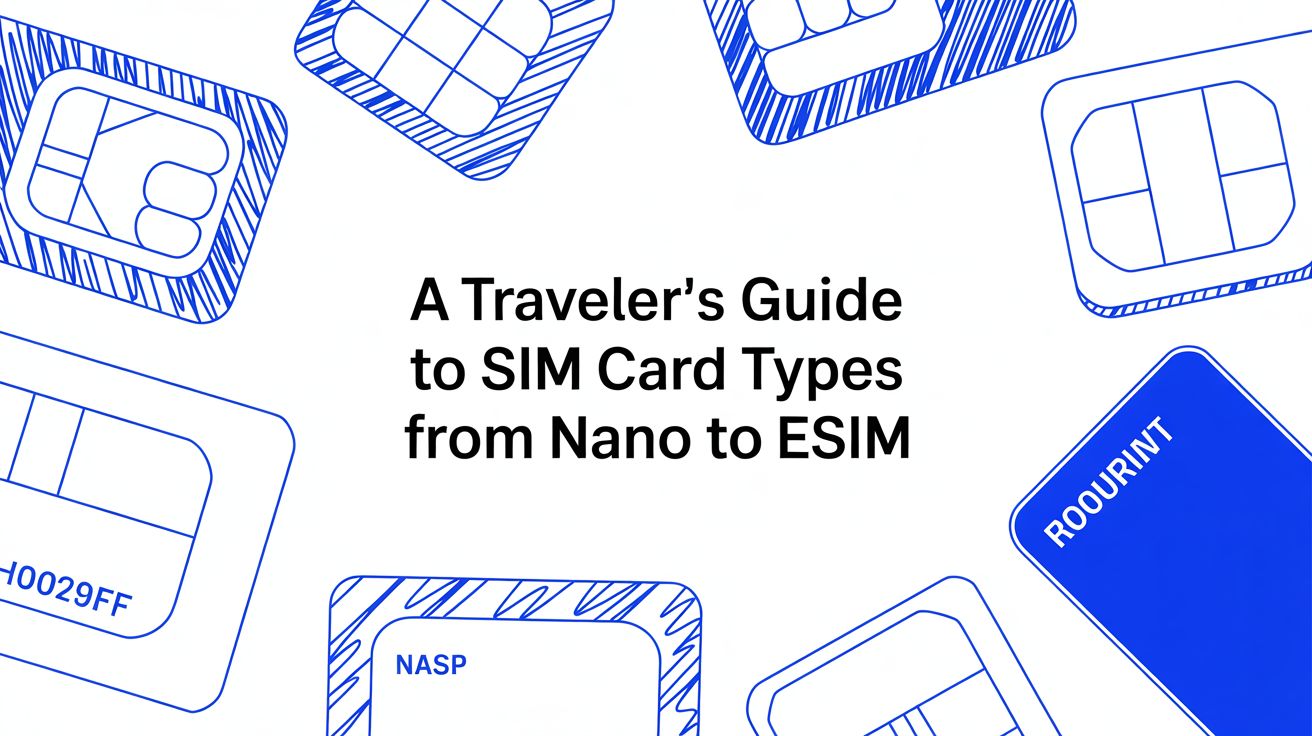
If you’ve ever found yourself hunting for that tiny SIM ejector tool, you’ll immediately see the appeal of an eSIM. Think of it as a digital SIM card that’s already built into your iPhone’s circuitry, letting you activate a new mobile plan with just a few taps. It’s a serious upgrade from the old way of doing things, offering a level of flexibility that physical SIMs just can’t compete with.
This modern approach is incredibly practical. Maybe you’re a frequent traveller who’s tired of paying sky-high roaming fees, or a professional who needs a separate line for business calls. An eSIM makes it happen, all on one phone. If you want to dive deeper into the nuts and bolts, we’ve got a full breakdown explaining what an eSIM is.
Why an eSIM is a Game-Changer
Switching to a digital SIM is more than just a minor convenience; it’s a fundamental shift in how we handle our mobile connections. It offers some real-world advantages that are quickly making traditional SIM cards feel like a thing of the past.
Instant Delivery: Forget waiting for a SIM card to arrive in the post. Your new plan lands in your email or app almost instantly.
Better Security: Since an eSIM can’t be physically removed, it’s much harder for someone to hijack your number if your phone is lost or stolen.
Flexibility on the Fly: Switching between different plans is as simple as going into your iPhone’s settings. This is an absolute lifesaver when you’re travelling.
The Rise in eSIM Awareness
This isn’t just a niche tech trend anymore. In the UK, more and more people are catching on to eSIMs. Back in 2023, GSMA Intelligence found that awareness among UK consumers had climbed to around 26%. That growth is no surprise, especially with Apple including eSIM support in every iPhone since the XS model back in 2018.
Knowing how to activate an eSIM on your iPhone is fast becoming a must-have skill, putting you in complete control of your mobile connectivity.
Pre-Flight Checks for a Smooth eSIM Setup
Before diving into the setup, a few quick checks can save you a world of hassle later. Think of this as your pre-flight checklist. Taking a moment now ensures you’ll be online the second you need to be, without any frustrating delays.
The absolute first thing you need to sort out is whether your iPhone is unlocked. If your phone is locked to a specific carrier, it simply won’t accept an eSIM from anyone else. It’s a deal-breaker.
Is Your iPhone Unlocked? Here’s How to Tell
Luckily, you can check this yourself in about 15 seconds.
Go to Settings > General > About.
Scroll down to the bit that says Carrier Lock (it might also be called Network Provider Lock).
If you see “No SIM restrictions”, congratulations! You’re good to go. If it names a specific carrier, your phone is locked. You’ll need to contact them directly to request an unlock before you can use any other eSIM or SIM card.
Next up is compatibility. While most recent iPhones have eSIM capability, it’s not a given on older models. Generally, you’re safe if you have an iPhone XS, iPhone XR, or any newer model.
If you’re even slightly unsure, it’s always best to double-check. We’ve got a full breakdown you can look at right here: eSIM compatible devices.
My Top Tip for Travellers: Always install your eSIM profile before you leave home. You need a solid internet connection to download it, which is much easier to find in your living room than in a chaotic airport terminal. Do this one simple thing, and your data will be ready to activate the moment your plane lands.
Finally, make sure you have a stable Wi-Fi connection handy for the installation. Trying to download your eSIM profile on dodgy public Wi-Fi is a recipe for disaster. It can lead to failed downloads and activation errors, so a reliable home or office network is your best friend here.
By ticking off these three boxes—an unlocked and compatible iPhone, plus a good internet connection—you’re sidestepping the most common roadblocks. It turns what could be a headache into a simple two-minute task.
Getting Your eSIM Working with a QR Code
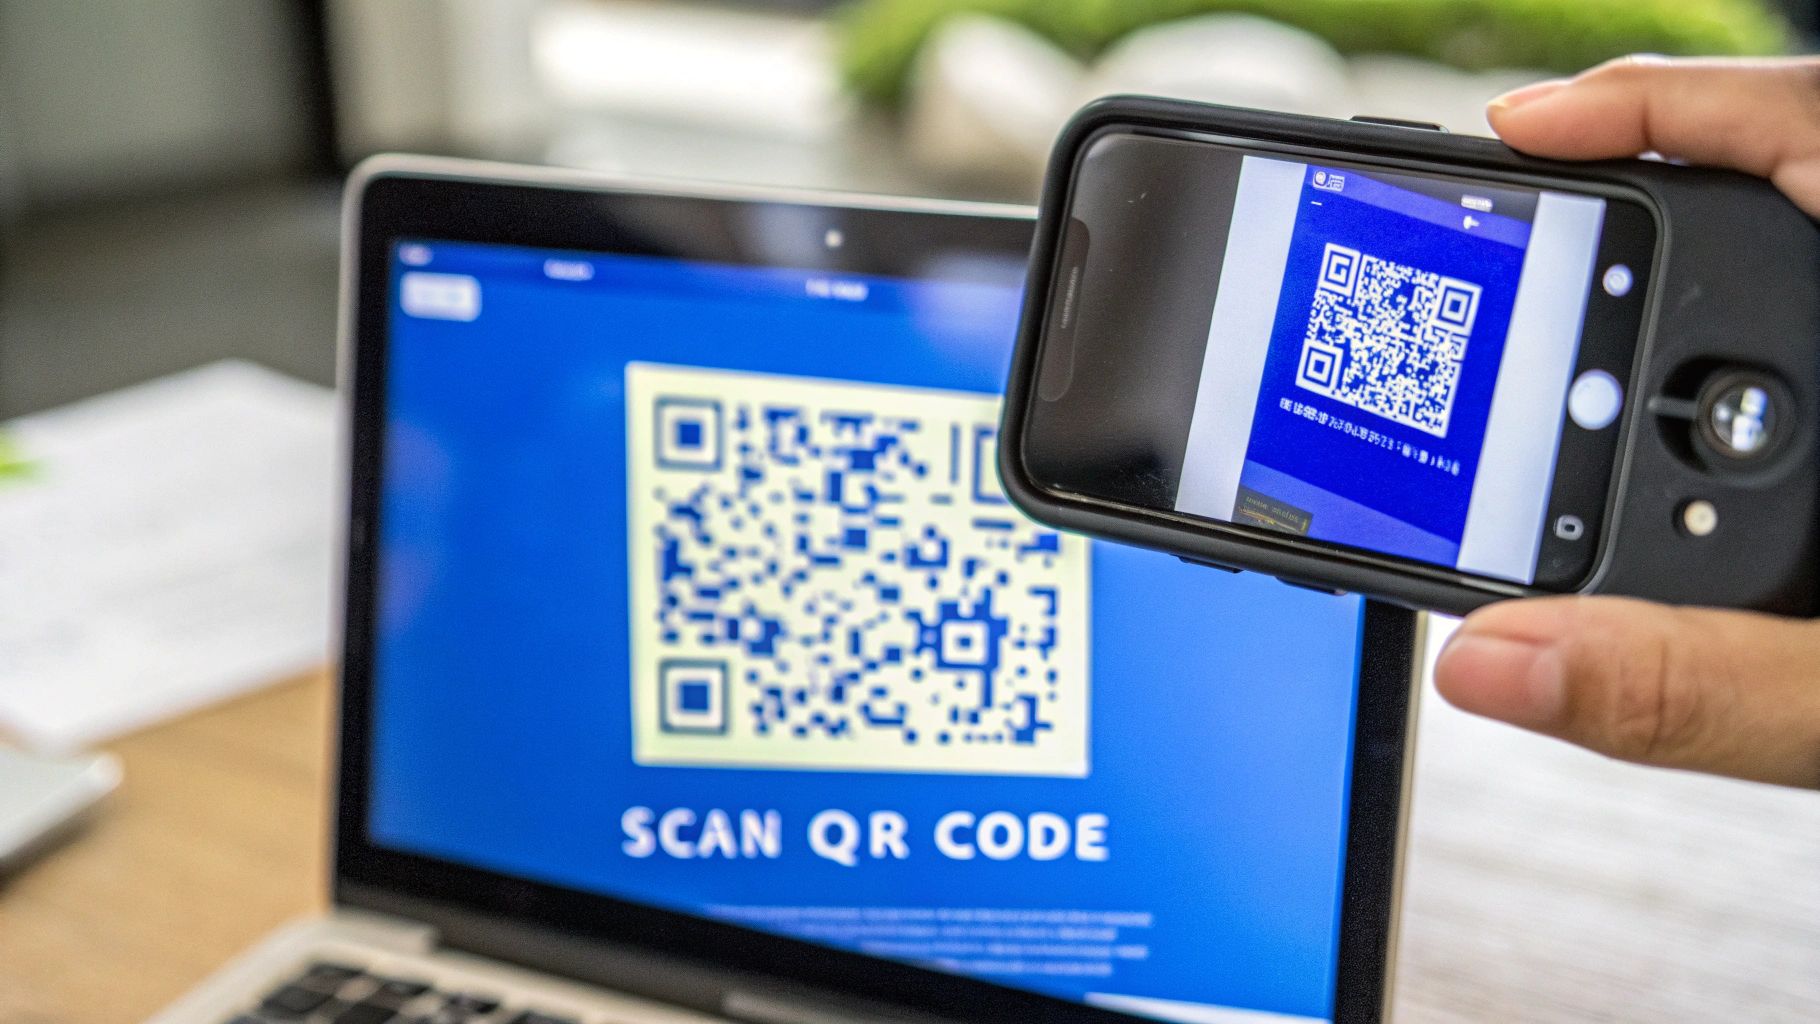
The QR code method is easily the most common way to get an eSIM up and running. It’s popular for a simple reason: it’s fast, visual, and you don’t have to fiddle with manual settings. You’ll typically get your QR code in a confirmation email, and from there, you’re just a few taps away from being connected.
Think of the QR code as a digital key. Your iPhone’s camera reads the information locked inside it and automatically sets up the new mobile plan on your device. This is a huge improvement over the old days of manually typing long, complicated activation codes, which always felt like one typo away from disaster.
Your Step-by-Step Guide on the Screen
Alright, ready to dive in? This whole process takes place right inside your iPhone’s settings—no extra apps needed. Just have your QR code handy (either on another screen or printed out) and your iPhone.
Here’s exactly what you need to do:
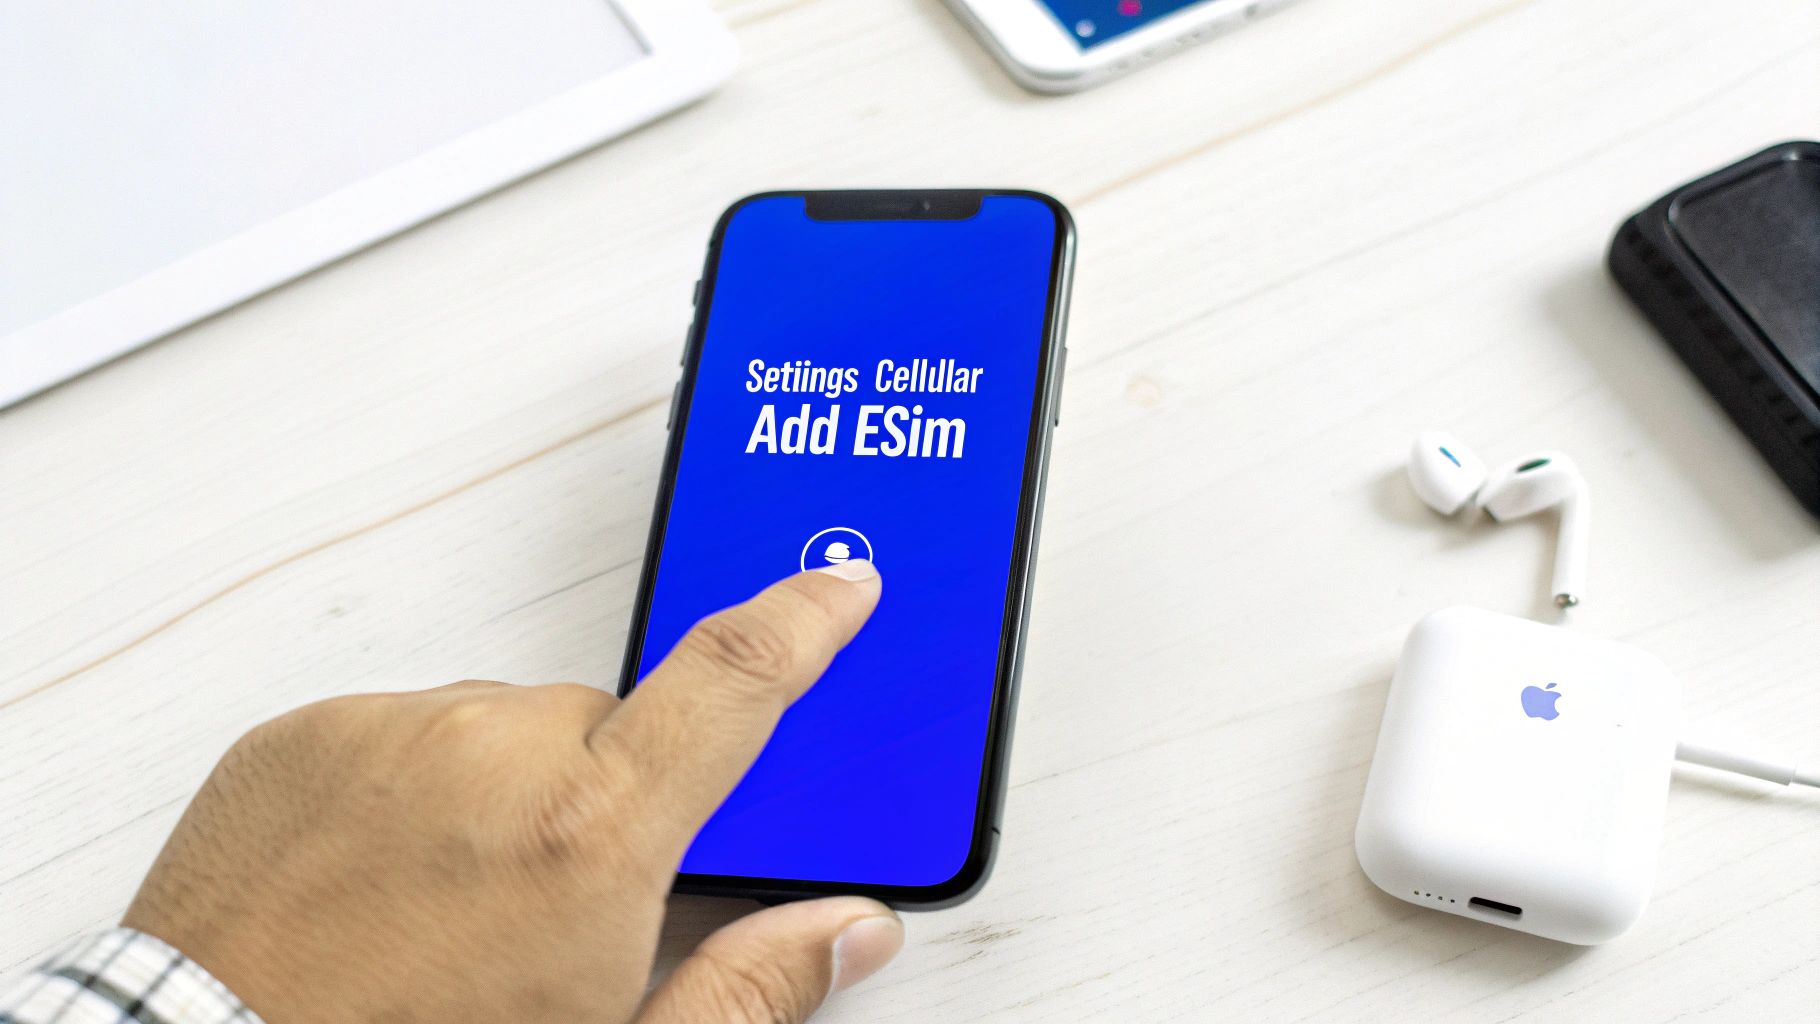
First, head to Settings on your iPhone.
Next, tap on Cellular (or Mobile Data in some regions).
From there, select Add eSIM.
At this point, your iPhone’s camera will fire up, ready to scan. Just point it at the QR code from your provider. It should recognise it almost instantly and pop up a confirmation message.
A Quick Tip from Experience: What if the camera won’t read the code? Don’t worry, it happens. First, check that the room is well-lit and that the code isn’t blurry. Give your iPhone’s camera lens a quick wipe, too—you’d be amazed how often that works. If you’re scanning from a screen, try turning up the brightness.
Don’t Skip Labelling Your New Plan
Once the scan is successful, your iPhone will prompt you to add the mobile plan. After you confirm, you’ll be asked to give your new eSIM a label. This might seem like a trivial step, but trust me, it’s a lifesaver for staying organised.
Your phone will offer default labels like ‘Business’ or ‘Travel’, but you can—and should—create a custom one. If you’re off to Italy for two weeks, labelling the plan ‘Italy Holiday’ or ‘TapSIM Italy’ makes it crystal clear what it’s for. This little bit of organisation is a massive help when you need to switch between your home SIM and your travel eSIM later.
Finalising the Setup
With your plan neatly labelled, the last thing to do is tell your iPhone how to use it. You’ll get a few simple questions about which line to use for what. For most travellers, the ideal setup looks like this:
Default Voice Line: Keep this set to your primary number so you don’t miss calls.
Mobile Data: Switch this over to your new eSIM.
And that’s it! You’ve just used the QR code to install your new line. The entire process, from opening your camera to hitting ‘Done’, is designed to be incredibly smooth—what used to be a technical chore is now a simple, five-minute task. Your new plan is now on your phone, ready to go.
Manual Activation When a QR Code Isn’t an Option
Scanning a QR code is definitely the go-to method for most people, but it’s not the only way to get your eSIM up and running. What if the QR code won’t scan, or you bought the eSIM on the very iPhone you need to activate it on? For situations like these, manual activation is your trusty backup plan.
This approach puts you in the driver’s seat, letting you enter the activation details yourself. It sounds a bit technical, I know, but it’s really just a simple copy-and-paste job from your confirmation email into your iPhone’s settings.
Finding Your Manual Activation Details
After you purchase your eSIM, you’ll get a confirmation email with everything you need. You’re looking for two key pieces of information to make this work.
SM-DP+ Address: This is a long string of text that basically acts as a server address. It points your iPhone to the right place to download your new eSIM profile.
Activation Code: Think of this as the unique password that authorises the download and ties the eSIM profile to the plan you just bought.
It’s a good idea to have these details ready before you dive in. I usually keep the email open on my laptop or just jot them down, because a single typo can stop the whole process in its tracks.
Once you have your details, head into Settings > Cellular > Add eSIM. Instead of using the camera, look for the option at the bottom of the screen that says ‘Enter Details Manually’ and give it a tap.
Your iPhone will then show you two fields: one for the SM-DP+ Address and another for the Activation Code. This is where you’ll carefully enter the information from your email. Honestly, I always recommend using copy and paste if you can—it completely eliminates the risk of a typo.
Why Manual Input Is a Great Fallback
Having this manual option means you can always get connected, no matter what. You’re not relying on your camera working or having a second screen handy. I find it’s also a method that tech-savvy users often prefer because it feels more direct.
This level of control is a perfect match for what modern iPhones can do. The combination of Apple’s slick eSIM technology and the UK’s solid 5G network makes digital-only connections a breeze. It’s no surprise that data from the GSMA shows eSIM adoption is higher among 5G users (29%) than 4G users (21%). It seems that better networks are really encouraging people to ditch physical SIMs.
After you’ve entered the details and tapped ‘Next’, your iPhone will reach out to the server and install your eSIM profile, exactly as it would with a QR code. It’s just a slightly different path to the same destination: fast, reliable mobile data wherever you are.
Fine-Tuning Your Dual SIM and Post-Activation Settings
Getting your new eSIM profile installed is a great start, but the real trick is telling your iPhone exactly how you want to use it. This is where you take charge of your dual SIM setup, making sure you use the right line for the right job and completely avoid any nasty surprise roaming charges from your home network.
Think of it like this: your iPhone now has two distinct phone lines. You get to decide which one handles your calls, which one gets your iMessages and texts, and—most importantly—which one connects to the internet. Nailing these settings is the secret to a hassle-free trip.
Setting Your eSIM for Mobile Data
For almost every traveller, the main reason for getting an eSIM is to use it for mobile data. This lets you browse maps, upload photos, and use your apps without ever touching your home plan’s eye-wateringly expensive roaming allowance.
Here’s how to make your new travel eSIM the go-to for all things data:
Head into Settings and tap on Cellular (or Mobile Data).
Select Mobile Data from the options.
Choose your newly installed eSIM. It’ll be whatever you labelled it during setup, something like ‘TapSIM Spain’.
Once that’s done, your iPhone will only use the eSIM for internet access. Your primary SIM won’t even try to connect to data networks abroad, saving you from those dreaded bill-shock moments.
Picture this: You’ve just landed in Tokyo. By setting your travel eSIM as the data default, you can instantly book a ride-share or look up train times. Meanwhile, your UK number is still active for receiving important texts like bank verification codes, but it won’t be racking up any data fees in the background.
Handling Your Calls and Messages
You also get to pick a default line for voice calls. Back in your Cellular settings, you’ll see an option for Default Voice Line. Most travellers I know, myself included, prefer to keep this set to their Primary line.
This means if you dial a new number, it’ll automatically use your home SIM. Your iPhone is smart, though. If you call back someone who contacted you on your eSIM’s number (if it has one), it’ll use that eSIM line instead. It’s a really slick way to manage your communications without having to think about it.
The All-Important Data Roaming Switch
Okay, this is the one setting that trips a lot of people up: Data Roaming. Your gut instinct might be to turn this off, but when you’re using a travel eSIM, you need to do the opposite. For your travel eSIM to connect to local networks at your destination, you must have Data Roaming turned onfor that specific eSIM line.
Don’t panic—this won’t trigger charges from your home provider. You’re just giving your travel eSIM permission to “roam” onto the local partner networks it was designed for. The key is to double-check that Data Roaming is definitely switched off for your primary, home-based line.
This is a game-changer, especially for UK travellers. Using an eSIM is now the go-to method for dodging high roaming fees, particularly since many UK carriers brought them back post-Brexit. By getting your settings right, you’re plugging into a much smarter and cheaper way to stay connected.
Troubleshooting Common iPhone eSIM Issues
Even the slickest tech can have its off days. If you hit a snag activating your eSIM, don’t panic. Most of the time, the fix is surprisingly simple and something you can sort out in a couple of minutes without needing to call for backup.
Let’s walk through the most common hiccups people run into, from confusing error messages to a complete lack of signal bars, and get you connected.
The ‘Unable to Complete Cellular Plan Change’ Error
This is probably the number one error message people see. It basically means your iPhone stumbled while trying to download and verify your new eSIM profile from the network. Before you dive into complex fixes, try these tried-and-tested steps first, in this order.
Flick on Aeroplane Mode: Pop open your Control Centre, tap the aeroplane icon to turn it on, wait about 30 seconds, and then tap it again to turn it off. This little trick forces your iPhone’s network connections to reset.
Give it a Restart: It’s the oldest trick in the book for a reason. A quick restart can often clear out temporary software gremlins that are getting in the way.
Check for an iOS Update: Apple is always pushing out small updates that improve how your phone talks to mobile networks. It’s worth checking you’re on the latest version by going to Settings > General > Software Update.
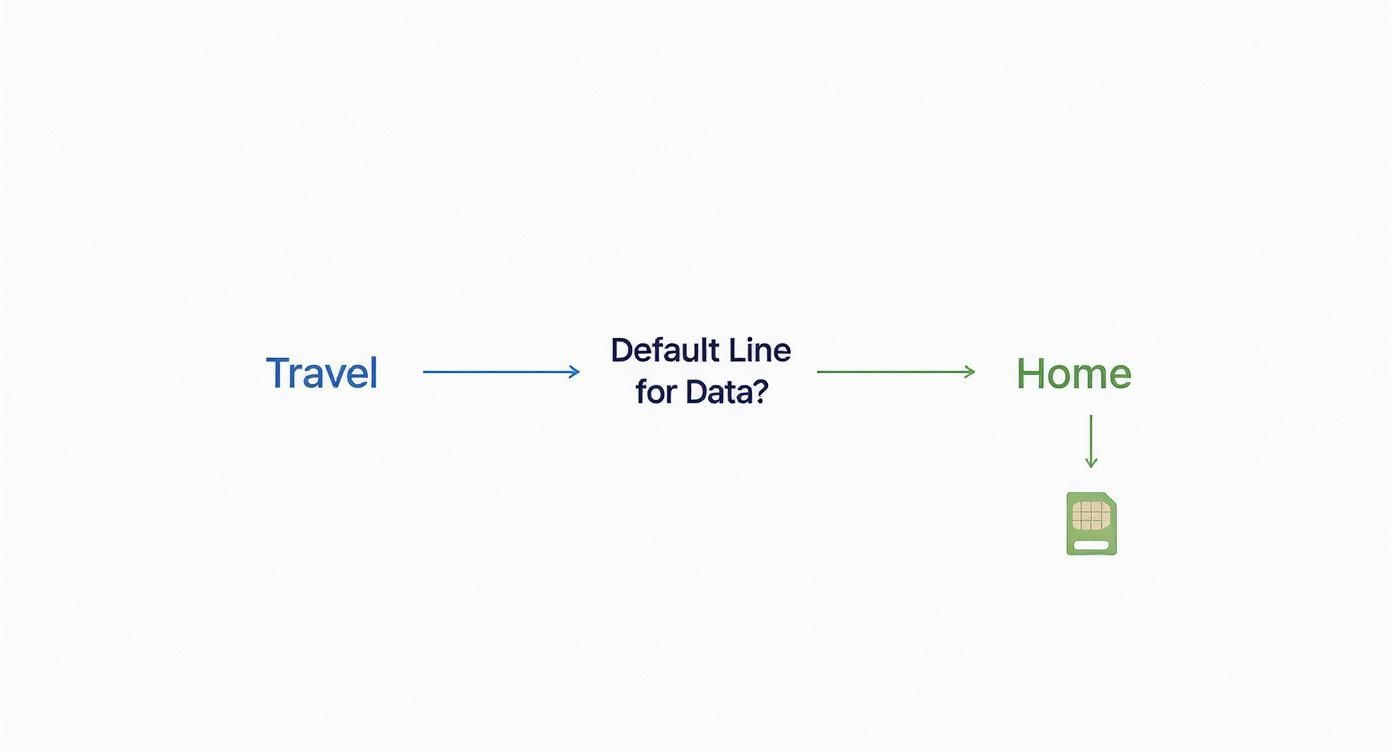
This decision tree gives you a clear picture of that first choice you need to make right after setting up your eSIM for a trip.
This visual is a great shortcut for understanding how to assign your new travel eSIM for data, which is absolutely key to making sure you don’t get hit with unexpected roaming charges.
No Service After a Successful Installation
So, you got the ‘installation complete’ message, but your phone is stubbornly showing ‘No Service’. This almost always points to a simple settings mix-up, not a faulty eSIM.
The first place to check is your Cellular settings. You need to make sure the line for your new eSIM is actually switched on. It sounds obvious, but it’s a tiny detail that’s incredibly easy to overlook in the excitement of setting things up.
If you’ve confirmed the line is on and there’s still no signal, the next culprit is usually Data Roaming. Make sure it’s enabled for your travel eSIM. Unlike your plan back home, a travel eSIM requires roaming to be on to connect to local networks at your destination.
Still stuck? If you’ve tried these steps and can’t get a connection, our more detailed mobile data troubleshooting guide covers some of the less common issues you might run into.
Got Questions About Your iPhone’s eSIM? We’ve Got Answers
To wrap things up, let’s tackle some of the most common questions we hear from people using an eSIM on their iPhone. This should help clear up any last-minute uncertainties you might have.
Can I Use My Physical SIM and an eSIM at the Same Time?
Yes, absolutely. iPhones that support eSIMs are built for Dual SIM use, which is a real game-changer. This feature lets you keep your regular physical SIM for your main number while using an eSIM for something else, like a travel data plan from TapSim or a separate business line.
You’ll be able to get calls and texts on both lines. Better yet, you can easily tell your iPhone which line to use for mobile data right from your Cellular settings.
What Happens to My eSIM if I Reset My iPhone?
This is a great question and something you need to be careful with. When you factory reset your iPhone, you’ll see a prompt asking if you want to keep or remove your cellular plans. If you choose to keep them, your eSIM profiles will still be there after the reset is complete.
But if you choose the option to wipe everything, your eSIMs will be gone for good. A deleted eSIM can’t just be reinstalled with the same QR code; you’d have to get a completely new one from your provider.
Key Takeaway: Be mindful during a factory reset, as it can permanently delete your eSIM. Always double-check the prompts if you want to keep your mobile plan. It’s a small detail that can save you a massive headache later on.
How Many eSIMs Can My iPhone Hold?
While your iPhone can only have one or two eSIMs active at once (depending on the model), you can actually store quite a few on the device itself. Most modern iPhones let you store eight or more eSIMs.
This is incredibly handy for frequent travellers. You can have eSIMs for different countries all loaded up and ready to go, and then just switch them on or off as you need them directly from your Cellular settings.
Ready to make your next trip easier? With TapSim, you can get connected in over 150 destinations in just minutes. Get your travel eSIM now and say goodbye to roaming fees for good.
You’ve just landed in a new country, phone in hand, but the internet isn’t working. It’s a modern traveler’s nightmare, but don’t worry—the fix is usually surprisingly simple. Before you…
Dual SIM technology is a bit like having a hybrid car. It intelligently switches between two power sources to give you the best performance and efficiency. For your phone, this…
Figuring out how much data you’ll need for a trip can feel like a shot in the dark, but it really doesn’t have to be. For a standard week-long holiday,…
For any traveler, the best pay-as-you-go (PAYG) option is almost always a modern eSIM. Think about it from a practical standpoint: you get instant activation right from your phone, transparent…
Getting a new iPhone is always exciting, but for a traveler, ensuring your eSIM transfers smoothly is crucial. Whether it’s your primary number or a travel data plan for an…
Activating a travel eSIM is one of the smartest pre-trip tasks you can do, and it’s much simpler than it sounds. Think of it as a digital SIM card that…
Not long ago, staying connected abroad meant navigating a minefield of eye-watering roaming charges or scrambling to find a local SIM card the moment you landed. Thankfully, things have moved…