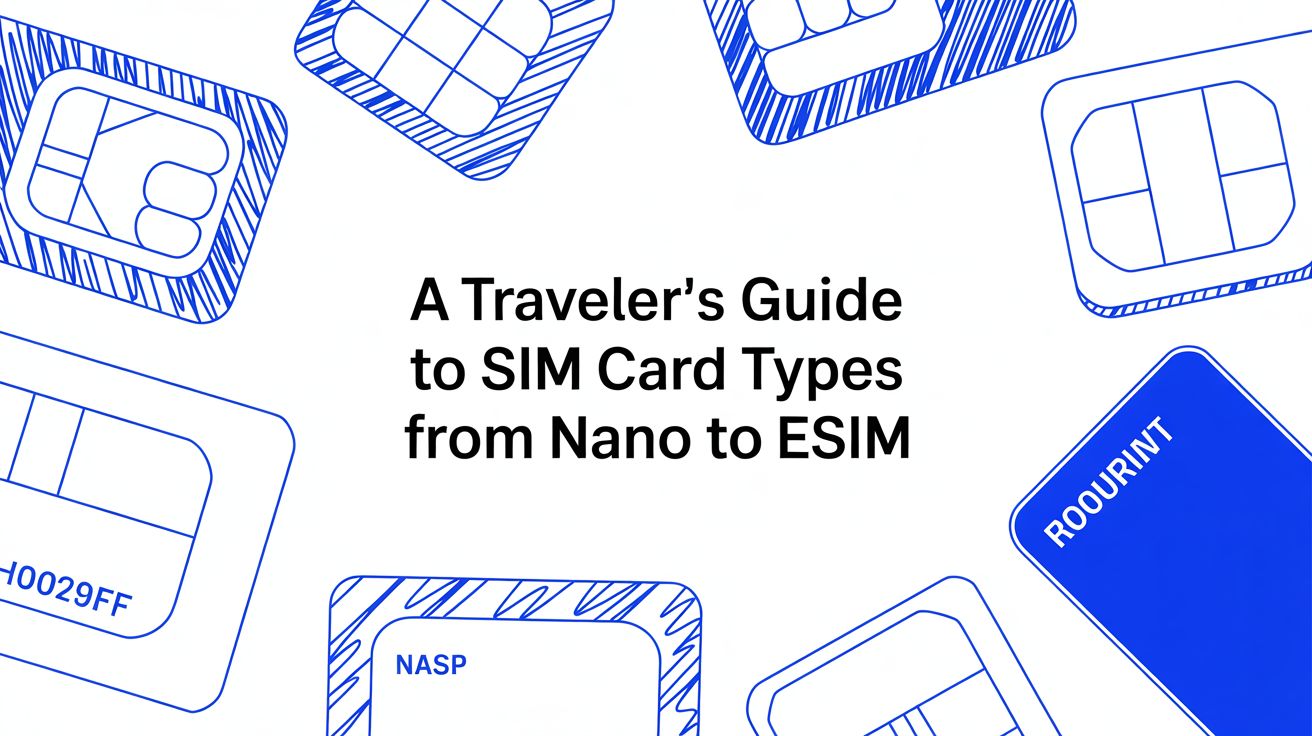
How to Use Your Phone Abroad Without Shocking Roaming Fees
Share:
Using your phone abroad without racking up a huge bill is easier than you might think. The key is to sort out an affordable data option before you go, like a travel eSIM. Install it at home, and the second you land, just make sure data roaming is switched off on your primary SIM. This simple habit keeps you connected instantly and completely sidesteps those nasty surprise charges from your network provider.
Your Guide to Staying Connected Internationally
Let’s be honest, figuring out how to use your phone in another country used to be a real headache. It often involved a frantic search for a local SIM card shop or, worse, coming home to a bill that could ruin your post-holiday glow. These days, though, being connected is essential. It’s how we find our way with maps, book a ride, or just share a photo of that amazing pasta with family back home.
This guide is built from countless trips and a few hard-learned lessons. My goal is to help you confidently pick the right way to stay online, so you can focus on the trip itself. Forget hunting for spotty café Wi-Fi—a little bit of prep makes all the difference.
The New Rules of Travel Connectivity
The world of travel has changed, and so has how we connect. More people are travelling than ever before. In the UK alone, the number of international visitors jumped from 31.2 million to 38 million in a single year. This boom has fuelled demand for better, more affordable mobile data on the move. You can read more about the rise in roaming demand on yourcommsgroup.com.
Thankfully, this has pushed providers to come up with smarter solutions for travelers. It all comes down to understanding your options and choosing what fits your itinerary and budget. Generally, you’re looking at three main paths:
International Roaming: Simply using your home mobile plan abroad, which usually comes with a daily fee.
Local SIM Cards: The classic approach of buying a physical SIM card from a local shop once you arrive.
Travel eSIMs: A modern, digital version of a SIM card that you can install on your phone before you even leave home.
A travel eSIM is a game-changer. Imagine getting online the moment the plane’s wheels touch the tarmac. With TapSim, travelers can activate an affordable data plan instantly, skipping the airport queues for a local SIM entirely.
A Quick Look at Your International Connectivity Options
To make sense of it all, here’s a straightforward comparison of the main ways to get mobile data abroad. Have a think about what’s most important for your trip—is it pure convenience, the lowest possible cost, or a balance of the two?
Connectivity Method
Best For
Typical Cost
Convenience Level
Travel eSIM
Short trips, multi-country tours, and instant connectivity upon arrival.
Low to Moderate
Very High
Local Physical SIM
Longer stays in a single country and budget-conscious travellers.
Low
Moderate
Home Provider Roaming
Very short trips (1-2 days) or when cost is not a primary concern.
High
High
Each one has its place. For a quick weekend away where you just need things to work, your home provider’s roaming might be fine. But for a two-week tour of Europe or a month-long backpacking adventure, an eSIM or local SIM will almost always be the smarter, more cost-effective choice.
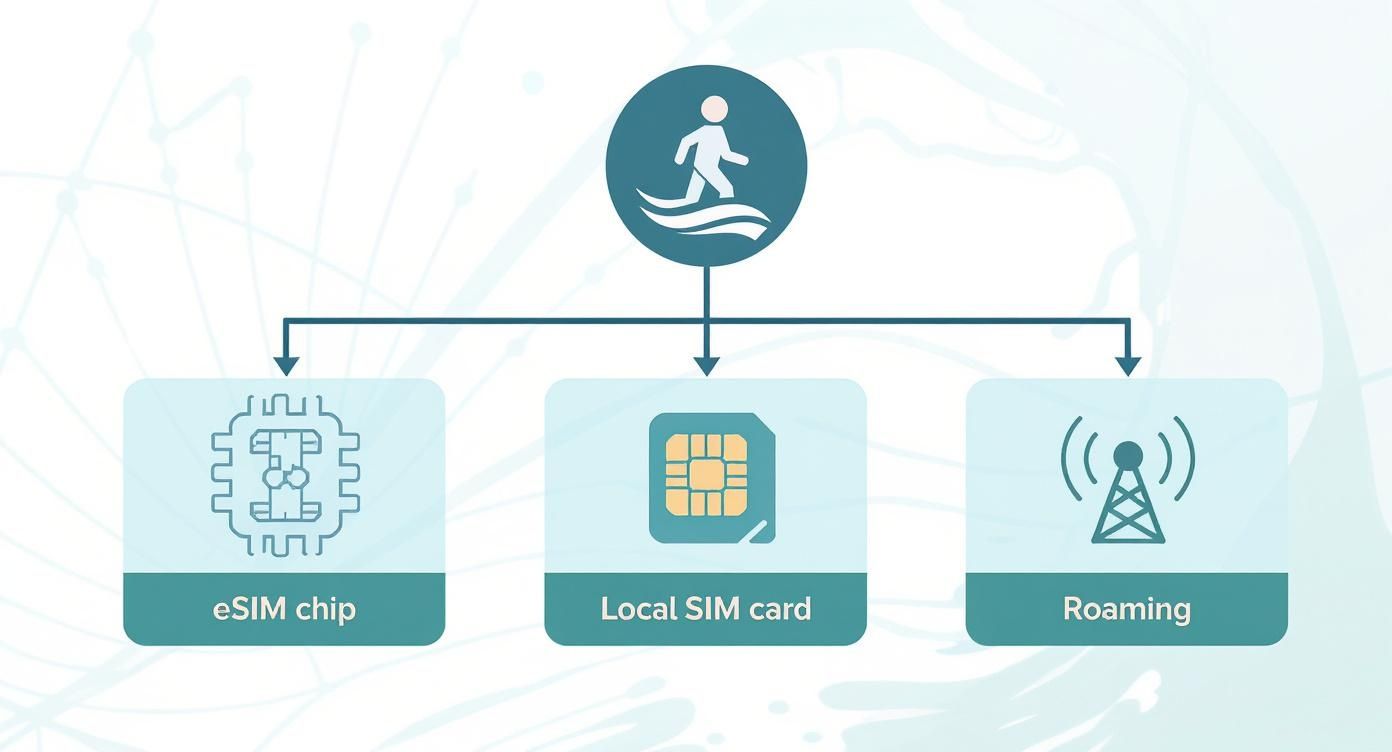
Comparing Your Options: eSIM vs. Local SIM vs. Roaming
Figuring out the best way to keep your phone connected abroad used to be a real headache. These days, you’ve got three solid options, each with its own pros and cons. Let’s walk through them with some real-world scenarios to help you see which one fits your travel style.
This little decision tree gives you a quick visual rundown for your trip.
As you can see, it often boils down to a trade-off between convenience and the time you’re willing to spend getting set up.
The Modern Solution: Travel eSIMs
An eSIM, or embedded SIM, is essentially a digital version of the plastic SIM card you’re used to. You simply download and install it on your phone. It’s a game-changer for travellers.
The biggest win here is that you can get everything sorted before you even leave home. This means the second you touch down in Rome or Bangkok, you can flick a switch in your settings and instantly be online. No more hunting for dodgy airport Wi-Fi to book a taxi or message family that you’ve landed safely.
With a travel eSIM from TapSim, what you see is what you get. You buy a set amount of data for a specific period, and that’s it. No surprise roaming fees, no hidden costs.
The real beauty of an eSIM is how it works alongside your primary SIM. You can use the travel eSIM for cheap data while keeping your home number active for important calls or texts, like two-factor authentication codes from your bank.
The Traditional Route: Local Physical SIM Cards
For years, the go-to advice for any savvy traveller was to grab a local SIM card from a kiosk at the airport or a nearby corner shop. This is still a brilliant option, especially if you’re planning a longer stay in one country.
Local SIMs often deliver incredible value. You can get a massive data allowance and sometimes a local phone number for a very low price. If you’re backpacking through Vietnam for a month, for instance, a Viettel or Mobifone SIM will be far more cost-effective than any other choice.
The downside? It’s a bit of a hassle. After a long flight, the last thing you want is to queue up at a mobile shop. You might also have to deal with language barriers and show your passport for registration, depending on local laws. And don’t forget, you have to physically take your main SIM out, meaning you won’t get calls or texts on your regular number unless you’re constantly swapping cards.
The Convenient (but Costly) Choice: Home Provider Roaming
Let’s be honest, nothing beats the sheer ease of international roaming. You step off the plane, and your phone just works. It’s completely seamless.
This convenience, however, comes with a hefty price tag. Many network providers charge a daily fee—often between £2 and £6 per day—just to use your plan abroad. Worse, these plans often have tight data caps or throttle your speeds, so you can easily burn through your allowance without realising.
This option really only makes sense for a quick one or two-day business trip where cost is less of a concern than simplicity. For a week-long holiday, those daily charges stack up fast, leading to that dreaded “bill shock” when you get home. The data roaming market is valued at a staggering $95.43 billion, but travellers are getting wiser. One survey found that over 22% of mobile users have thought about switching providers simply due to high roaming charges. You can read the full research about the data roaming market to see the trend for yourself.
Detailed Feature Showdown: eSIM vs. Local SIM vs. Roaming
To really see how they stack up, let’s put these three options side-by-side. This table gives you an in-depth look at the key features and practical considerations for each connectivity method.
Feature
Travel eSIM (e.g., TapSim)
Local Physical SIM
Home Provider Roaming
Setup Time
5-10 minutes, done before you travel.
15-45 minutes, requires finding a store, queuing, and registration.
Instant, no setup required.
Convenience
Very High. Activate instantly on arrival.
Low. Requires in-person purchase and installation.
Highest. Seamless transition from home to abroad.
Cost
Low to Medium. Pay-as-you-go for data, very competitive pricing.
Very Low. Often the cheapest for large data bundles in one country.
Very High. Daily fees add up quickly, potential for huge bills.
Multi-Country
Excellent. Regional and global plans cover multiple destinations seamlessly.
Poor. Requires buying a new SIM in each country.
Good. Usually works across many countries, but fees apply in each.
Keep Home Number
Yes. Dual SIM functionality lets you use both numbers at once.
No. You must physically swap out your home SIM.
Yes. Your number, plan, and contacts all work as normal.
Best For
Tech-savvy travellers, multi-country trips, short to medium stays.
Long stays in a single country, budget-conscious travellers.
Very short trips (1-2 days), business travel where convenience is key.
In the end, it’s about picking the tool that’s right for the job. An eSIM offers a modern balance of cost and convenience, while local SIMs are unbeatable for deep dives into a single country. Roaming is the “break glass in case of emergency” option—easy, but you’ll pay for it.
So, Which One is Right for You?
The best choice truly comes down to your priorities for the trip. Here’s a quick way to look at it:
For maximum convenience and instant connectivity: A travel eSIM is your best bet. It’s perfect for multi-country tours, weekend breaks, and anyone who wants a hassle-free experience. Understanding https://tapsim.net/how-does-dual-sim-work/ is the key to mastering this setup.
For the lowest cost on a long, single-country trip: A local physical SIM will almost always offer the most data for your money, as long as you’re happy to handle the in-person setup.
For a very short trip where cost is no object: Your home provider’s roaming plan offers unmatched simplicity but is easily the most expensive choice for anything more than a day or two.
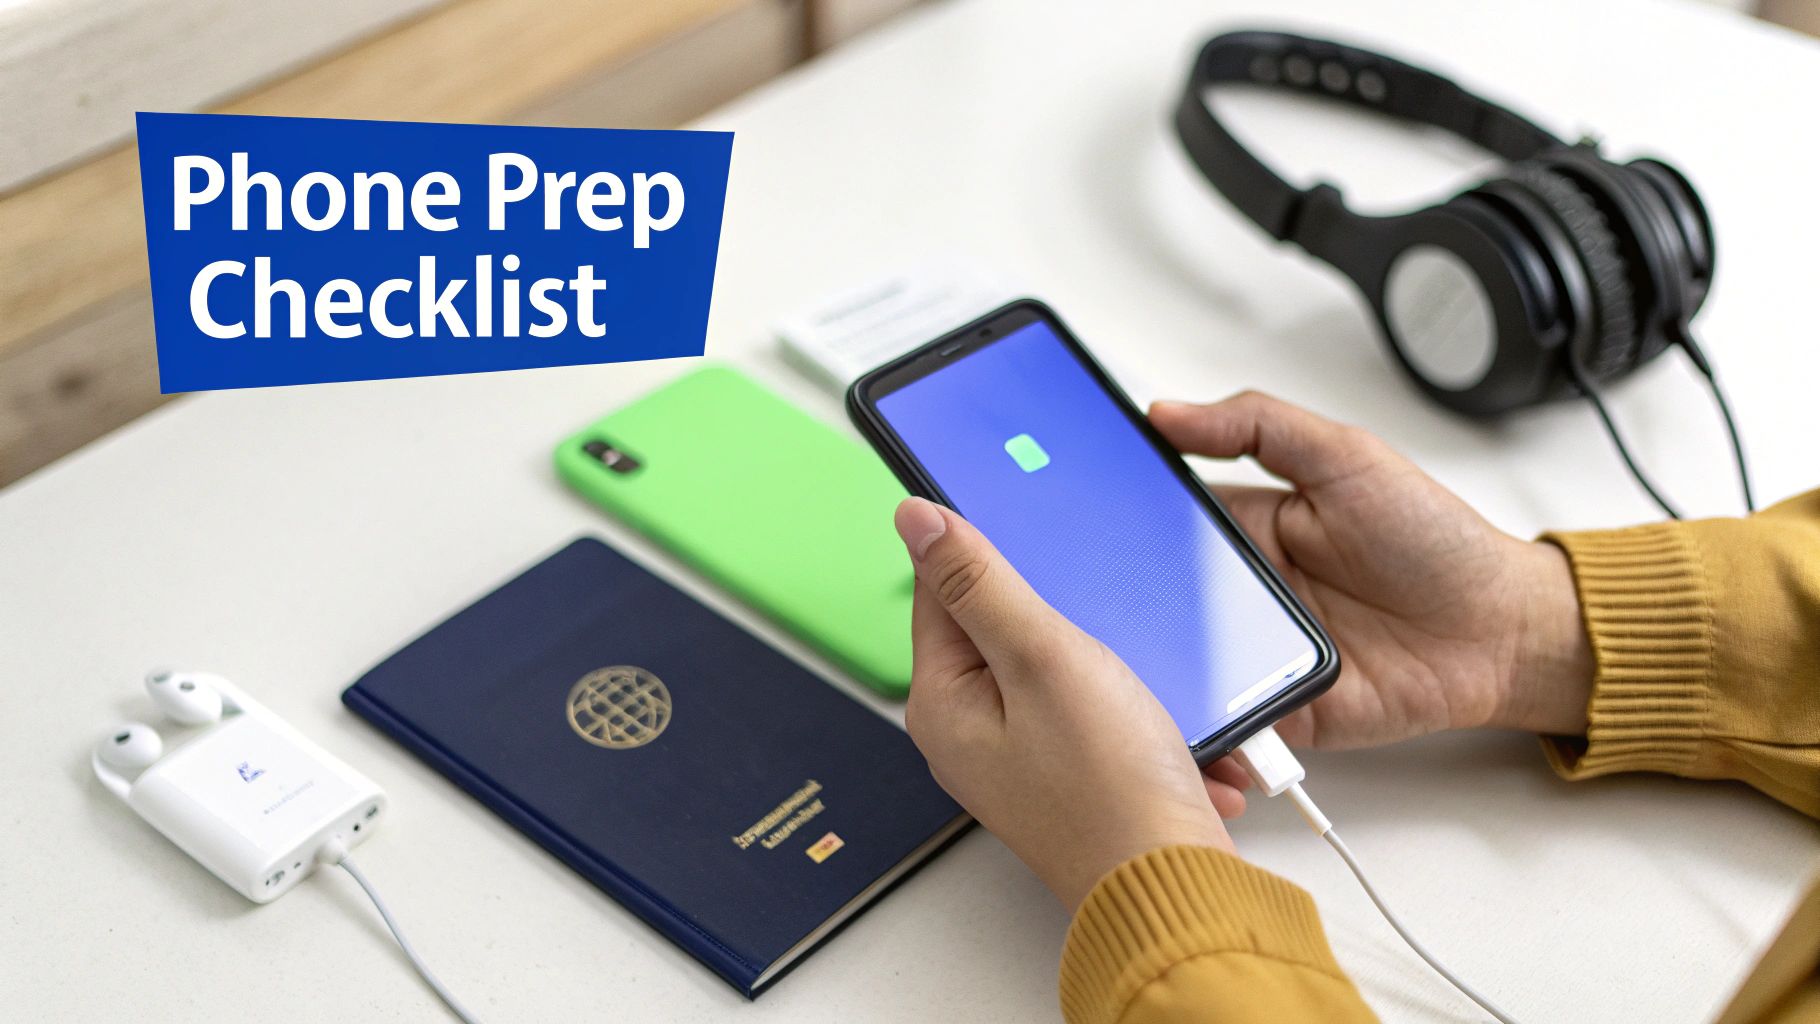
How to Prep Your Phone Before You Fly
A few quick checks before you zip up your suitcase can save you a world of hassle when you land. Getting your phone ready for an international trip isn’t rocket science, but skipping these simple steps is a recipe for frustration and surprise charges. Think of this as your essential pre-flight checklist for a smooth, connected journey.
Honestly, these digital preps are just as important as remembering your passport. Let’s walk through exactly what you need to do before you head to the airport.
Is Your Phone Unlocked?
First things first: you need to be sure your phone is ‘unlocked’. All this means is that your phone isn’t tied to a specific mobile network. If you bought your phone directly from a manufacturer like Apple or Samsung, you can pretty much guarantee it’s already unlocked.
The catch is when you get your phone on a contract from a network provider. Sometimes, they lock the device to their service. Having an unlocked phone is your golden ticket because it lets you use a local SIM or a travel eSIM when you get to your destination.
The simplest way to check? Just borrow a SIM card from a friend who uses a different network. Pop it in your phone. If you get a signal, you’re all set. If not, it’s time to call your provider. They are often required to unlock it for you, especially if your contract has ended.
Check for eSIM Compatibility
Next up is the eSIM. An eSIM is a digital SIM card that allows you to add a mobile plan without fumbling with tiny bits of plastic. It’s now a standard feature in most smartphones released over the past few years, including the big names like iPhone, Google Pixel, and Samsung Galaxy.
From experience, using an eSIM is by far the easiest way to get affordable data when you travel. With TapSim, you can purchase and install a data plan for your destination before you even leave home. This means you’re connected to a local network the moment you switch off airplane mode.
Don’t wait until you’re queuing at the airport to figure this out. A quick check at home takes two minutes and opens up a world of affordable, instant data options that standard roaming just can’t compete with.
Tame Your Data-Hungry Apps
Your phone is a busy little device, constantly syncing, updating, and refreshing content in the background. At home, on your unlimited Wi-Fi, you don’t even notice. But when you’re abroad, this “background app refresh” can quietly chew through your entire travel data plan in a day.
Before you go, dive into your settings and take back control. You can turn off background refresh for the worst offenders like Instagram, TikTok, and Spotify. While you’re at it, tell your app store to only download updates over Wi-Fi.
Here’s a quick hit-list of settings to adjust:
Automatic App Updates: In your phone’s app store settings, switch this to “Wi-Fi only”.
Background App Refresh: You can either disable this feature entirely or pick and choose on an app-by-app basis. I’d start with social media and streaming apps.
Photo Syncing: Pause automatic cloud uploads for iCloud Photos, Google Photos, or similar services until you’re back on a solid Wi-Fi connection.
These tiny tweaks make a huge difference, giving you total control over how your data is used and making your plan last so much longer.
Download Everything You Need Now
One of the best travel habits you can get into is pre-loading your phone with everything you’ll need while you’re still connected to your home Wi-Fi. It’s a simple step that saves a shocking amount of data and ensures you’re prepared, even if you find yourself in a spot with zero signal.
Think about what you’ll actually use on your trip:
Maps: Download offline maps of your destination city in Google Maps or a similar navigation app.
Entertainment: Save some Spotify playlists, podcasts, and a few films or shows on Netflix for the flight and any downtime.
Documents: Keep digital copies of flight tickets, hotel reservations, and even your passport saved directly onto your phone’s files.
Getting all this sorted before you leave means you land ready to explore, not scrambling to find a signal just to get your bearings.
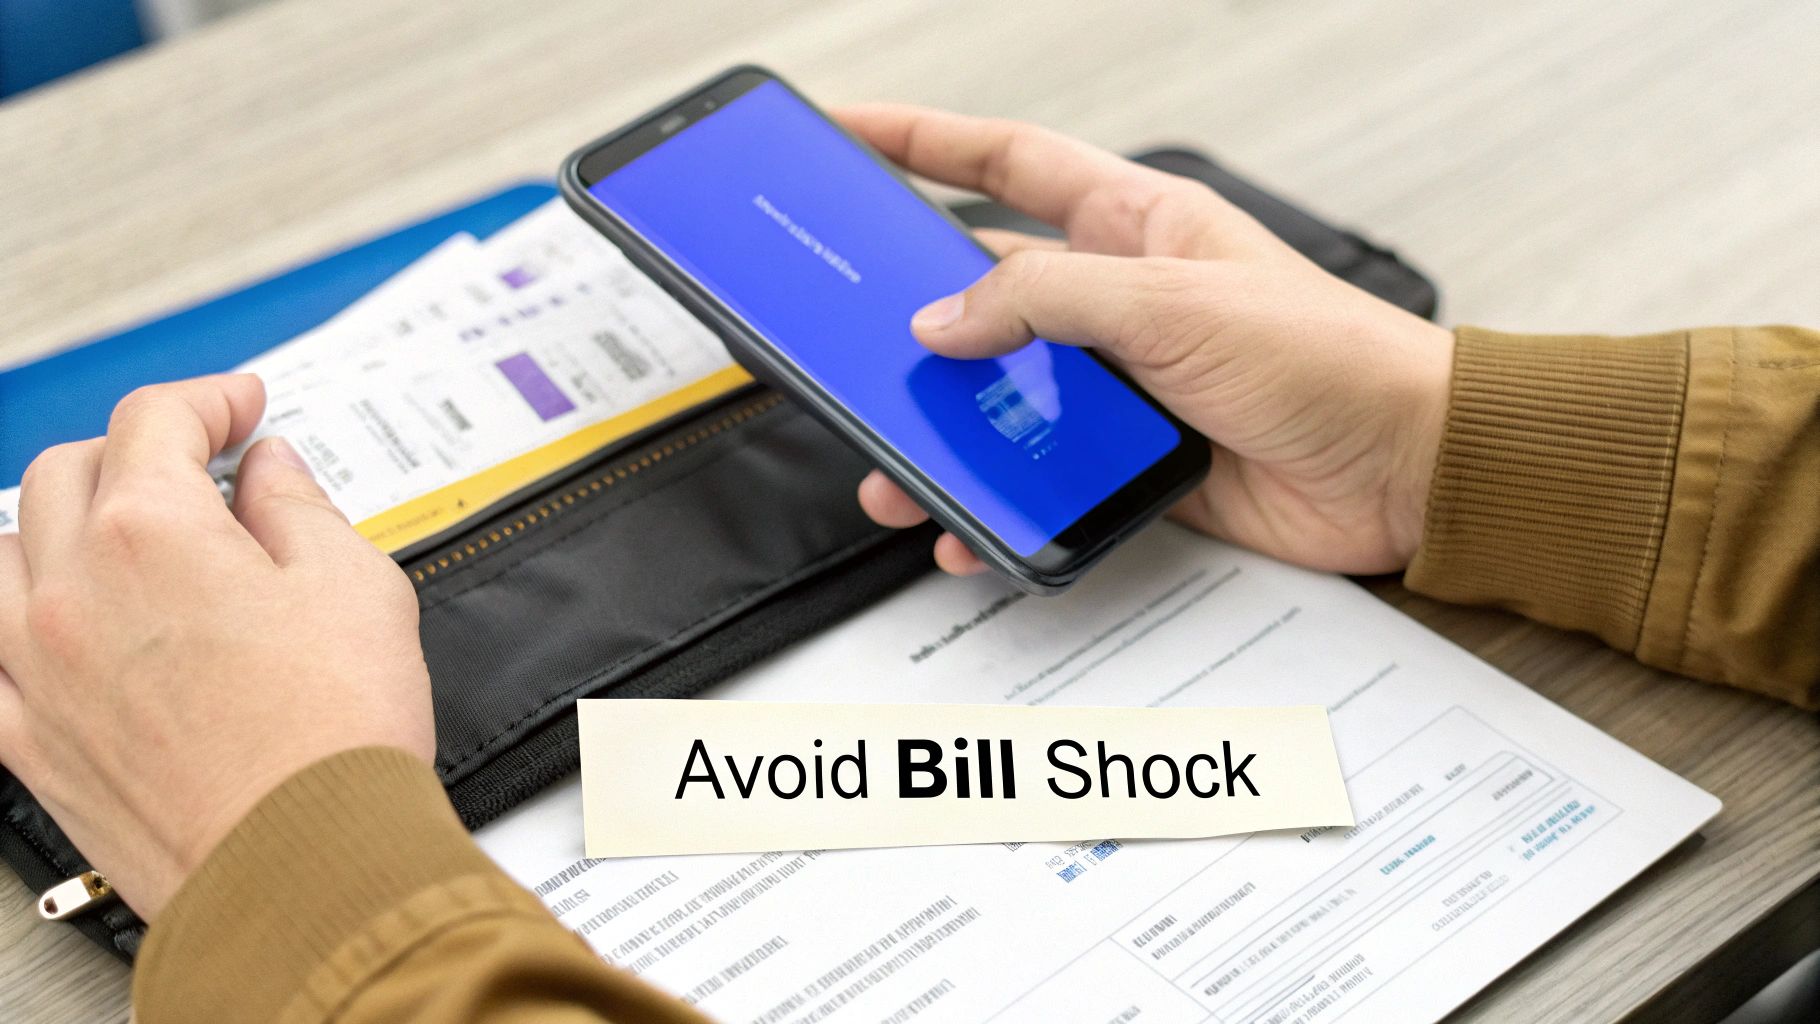
How to Sidestep Those Dreaded Roaming Charges
Nothing ruins that post-holiday glow quite like opening a phone bill that’s shot through the roof. We’ve all heard the horror stories. Thankfully, that “bill shock” is almost entirely preventable with a few quick tweaks to your phone’s settings before you even leave the airport.
This isn’t about getting bogged down in technical jargon; it’s about building a few simple habits. By mastering these settings, you can make sure you’re only using your affordable travel data plan, keeping your home provider’s expensive roaming fees safely out of the picture. Let’s get your phone ready for travel.
First Things First: Turn Off Data Roaming on Your Home SIM
This is the big one. The single most important switch to flip is Data Roaming for your primary SIM card—the one from your provider back home. The moment you land in another country, your phone will try to connect to a partner network. If data roaming is on, it immediately starts chewing through data at eye-watering international rates. This is the number one cause of bill shock.
Many major network providers have brought back daily roaming fees for popular destinations, often charging between £2 to over £6 per day. Go a bit further afield, and the costs can be astronomical, with some travellers reporting charges as high as £6 per megabyte.
Flipping this switch is non-negotiable.
For iPhone users: Head to Settings > Mobile Service. Tap on your primary line (your home number) and make sure the Data Roaming toggle is switched firmly to OFF.
For Android users: The path is usually something like Settings > Network & internet > SIMs. Select your home SIM and ensure the Roaming toggle is turned OFF.
Consider this your first line of defence. It’s a clear instruction to your phone: do not use my home plan for anything data-related while I’m away.
Getting Your Phone Set Up for a Travel eSIM
Right, you’ve installed your travel eSIM. Now you need to tell your phone to actually use it for all things internet. This is a crucial step. It ensures you’re tapping into that cheap, prepaid data bundle you bought, not accidentally defaulting back to your home SIM.
Your phone is smart enough to juggle two lines at once, but you have to be the one to give it directions. Think of it like a car with two fuel tanks—you need to tell it which one to draw from.
After your travel eSIM is installed, jump back into your phone’s settings:
Make Your eSIM the Data Source: In your mobile settings, look for the Mobile Data option. Tap it and select your new travel eSIM. Your primary SIM should now be reserved just for calls and texts (if you even decide to keep it active).
Turn On Data Roaming for the eSIM: This always feels a bit weird, but trust me, it’s correct. You need to enable data roaming for your travel eSIM. This allows it to connect to the local networks it’s designed for. You’re not roaming on your expensive home plan; you’re simply activating the prepaid data you’ve already paid for.
Check “Allow Mobile Data Switching”: Some phones have a clever feature that automatically switches to your other line if one has a weak signal. It’s best to turn this OFF. You don’t want your phone “helpfully” jumping back to your home SIM and racking up charges just because your eSIM signal blinked for a second.
By taking a minute to configure these settings, you’re essentially building a firewall against surprise fees. You’re telling your device, “Use this cheap, prepaid eSIM for the internet, and leave my home SIM out of it.”
What About Those “Bill Shock” Text Alerts?
You’ve just landed, and a text from your home provider pings through, warning you about daily roaming costs. It’s easy to feel a surge of panic, but don’t.
These automated messages are just that—automated. If you’ve followed the steps above by disabling data roaming on your primary SIM and pointing all mobile data to your travel eSIM, these alerts from your home network simply don’t apply to you. They’re a generic warning. To get a better handle on how these charges work, you can read our guide on what roaming charges are and why they matter.
Your proactive setup means you’ve already sidestepped those fees. You’re free to explore, connect, and share, knowing your connectivity is covered and your bank account is safe from nasty surprises when you get back.
Keeping in Touch: Calls and Messages Without the Bill Shock
Alright, so you’ve sorted out your affordable data with a travel eSIM. Brilliant. But what about actually talking to people? It’s a common trap to fall into: you save a bundle on data, only to get stung by a massive bill for a few traditional international phone calls.
The trick is to change how you think about communication. Forget old-school dialing and start thinking in terms of data. Your cheap travel data plan is the key to turning your smartphone into a powerful, and wallet-friendly, global communication device.
Lean on Your Data with Calling and Messaging Apps
The smartest, cheapest way to call and text while you’re abroad is to use apps that work over the internet. This approach taps into the travel data you’ve already paid for, neatly sidestepping your home network’s eye-watering international calling rates.
You’re probably already using these apps back home, so there’s nothing new to learn.
WhatsApp: This is pretty much the global standard. The voice and video calls are clear and don’t actually use that much data.
FaceTime Audio: A fantastic option if everyone you’re calling is on an iPhone. The call quality is excellent, and it’s totally free over Wi-Fi or mobile data.
Skype or Google Voice: These are my go-to options when I need to call an actual phone number, like a landline for a restaurant reservation or a hotel that isn’t on WhatsApp. The rates are incredibly low.
By sticking to these apps, you know exactly what you’re spending. You’re just using a small slice of the data you bought from a provider like TapSim, which has transparent pricing and is easy to top up if you run low.
Here’s a little perspective: A one-hour voice call on WhatsApp uses about 30 MB of data. If you have a 3 GB travel eSIM plan, that entire hour-long call has only used 1% of your total data. When you compare that to what a one-hour international call could cost, the savings are staggering.
Keep Your Home Number Active for Important Texts
One of the best things about using an eSIM for your travel data is that your main physical SIM can stay right where it is. This is a brilliant travel hack that truly gives you the best of both worlds.
Your travel eSIM handles all the heavy lifting for data, but keeping your home line active in a low-power mode means you can still receive SMS messages. Trust me, this is more important than you might think.
It’s crucial for things like:
Two-Factor Authentication (2FA): Your bank or other online services often send security codes via text to prove it’s you. Getting locked out of your banking app abroad is a nightmare.
Essential Alerts: Think flight change notifications from your airline or other critical updates sent to your primary number.
You don’t want to actually make or receive calls on that line—that’s how you get hit with roaming charges. But just having it active is your safety net, ensuring you don’t miss those vital messages.
This dual-SIM setup is the perfect solution for the modern traveller. You get the cheap, fast data of a travel eSIM, combined with the peace of mind that comes from keeping your trusted home number on standby for those just-in-case moments. It’s the secret to truly mastering your phone abroad.
Your Simple Travel Connectivity Checklist
Alright, let’s pull all this together into a final action plan. Getting your phone ready for travel isn’t complicated—it’s just a matter of doing a few things in the right order.
Think of this as your pre-flight rundown for your phone. Spending a few minutes on these steps before you leave will save you from the headache of a massive bill when you get home.
Before You Even Pack Your Bags
The most critical prep work happens before you’re even thinking about what to pack. Nailing these simple checks will set you up for a smooth trip.
Is Your Phone Unlocked? This is the one thing you absolutely must check. You can’t use a travel eSIM or a local SIM in a locked phone. If you have any doubts, a quick call to your home network provider will clear things up.
Can It Handle an eSIM? Most phones made in the last few years are eSIM-compatible, but it never hurts to be certain. A quick Google search of your model or a look on an eSIM provider’s website will tell you for sure.
Choose Your Connectivity: eSIM, Local SIM, or Roaming? For most travellers, a travel eSIM hits the sweet spot between value, convenience, and having data the second you land. It’s my go-to recommendation.
Buy and Set Up Your Plan Now: Don’t wait until you’re at the airport. Purchase your data plan from a provider like TapSim and install the eSIM while you’re still at home on your reliable Wi-Fi. It only takes a couple of minutes and means you’re ready to roll from the moment you arrive.
Get Your Offline Content Ready: Download your Google Maps for the area, your favourite Spotify playlists, and any tickets or hotel confirmations. This will save your data and save you if you find yourself in a spot with no signal.
The Moment Your Plane Touches Down
You’ve landed. Before you even think about the baggage carousel, a few quick taps in your phone’s settings will get you connected and protect you from nasty roaming charges.
That moment after you switch off airplane mode is critical. The goal is to get onto your cheap travel data plan immediately, without letting your home SIM rack up any accidental roaming fees.
Here’s what to do, in this exact order:
Switch Your Mobile Data: Head straight into your phone’s settings and tell it to use your new travel eSIM for all mobile data.
Kill Roaming on Your Home SIM: This is the most important step of all. Find the settings for your primary SIM (the one from home) and make absolutely sure the Data Roaming toggle is switched OFF.
Enable Roaming on Your Travel eSIM: It sounds strange, I know, but for your travel eSIM to work, it needs to connect to local networks. To do that, you have to turn Data Roaming ON just for that specific eSIM.
Follow this simple plan, and using your phone abroad becomes cheap, easy, and completely stress-free.
Got Questions About Using Your Phone Abroad?
Let’s clear up some of the common questions and concerns that pop up when you’re getting ready to travel. I get asked these all the time, so hopefully, this puts your mind at ease.
Will I Still Have My Normal Phone Number with an eSIM?
You bet. One of the best things about using a travel eSIM is that your regular phone number doesn’t go anywhere. Your main SIM card stays in your phone, which means you can still get calls and those crucial SMS messages, like verification codes from your bank.
The trick is to dive into your phone’s settings and make sure you’ve selected the eSIM for all your mobile data. This simple switch ensures your home provider won’t hit you with any unexpected roaming charges, while your normal number remains active for calls and texts.
What if I Burn Through My eSIM Data?
Running out of data mid-trip used to be a nightmare, but not anymore. Most travel eSIM apps have made topping up incredibly straightforward.
If you’re using a service like TapSim, you’ll likely get a heads-up when your data is running low. From there, it’s just a matter of opening the app and grabbing another data pack. It usually activates instantly, so you’re back online without missing a beat. No more rationing data on your last day.
Is Public Wi-Fi a Safe Alternative to Mobile Data?
It can be tempting to hop on free Wi-Fi at a café or airport, and for some quick, casual browsing, it’s usually fine. But for anything sensitive, I’d think twice.
Public networks are often unsecured, leaving you vulnerable. For things like checking your bank balance, logging into work emails, or entering passwords, using your own secure mobile data from an eSIM is a much safer bet. Think of public Wi-Fi as a handy backup, not your primary connection for important stuff.
Ready to travel without the worry of roaming fees? With TapSim, you can get affordable, instant mobile data in over 150 destinations. Check available eSIMs on TapSim.net and get connected the moment you land.
You’ve just landed in a new country, phone in hand, but the internet isn’t working. It’s a modern traveler’s nightmare, but don’t worry—the fix is usually surprisingly simple. Before you…
Dual SIM technology is a bit like having a hybrid car. It intelligently switches between two power sources to give you the best performance and efficiency. For your phone, this…
Figuring out how much data you’ll need for a trip can feel like a shot in the dark, but it really doesn’t have to be. For a standard week-long holiday,…
For any traveler, the best pay-as-you-go (PAYG) option is almost always a modern eSIM. Think about it from a practical standpoint: you get instant activation right from your phone, transparent…
Getting a new iPhone is always exciting, but for a traveler, ensuring your eSIM transfers smoothly is crucial. Whether it’s your primary number or a travel data plan for an…
Activating a travel eSIM is one of the smartest pre-trip tasks you can do, and it’s much simpler than it sounds. Think of it as a digital SIM card that…
Not long ago, staying connected abroad meant navigating a minefield of eye-watering roaming charges or scrambling to find a local SIM card the moment you landed. Thankfully, things have moved…