
We’ve all heard the horror stories. You get back from an amazing trip, still buzzing from the memories, only to be slapped with a mobile bill that’s hundreds of dollars more than usual. Forgetting to turn off data roaming on your iPhone is an easy mistake to make, but it can quickly turn a dream holiday into a financial nightmare.
Leaving data roaming enabled on your iPhone is one of the fastest ways to rack up surprise charges abroad. It’s easy to assume your phone won’t use much data if you’re not actively scrolling through Instagram, but that’s rarely the case. Your apps are always working in the background—syncing emails, pulling in weather updates, and fetching notifications. Each megabyte used on a foreign network can add up.
And those costs can be steep. Since roaming rules vary globally, what’s affordable in one country can be incredibly expensive in another. Imagine heading to Spain for a week and coming back to a $100 bill just because your phone was quietly using data. It’s a frustratingly common scenario for travelers everywhere.
To give you a clearer picture, here’s a quick look at what major UK mobile networks are now charging for daily data roaming in popular European destinations.
| UK Mobile Network | Typical Daily Roaming Fee (EU) | Common Data Cap |
|---|---|---|
| EE | £2.29 | Up to 50 GB per month |
| Vodafone | £2.25 | Up to 25 GB per month |
| Three | £2.00 | Up to 12 GB per month |
| O2 | Free (on most plans) | Fair usage of 25 GB |
As you can see, a two-week trip could easily add $30-$40 to your bill, and that’s before you even consider “fair use” data caps that are often much lower than your plan at home.
Understanding how these fees build up is the key to avoiding them. It’s not just the websites you browse; it’s the constant background data chatter that really catches people out.
Taking a minute to check your iPhone’s settings before you travel isn’t just a good idea—it’s essential for anyone crossing a border. By proactively disabling roaming, you take back control and ensure there are no nasty surprises waiting for you. You can learn more about how it all works in our guide: https://tapsim.net/what-is-data-roaming/.
Of course, managing your mobile data is just one piece of the travel-budgeting puzzle. Planning for other major expenses, like healthcare, is equally important. For some great pointers on that, check out a clear guide on budgeting for expat medical insurance costs. A little prep work means you can spend your trip enjoying the experience, not worrying about the bill you’ll face when you get home.
Navigating your iPhone’s settings to turn off roaming is a lot easier than you might think. A few quick taps can save you from that dreaded bill shock, making sure your travel money goes towards souvenirs and experiences, not surprise data charges.
This simple graphic shows exactly how it happens: you travel, forget to flick one little switch in your settings, and come home to a massive bill.
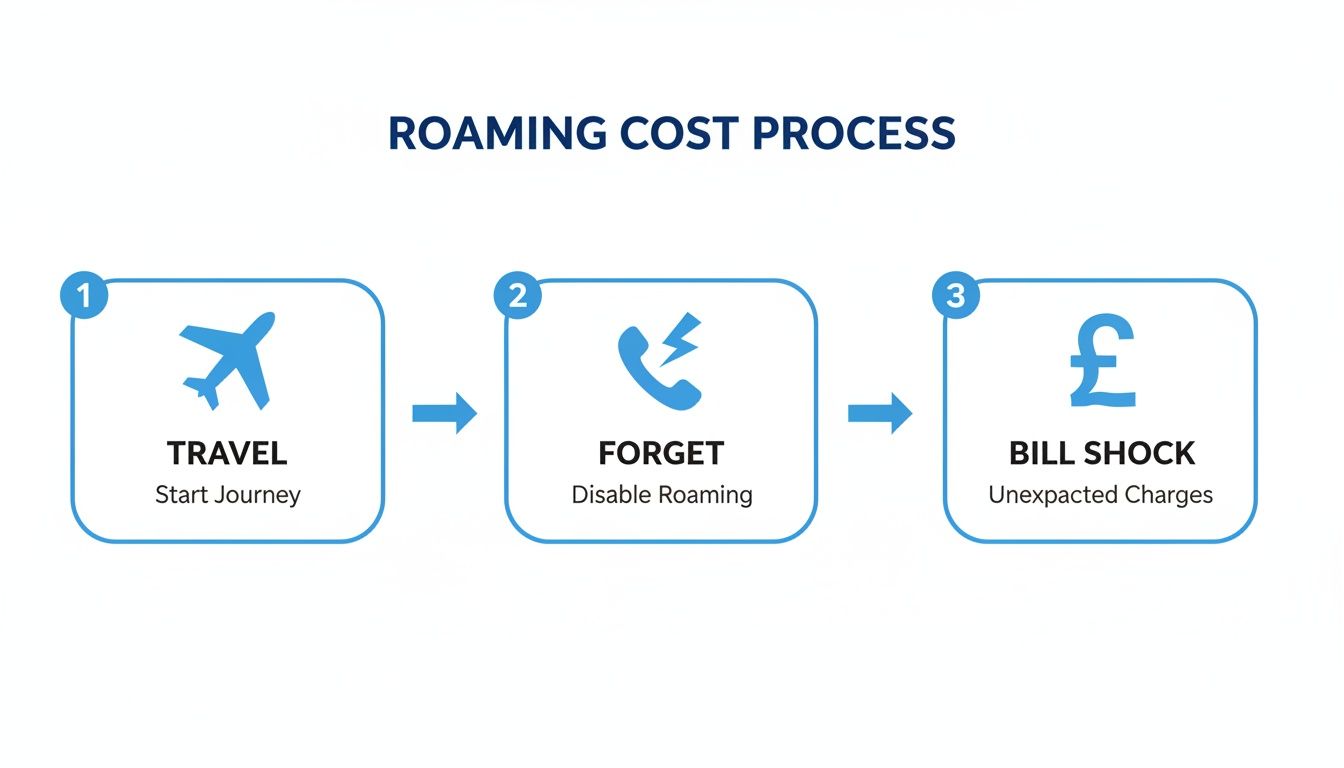
The good news? A moment spent in your settings before you even leave for the airport can break this expensive cycle for good.
First things first, open the Settings app on your iPhone.
From there, you’re looking for either “Mobile Service” or “Mobile Data”. The name can vary slightly depending on where you are in the world and who your provider is, but it’s always one of those two.
Tap into that menu, and you’ll see a list of options for your mobile plan. The one you want is “Mobile Data Options”.
This next screen is where the magic happens. Here, you’ll find the “Data Roaming” switch. This little toggle is what tells your phone whether it’s allowed to connect to data on foreign networks.
Make sure this switch is toggled to the off position—it should be grey, not green. That’s it!
My Go-To Travel Tip: I always double-check this setting just before I board the plane. It takes less than 30 seconds and gives me total peace of mind that my home SIM won’t rack up any charges while I’m away.
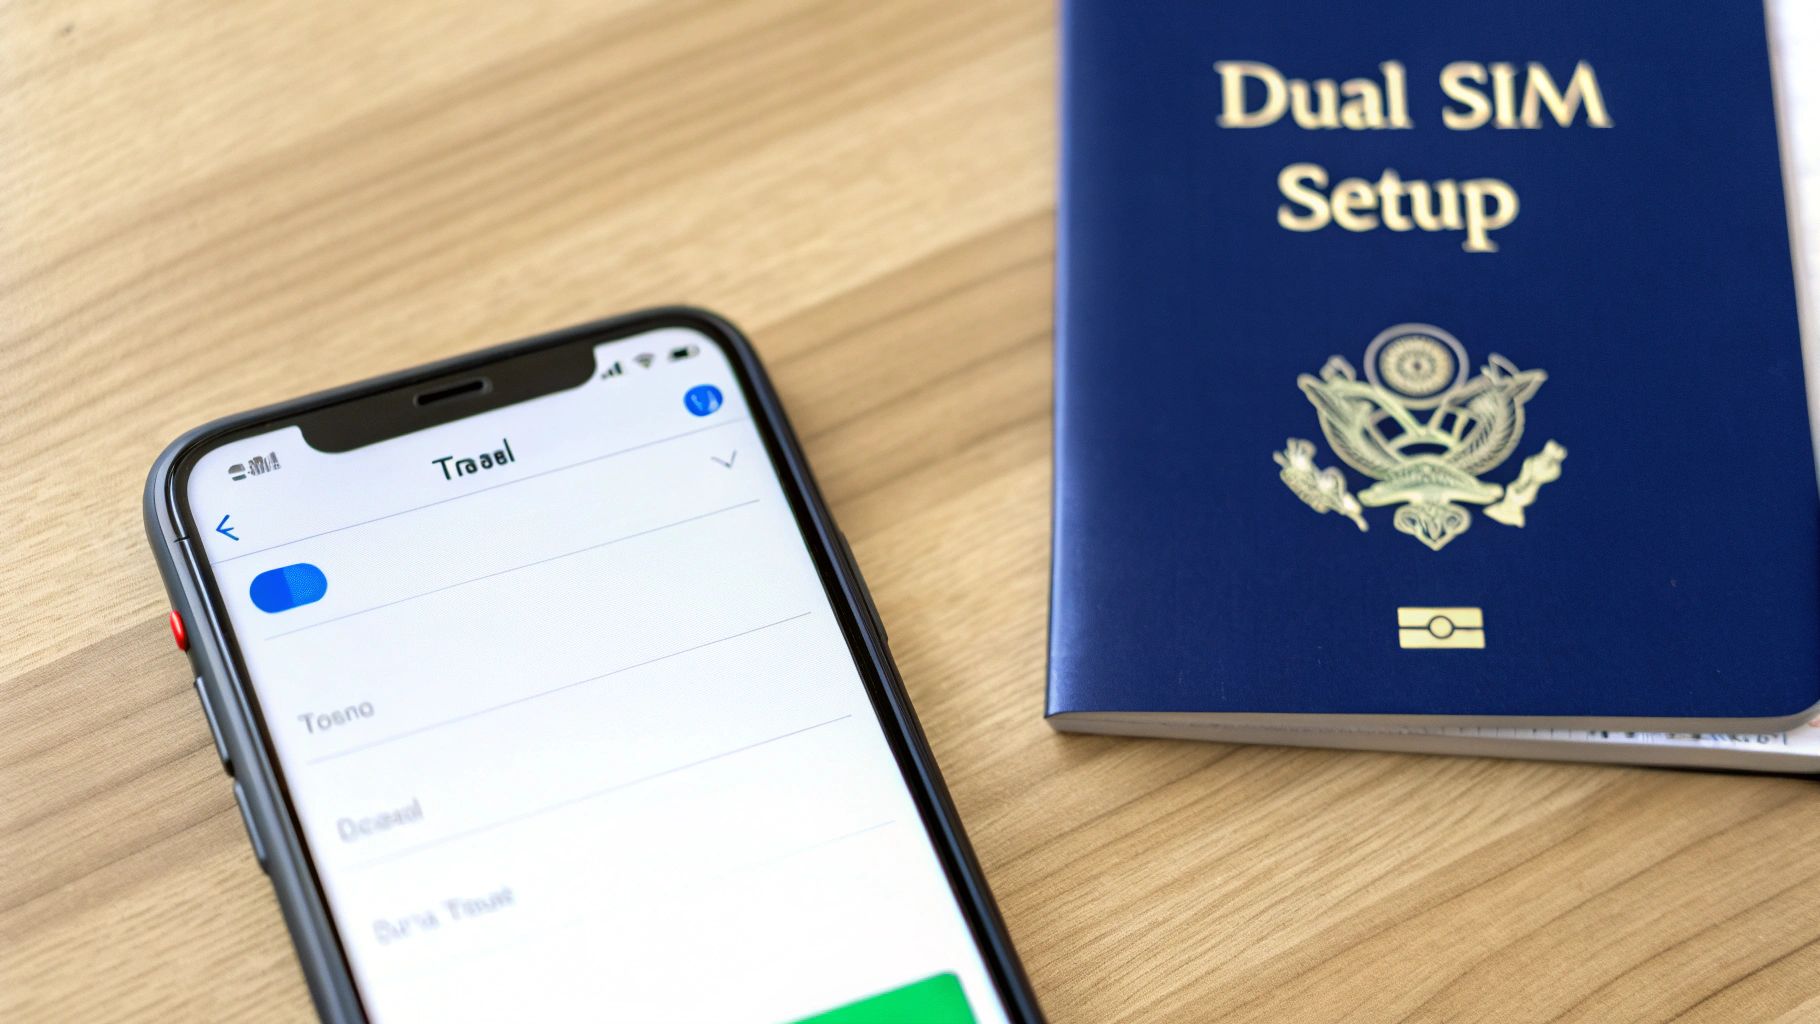
Got two lines on your iPhone, like a physical SIM for home and an eSIM for travel? The process just has one extra, simple step.
This is the perfect setup for anyone traveling with an international eSIM. You can completely prevent roaming charges on your primary number while keeping your new eSIM active for affordable, local data wherever you land. It’s genuinely the best of both worlds.
If you have a modern iPhone with dual SIM and eSIM support, you’re holding a powerful tool for savvy traveling. This feature is, without a doubt, the best way to manage your mobile data costs abroad, letting you completely sidestep your home network’s often eye-watering roaming packages.
The idea is straightforward but incredibly effective. You can give each of your mobile lines a specific job, creating a perfect setup that keeps you connected without the bill shock.
First things first: your main SIM card, the one from your provider back home, should be set up just for calls and texts. The crucial step is to dive into your iPhone’s settings and turn off data roaming for that specific line. This simple action prevents it from using any data on foreign networks, shielding you from those unexpected charges.
With this configuration, you can still receive important texts like two-factor authentication codes and see who’s calling your regular number—all without the fear of a massive bill waiting for you when you get home.
Now, this is where a travel eSIM shines. Before you even pack your bags, you can buy a data-only plan for your destination. With a service like TapSim, travelers can activate data instantly before takeoff.
Your iPhone makes it easy to assign this new eSIM as your primary line for mobile data. And just like that, you’re connected to a local network, paying local rates for data while your home SIM remains dormant for data use.
A dual SIM setup is the smartest way to travel. You keep your familiar number for calls and texts while using a travel eSIM for all your data needs—browsing maps, posting photos, and staying in touch online.
This approach truly gives you the best of both worlds. You get to skip the fiddly process of swapping physical SIM cards and avoid the endless hunt for a decent Wi-Fi connection.
For a deeper dive into the mechanics, you can learn more about how dual SIM technology works. It’s a technology that’s quickly becoming essential for international travel, a fact reflected in the rising eSIM adoption in Australia and other popular destinations.
So you’ve dug into your iPhone’s settings, found the mobile data options, but the ‘Data Roaming’ switch is nowhere to be seen. Or maybe it’s there, but it’s greyed out and you can’t tap it. It’s a frustrating roadblock, especially when you’re trying to prep for a trip, but don’t worry—this is a common issue with a few logical explanations.
More often than not, the culprit is your mobile provider. Some networks simply hide or disable the toggle if your specific plan has no international roaming capabilities. From their point of view, if roaming isn’t an option, you don’t need the switch to turn it off. This can also happen with certain company phone plans where the account administrator has locked down those settings.
Before you get on the phone with customer support, give these simple steps a try. They only take a minute and can often solve the problem right away.
If you’ve tried both and the toggle is still playing hide-and-seek, the issue is almost certainly tied to your mobile plan itself.
At this point, your best bet is to get in touch with your network provider. Let them know you need to be able to turn off roaming on your iPhone and ask if there’s a restriction on your account that’s preventing the option from showing up.
Sorting this out before you travel is key to avoiding any surprise bills. Of course, if you want to bypass your home network’s settings altogether, grabbing a travel eSIM like one from TapSim gives you a totally separate data plan for your trip. This puts you in full control of your data and costs while you’re abroad.
Let’s be honest, nobody wants to come home from a brilliant holiday to a massive mobile phone bill. Instead of just dodging those sky-high roaming charges, what if you could replace them with something far more affordable and flexible?
This is exactly where a travel eSIM comes in. Think of it as the modern solution for staying connected abroad without the stress. It frees you from constantly hunting for unreliable Wi-Fi or fumbling with tiny plastic SIM cards at the airport.
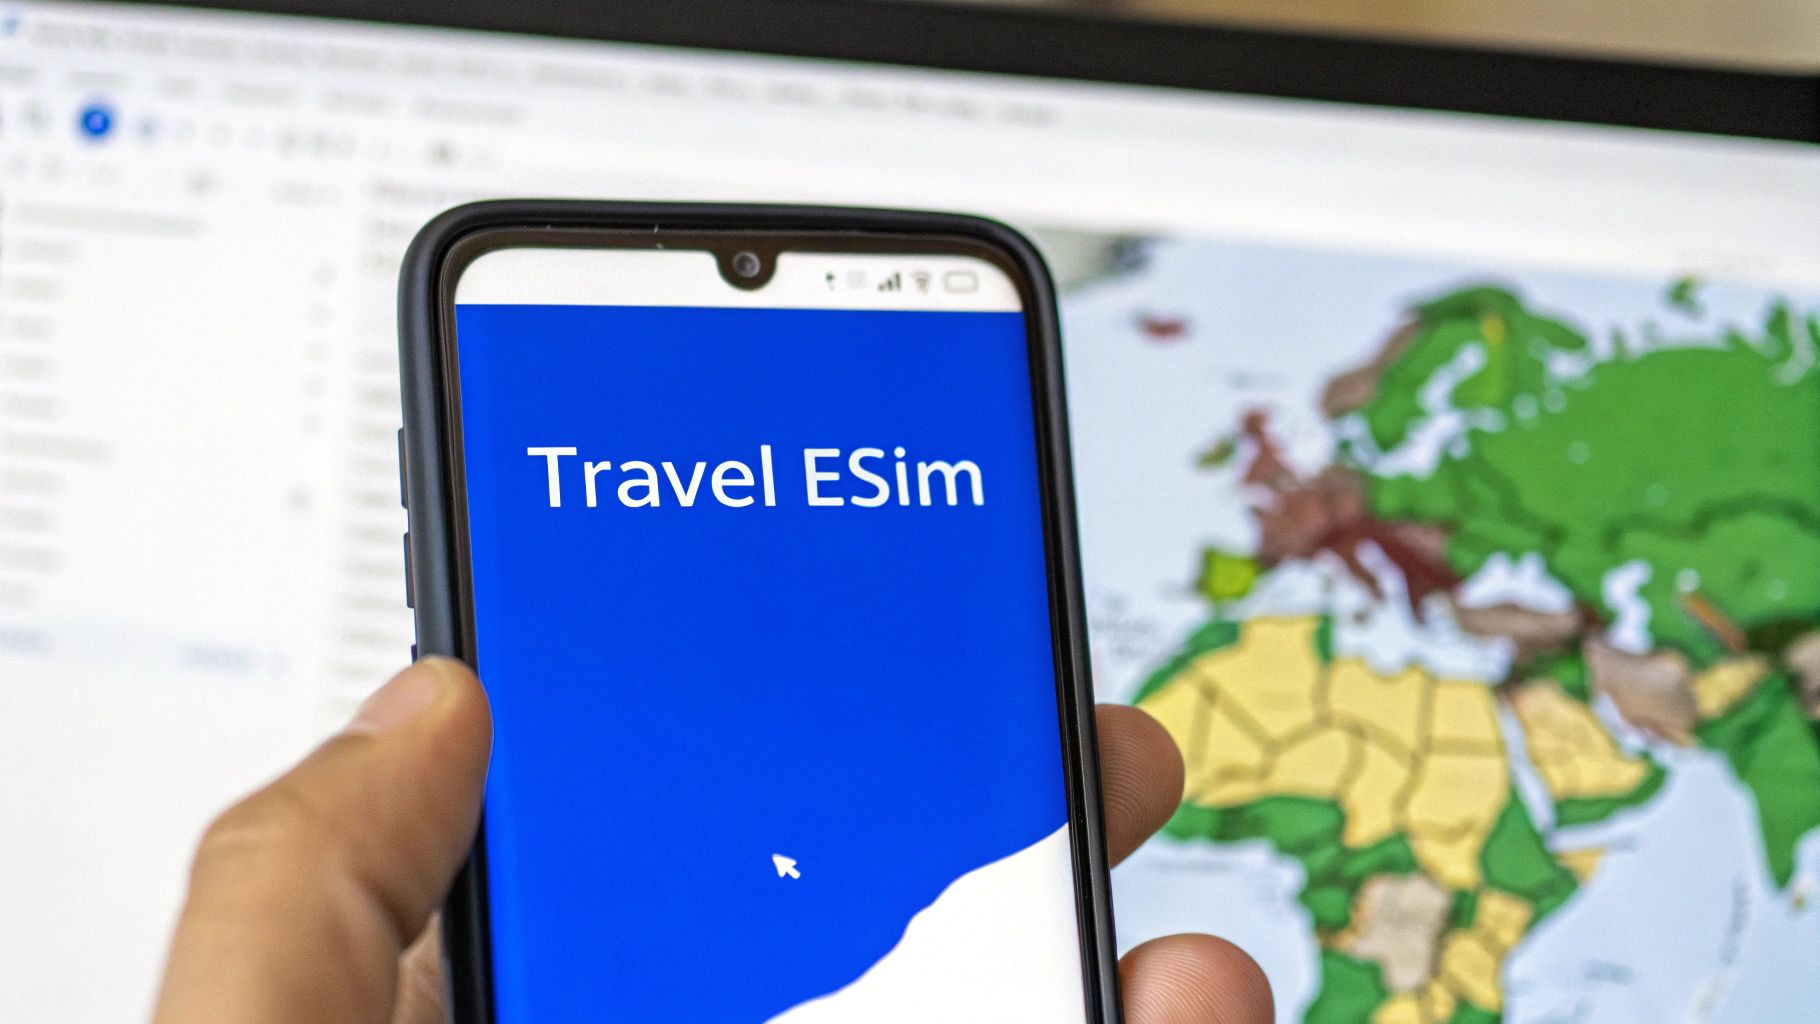
The advantages are clear. You can activate it instantly from anywhere, the pricing is upfront with no nasty surprises, and you’re completely in control of what you spend. With TapSim, you can buy a data plan for your destination, install it before you even pack your bags, and turn it on the moment your plane touches down.
This strategy has become particularly important for travelers globally. For example, since the return of post-Brexit roaming charges, some UK networks are billing over £2 per day in Europe. It’s no wonder that many users have reportedly switched providers because of these fees.
I’ve seen seasoned travelers save 70% or more compared to standard roaming just by switching to a travel eSIM. It’s a game-changer. You can get more details on how UK roaming charges are evolving on roamight.com.
By switching to an eSIM for your trip, you’re not just avoiding fees; you’re choosing a smarter, more transparent way to stay online. You pay for the data you need, and nothing more.
This approach gives you the best of both worlds. You simply turn off roaming on your iPhone for your main number to prevent any unexpected charges from your home network, then use the travel eSIM for all your data needs—from Google Maps to Instagram.
It’s the perfect setup, whether you’re navigating the streets of Tokyo or sharing photos from a beach in Greece. It’s worth exploring some of the best data-only SIM plans for travellers to see just how simple and cheap it can be.
To wrap things up, let’s tackle some of the most common questions travelers have when managing their iPhone settings abroad. Think of this as a quick-fire round to clear up any lingering confusion and make sure you’re fully prepared.
Yes, absolutely. Turning off data roaming only cuts off your iPhone’s access to the internet via a foreign mobile network. You’ll still be able to make traditional phone calls and send standard SMS texts.
Just be careful. Those calls and texts will be charged at your home provider’s international rates, which are often expensive. A much smarter move is to use apps like WhatsApp, FaceTime, or Skype whenever you’re connected to Wi-Fi.
You could, and it’s certainly the safest way to avoid any surprise charges. But it also means you’re entirely reliant on hunting down Wi-Fi hotspots, which isn’t ideal when you’re lost and need to pull up a map, or quickly book a taxi.
A better strategy is to disable data roaming on your primary SIM but get a travel eSIM for affordable local data. This gives you the freedom to stay connected without dreading the bill waiting for you back home.
A Pro Traveler’s Setup: My go-to method is using an eSIM purely for data. I keep my home SIM active for receiving calls and texts (which is usually free), but all my internet usage goes through the cheap, local eSIM. It’s genuinely the best of both worlds.
Don’t panic if you see a foreign carrier’s name at the top of your screen! This just means your phone has connected to a local network for basic services, like being able to make an emergency call. It’s a standard network handshake.
As long as the Data Roaming switch for your home SIM is firmly in the ‘off’ position, your phone won’t use that network for any internet activity. No data, no charges.
Think of Airplane Mode as the “total disconnect” option. It completely shuts off your iPhone from every wireless signal—cellular, Wi-Fi, and Bluetooth. You’re entirely offline.
Disabling data roaming is much more targeted. It specifically stops your phone from using data on other mobile networks. Everything else, like Wi-Fi and Bluetooth, continues to work just fine.
Ready to travel without roaming bill anxiety? With TapSim, you can get an affordable eSIM for instant data in over 150 countries. Check the available plans on TapSim.net and get connected the second you land.