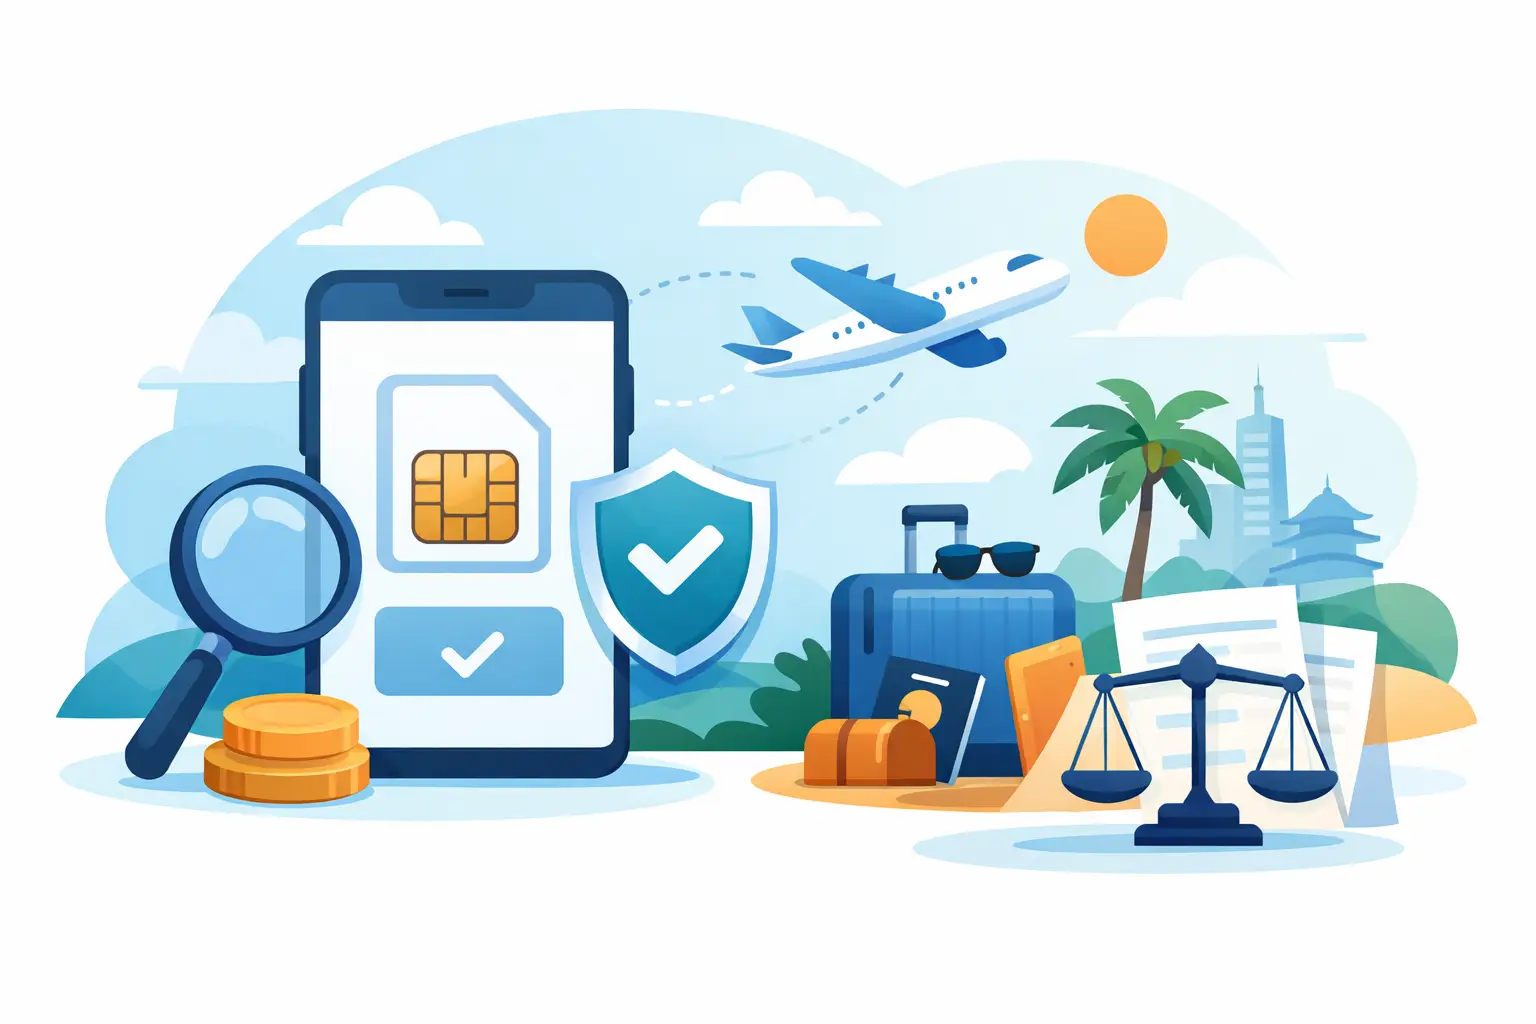
How to Avoid Roaming Charges Overseas
Learn how to avoid roaming charges overseas with simple setup tips, smarter data choices, and travel-ready options before you land abroad.

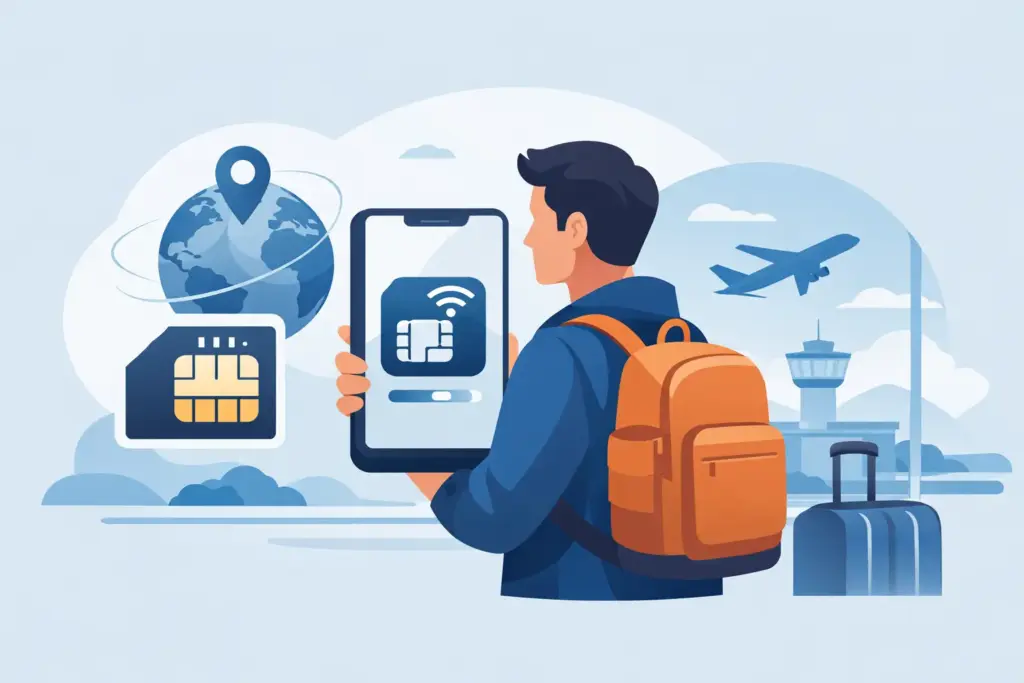
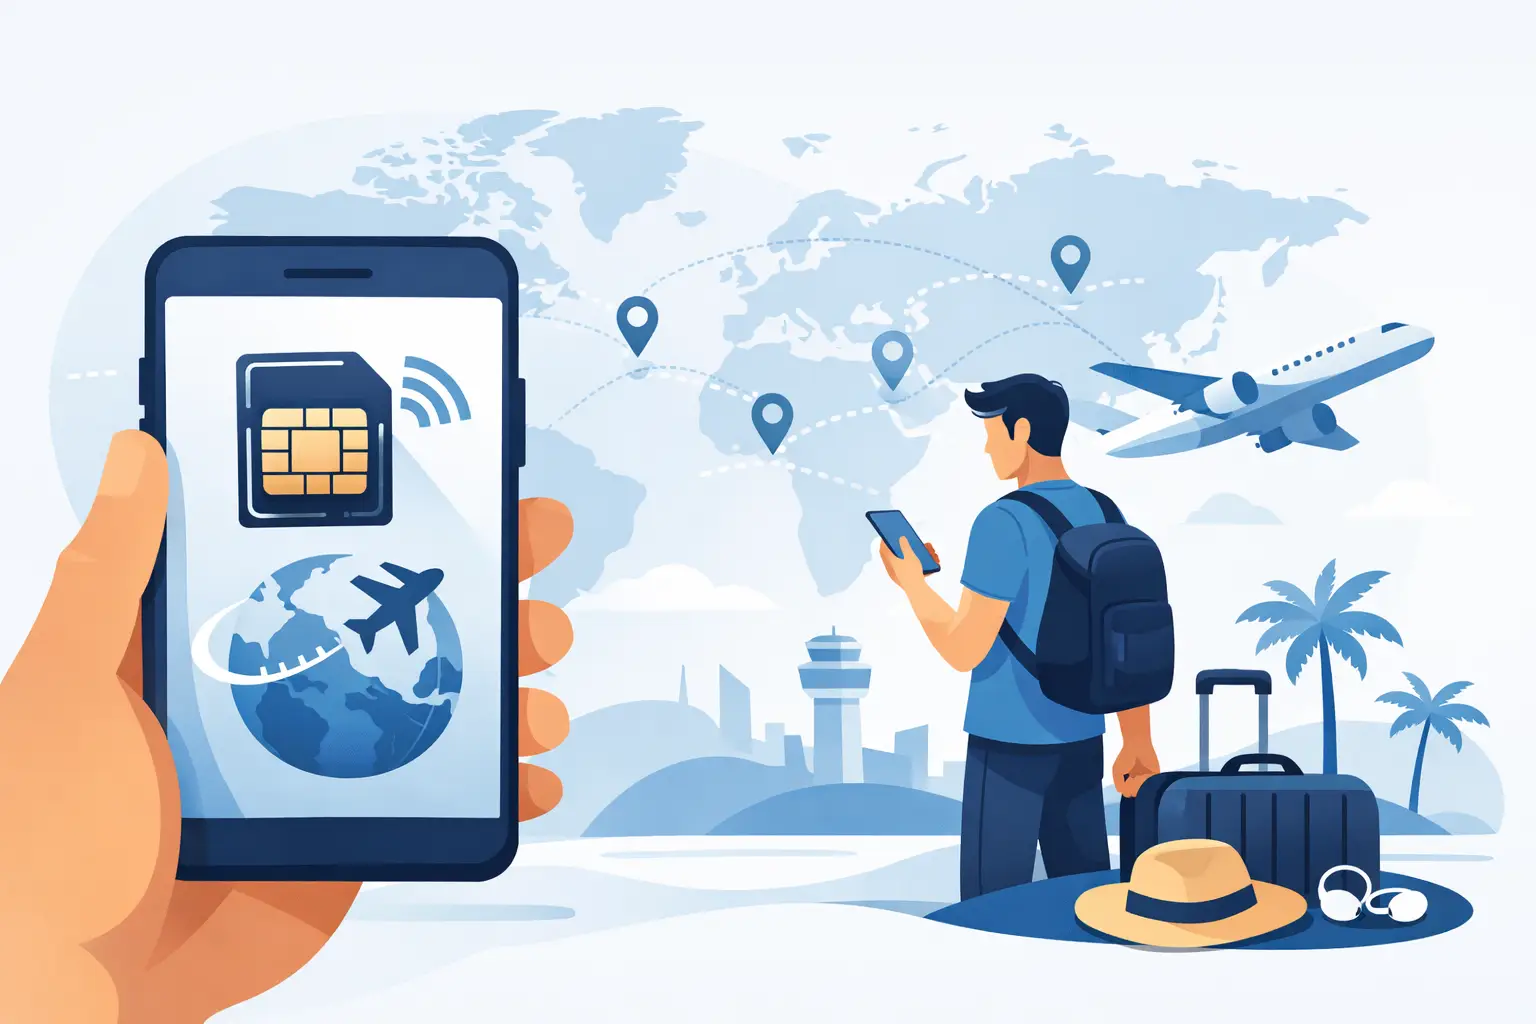
The worst time to troubleshoot your phone is after landing, when you need directions, a rideshare, your hotel check-in email, and maybe a working translation app right now. That is exactly why so many travelers want to activate eSIM on arrival instead of messing with local SIM counters, airport kiosks, or home-carrier roaming that quietly gets expensive.
The good news is that activating an eSIM when you land is usually simple. The catch is that the easy part happens at the airport only if you do the setup part before the airport. If you wait until you arrive to buy, install, and configure everything from scratch, you are adding risk at the worst possible moment.
For most international trips, the smart move is to install the eSIM before you leave and let it activate only when you reach your destination. That gives you the best of both worlds. You handle setup while you still have reliable Wi-Fi, time to read instructions, and access to support if something looks off.
It also keeps your travel day cleaner. Once you land, your phone can connect quickly without you hunting for a store, swapping plastic SIMs, or paying a surprise roaming bill because your home line grabbed data in the background.
There is a practical reason many travelers prefer arrival-based activation. A lot of travel eSIM plans start counting usage only when they connect to a supported network in the destination country. That means you are not wasting plan days while still at home. It depends on the provider and plan rules, so always check the activation policy before you buy.
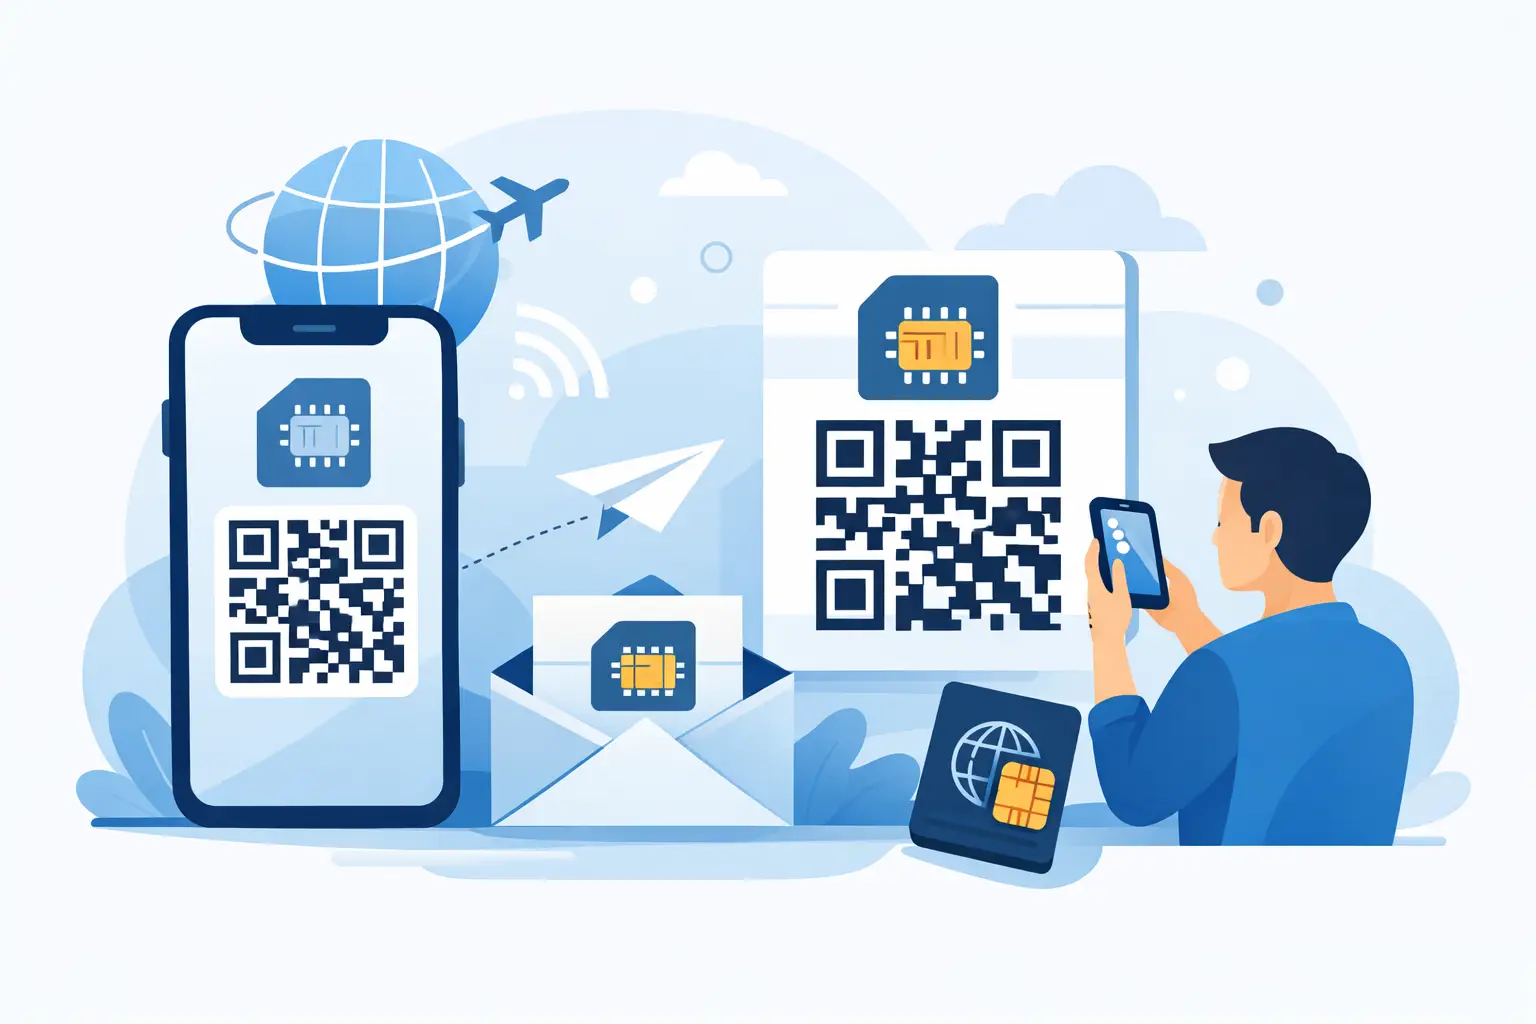
This phrase trips people up because there are usually two separate steps: installation and activation. Installation means adding the eSIM to your phone, often by scanning a QR code or entering details manually. Activation means the plan actually starts working on a supported network.
Those steps do not always happen at the same time. In many cases, you install at home and activate after landing when the phone connects abroad. That is the smoothest setup for most travelers.
Some plans activate the moment the eSIM is installed. Others activate only when you first connect in-country. Neither is automatically better. The right option depends on when your trip starts, how long the plan lasts, and whether you want a buffer for setup.
If you want fast internet after landing, do not leave everything for arrival day. A little prep removes most of the stress.
First, make sure your phone supports eSIM and is carrier-unlocked. Support is common on newer iPhones, Pixels, Samsung Galaxy devices, and other flagship phones, but not universal. A phone can be eSIM-compatible and still blocked by a carrier lock, which means the plan may not work abroad.
Next, buy the plan while you still have stable internet. Download the QR code or activation details and keep a backup copy somewhere easy to access, like your email, screenshots, or printed travel docs. If your only copy is on the phone you are trying to set up, that can get awkward fast.
Then install the eSIM before departure. Follow the prompts carefully, label the line clearly, and check your mobile settings. If the plan is data-only, treat it that way. Your regular number may still handle calls and texts if you leave it enabled, but that can trigger roaming charges depending on your carrier settings.
That is where travelers get caught. They think the eSIM covers everything, but their primary line is still active for data or background usage. No hidden fees is the goal. Your settings need to match that goal.
When you land, activation is usually more about switching the right settings than doing a full installation from scratch. If the eSIM is already installed, the process is straightforward.
This sounds obvious, but after a long flight it is easy to miss. Give your phone a moment to search for networks.
Go into your cellular or mobile settings and make sure the travel eSIM line is turned on. If you labeled it before the trip, this step takes seconds.
Your phone needs to know which line should handle mobile data. Select the travel eSIM as the data line, especially if you are keeping your home SIM active for calls or texts.
This part surprises people. For many travel eSIMs, data roaming must be enabled on that eSIM line so it can connect to partner networks abroad. That does not mean you are using your home carrier’s roaming plan. It means the travel eSIM is allowed to roam within its own supported network agreements.
Some phones have a setting that lets them switch data between lines automatically. If your main line is still active, disable automatic switching unless you specifically want that behavior. Otherwise your phone may use the wrong line.
Open a map app, browser, or messaging app without airport Wi-Fi. If it works, you are set. If not, restart the phone once. That solves more activation issues than people expect.
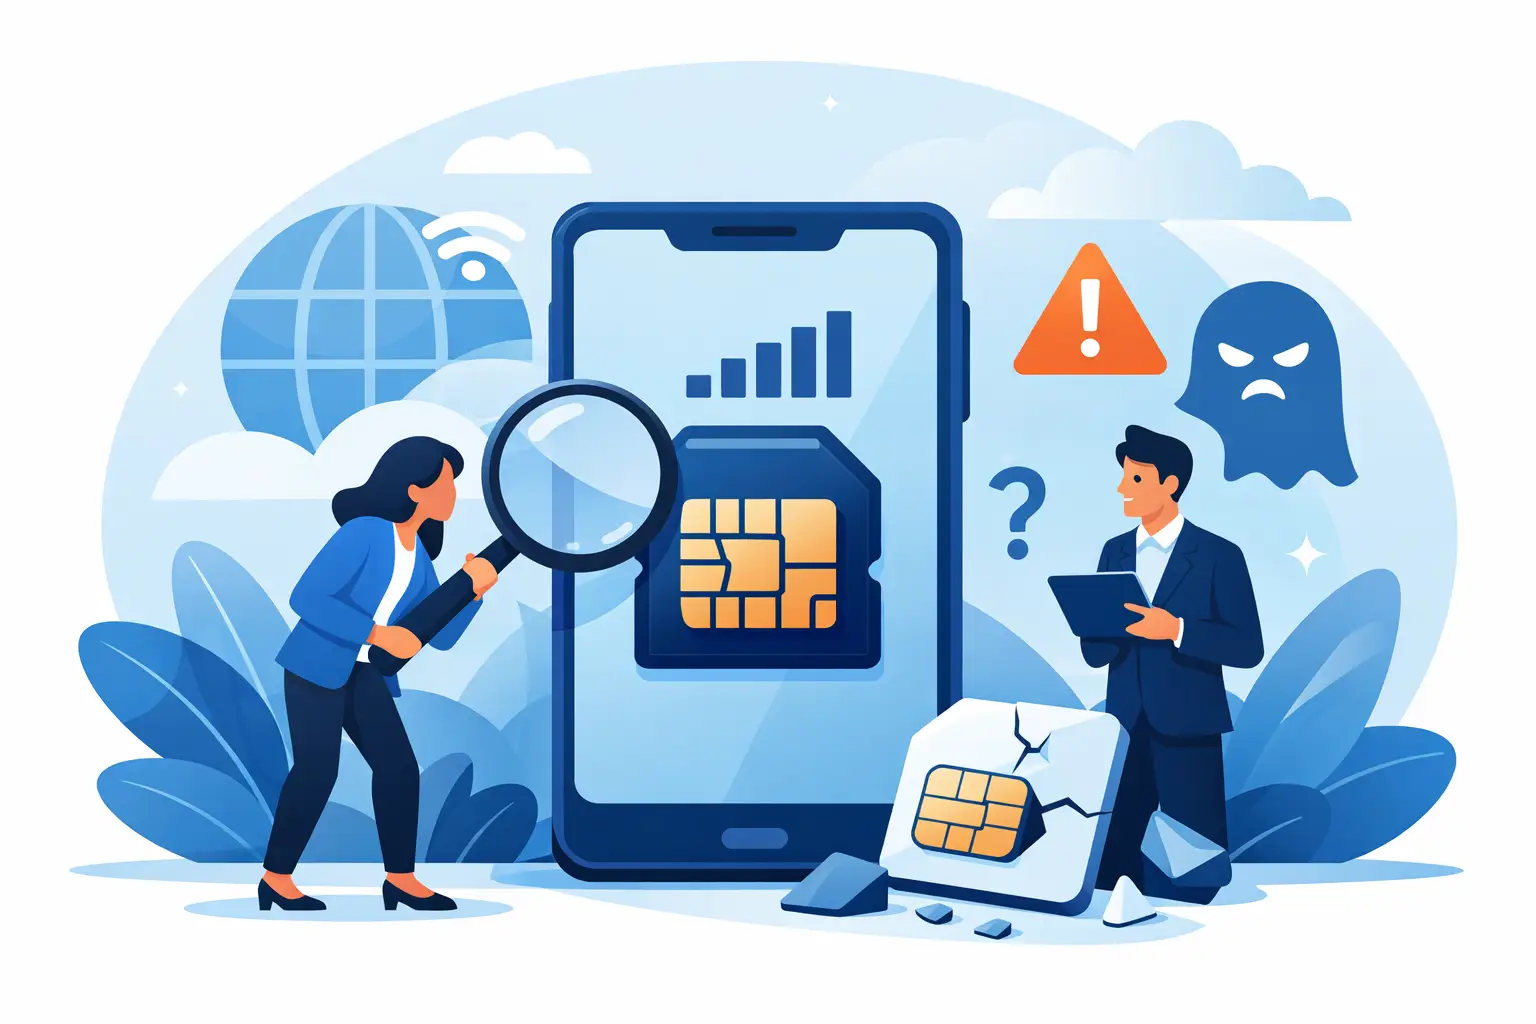
Most activation problems are not major. They are usually one of a few simple issues.
The first is that the eSIM was never fully installed. If you scanned the QR code but did not complete the final prompts, the plan may appear on your phone without being usable.
The second is incorrect line settings. The eSIM is on, but the primary line is still selected for mobile data, or data roaming is disabled on the travel line.
The third is carrier lock. This one is frustrating because everything looks right until the phone refuses the network. If your device is financed through a carrier or recently purchased, check lock status before travel.
The fourth is network delay. Sometimes the phone takes a minute or two to register on a local partner network after landing. Toggling the line off and on or restarting the device often helps.
The fifth is plan mismatch. A regional or country-specific eSIM only works where it is supposed to work. If your itinerary changed, or you bought the wrong destination, activation may fail for a valid reason.
There are cases where travelers intentionally wait to install the eSIM until they land. Maybe they are short on phone storage for profiles, maybe they are worried about selecting the wrong settings too early, or maybe they booked a last-minute trip and did not get to it before departure.
That can still work, but it is less forgiving. You are depending on airport Wi-Fi, your email access, and your ability to troubleshoot while moving through immigration, baggage claim, and ground transportation.
For most people, pre-installing and activating on arrival is the safer play. It is faster, less stressful, and easier to fix if something goes wrong. That is a big reason travel-focused providers like TapSim center the process around instant delivery now, setup before departure, and activation when you land.
If you want the closest thing to plug-and-go service, pay attention to APN settings, line labels, and your primary SIM behavior.
Many eSIMs configure APN settings automatically, but not all do. If your provider includes APN instructions, keep them handy. You probably will not need them, but if data does not work even after the line connects, this is one of the first things to check.
Line labels matter because airports are bad places for guesswork. If your phone shows “Secondary,” “Business,” and “Travel,” you should know exactly which one is which.
And if your home carrier charges heavily for international roaming, consider turning that line off completely during the trip unless you need it for SMS or two-factor codes. It reduces the chance of accidental charges.
Travelers do not buy eSIMs because they want a new hobby in mobile settings. They buy them because they want data fast after landing, with clear limits and no weird fine print. That is the standard to look for.
If a plan promises unlimited data but hides speed throttling, cuts hotspot access, or gets vague about fair use, that matters. Honest travel connectivity is not about flashy claims. It is about knowing what you are getting, setting it up once, and trusting it to work when you arrive.
So if your plan is to activate eSIM on arrival, the best move is simple: install before you fly, double-check your settings, and let landing do the rest. Your future self, standing in a busy arrivals hall trying to get to the hotel, will appreciate the favor.