eSIM for Business Travel: What to Know
Learn how esim for business travel cuts roaming costs, speeds arrival setup, and keeps teams connected with clear data limits and fewer surprises.

A virtual SIM card is a digital version of the plastic SIM you’ve used for years. It’s often called an eSIM (or embedded SIM), and it’s a tiny chip already built into your phone. Think of it as a permanent, rewritable SIM that you can activate with a data plan for almost any country you plan to visit, from Europe and Asia to the Americas.
For years, the first task for many travelers after landing was to find a local shop, figure out a data plan, and swap out their tiny home SIM card. A virtual SIM gets rid of that entire ritual. It transforms a physical chore into a quick digital setup, getting you online the moment you arrive.
The technology is integrated directly onto your device’s motherboard. When you buy a travel data plan, you’re essentially downloading a digital “profile” onto this chip. This profile contains all the information your phone needs to connect to local mobile networks wherever your travels take you.
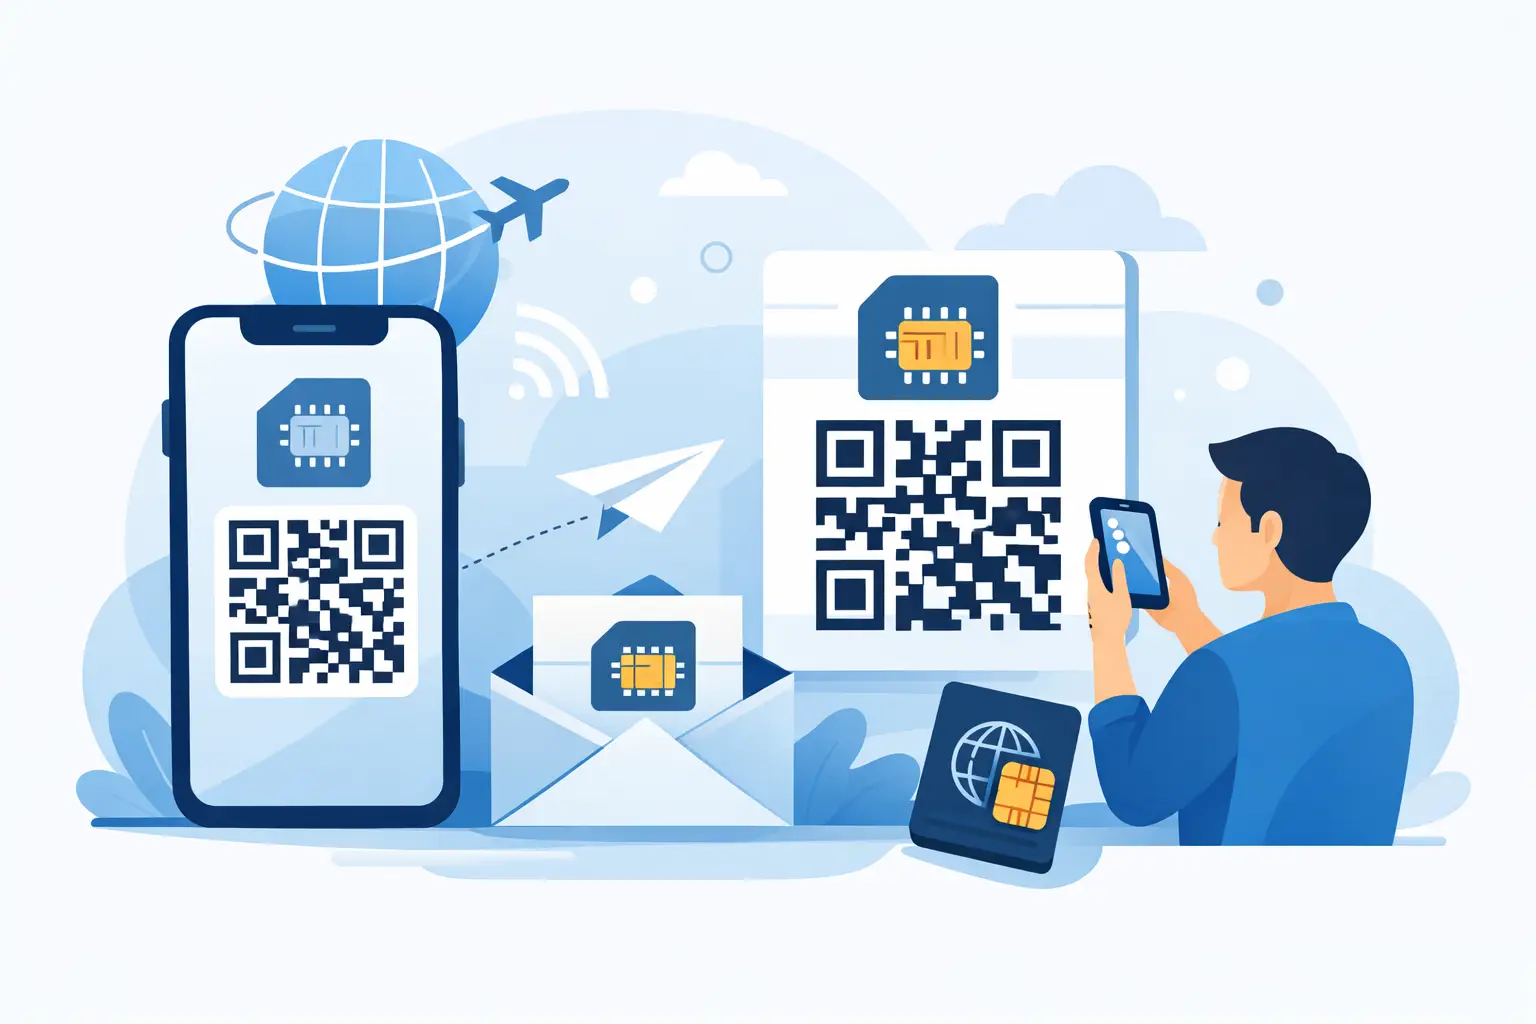
This graphic shows the simple jump from the old plastic card to the QR code that activates a modern eSIM.
The biggest advantage for any traveler is the convenience. Instead of fiddling with tiny pieces of plastic, you just scan a QR code, and you’re connected.
Switching to a digital SIM brings practical benefits that make international travel much less stressful. Here are a few key advantages from a traveler’s point of view:
For travelers, the choice between a physical SIM and a virtual one comes down to convenience and flexibility. Here’s a quick breakdown of how they compare.
| Feature | Traditional Physical SIM | Virtual SIM (eSIM) |
|---|---|---|
| Activation | Requires physical purchase and insertion | Digital activation, often via a QR code |
| Timing | Must be bought after arrival in the new country | Can be installed at home before your trip begins |
| Keeping Your Number | Requires swapping out your home SIM | Your primary number stays active for calls and texts |
| Security | Can be lost or damaged, requiring replacement | Embedded in the device, so it can’t be lost |
| Flexibility | Locked to one provider until you physically swap it | Can store multiple plans and switch between them |
The eSIM approach is designed for modern travel, removing the old barriers to getting connected quickly and easily.
If you want to dive deeper into the technology, you can learn more about what an eSIM is and how it works. It’s all about giving travelers a straightforward, fast, and fair way to access the internet, no matter where they are in the world.
So, how does your phone connect to a network in a new country without you swapping any plastic? The technology behind a virtual SIM card is much simpler than it sounds.
Inside most modern smartphones is a tiny, embedded chip—this is the ‘e’ in eSIM. The easiest way to think of this chip is as a blank, reusable SIM card that’s permanently part of your phone. You can’t take it out, and more importantly, you can’t lose it.
When you buy a travel data plan from a provider like TapSim, you get a QR code sent straight to your email.
Scanning this code is like downloading a new SIM profile directly onto that blank chip. The profile contains all the instructions your phone needs to connect to a specific local mobile network at your destination.
The entire process is digital, which means you can have your travel data sorted and ready to go before you even lock your front door.
The real beauty of this system is how quick and straightforward it is. It’s a smooth process designed for travelers who want reliable internet the second they step off the plane.
Here’s a simple rundown of the steps:
This means you can go from browsing plans on your sofa to being fully connected abroad in just a few taps. It completely cuts out the hassle of hunting for a local SIM shop, dealing with language barriers, or fumbling with a pin to open your phone’s SIM tray.
The shift away from physical SIM cards isn’t just about new technology; it’s a solution to the common frustrations travelers face. More and more globetrotters, from digital nomads to holidaymakers, are choosing a virtual SIM because it solves the biggest connectivity headaches abroad.
At its core, the appeal comes down to what every modern traveler wants: speed, simplicity, and control.
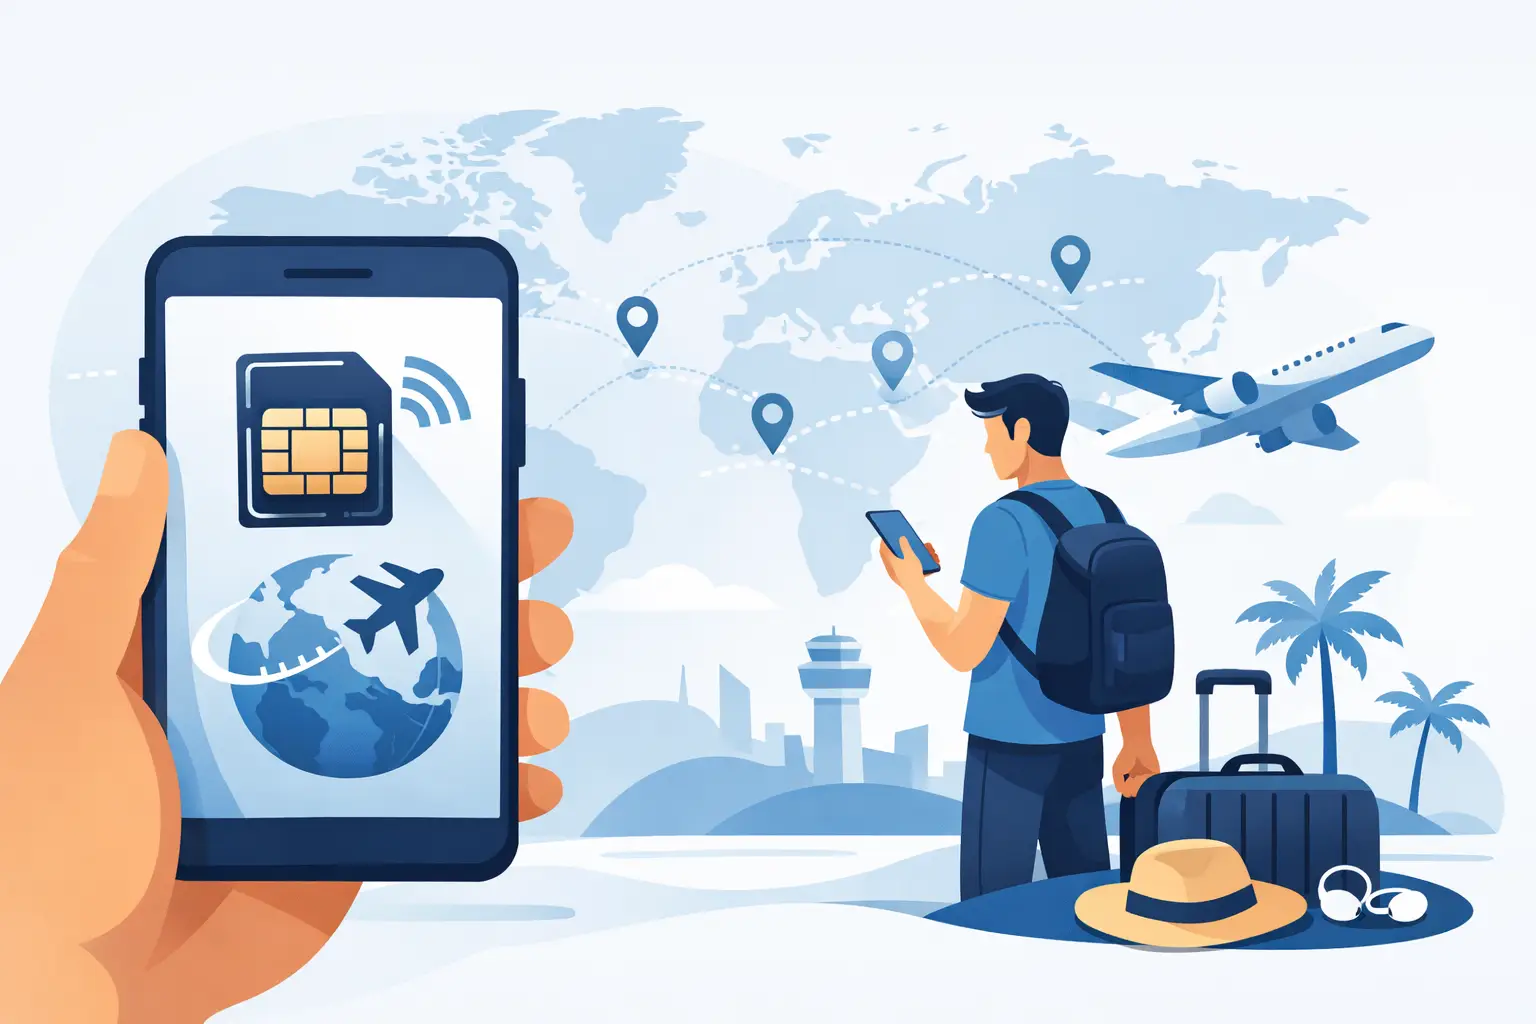
For most, the game-changer is having instant internet access the moment you arrive. Imagine landing after a long flight and, instead of searching for unreliable airport Wi-Fi, you can immediately order a ride, pull up your hotel on a map, or let family know you’ve arrived safely. A virtual SIM is pre-installed on your phone, ready to activate as soon as you touch down.
Beyond that initial convenience, virtual SIMs offer a flexibility that traditional plastic SIMs just can’t match. They upgrade your smartphone into a far more powerful and reliable travel companion.
A virtual SIM isn’t just a phone feature; it’s a practical travel tool. It eliminates the search for a SIM vendor, the confusion of foreign mobile plans, and the risk of losing your tiny home SIM card.
This straightforward approach lets you focus on enjoying your trip, not on worrying about how you’re going to get online. It’s simply a smarter, more modern way to manage your mobile data, giving you the freedom to travel without compromise.
Before you can enjoy the benefits of a virtual SIM, you need to answer one crucial question: does your phone support them? Checking this now will save you any hassle later and ensure you get the seamless global data you’re looking for.
Not all phones are equipped with eSIM technology, but finding out if yours is compatible takes only a few seconds in your phone’s settings.
Think of it this way: without eSIM support, your phone has no way to download and install a travel data profile. It’s like trying to play a Blu-ray on a DVD player – the hardware isn’t there. So, it’s vital to verify this first.
Here’s a quick way to check before you buy a plan:
If you see that option, your phone is ready! It means you can scan a QR code and have your data plan installed in minutes.
On an iPhone, you’ll typically find this by going to Settings > Cellular > Add Cellular Plan. If a screen pops up asking you to scan a QR code, your device has a built-in eSIM.
For Android users, the steps can vary slightly depending on the manufacturer (like Samsung or Google). Generally, you’ll head to Settings > Network & Internet > SIMs, and then look for an option to “Add eSIM”.
If you can’t find these options, your phone might be an older model or locked to your mobile carrier. Carrier-locking can sometimes disable the eSIM feature.
It’s also critical to ensure your device is carrier-unlocked. This allows your phone to connect to foreign networks when you travel. If it’s locked, you’ll encounter activation errors when you try to use your eSIM abroad.
We’ve put together a detailed guide to help you figure this all out. You can learn more about unlocking your phone and see a full compatibility list by checking our guide on your phone’s eSIM status.
With a compatible, unlocked phone, you can activate a TapSim data plan before you leave, giving you total peace of mind that you’ll be connected the moment you land.
Virtual SIMs aren’t just a niche gadget for tech-savvy backpackers anymore. They represent a fundamental change in how travelers get online around the world. The biggest names in tech, from phone manufacturers to mobile networks, are all embracing this technology.
Why the big shift? It’s simple: travelers are tired of the old hassles. We want more flexibility, less stress, and greater control over our mobile data abroad. This isn’t just a trend; it’s the new standard taking shape.
The fact that the entire industry is getting behind virtual SIMs is great news. It confirms that this technology is a solid, long-term solution for anyone who needs to stay connected on their travels.
As more networks and phone makers get on board, the whole system improves. For you as a traveler, this means:
The industry data tells the story. For example, the UK’s expanding eSIM market and its growth trends show a massive surge in adoption, proving that this is the future of travel connectivity.
All of this means that using a service like TapSim is only going to become an even smarter and more convenient choice for your future travels.
Ready to make the switch? Getting your first virtual SIM up and running is much easier than you might think. This guide breaks down the process into a few simple taps on your screen.
No more guesswork or fiddling with tiny plastic cards—just straightforward steps to get you connected.
The best part? You can do the whole setup from home before you even pack your bags, ensuring you land with mobile data ready to go.
Getting a virtual SIM sorted is a quick, four-step process that puts you in complete control. Here’s exactly how it works with a provider like TapSim:
Pro Tip: The best time to install your virtual SIM is at home before you leave. This way, it’s ready and waiting, and all you need to do upon arrival is flip a single switch in your settings.
As you prepare for your next trip, a few questions about virtual SIMs might come to mind. Here are clear, practical answers to some of the most common ones.
Yes, absolutely. Most modern phones have Dual SIM capability, which means you can use both a physical SIM and an eSIM simultaneously. This allows you to:
It’s the best of both worlds—you stay reachable on your home number while avoiding expensive data roaming charges.
Once your data runs out or the plan’s validity period ends, the virtual SIM simply becomes inactive. There are no surprise bills or hidden fees.
You can then delete the eSIM profile from your phone’s settings. For your next trip, you just purchase and install a new plan.
A travel eSIM works like a prepaid ticket: you pay for exactly what you need—a certain amount of data for a set period. Once it’s done, it’s done. No ongoing commitment.
Most travel eSIMs, including those from providers like TapSim, are data-only. This means:
You can use apps like WhatsApp, FaceTime, or Messenger to stay in touch with friends and family, all powered by your eSIM data.
Ready to experience seamless travel connectivity? Check available eSIMs on the TapSim website and get online the moment you land.