eSIM for Business Travel: What to Know
Learn how esim for business travel cuts roaming costs, speeds arrival setup, and keeps teams connected with clear data limits and fewer surprises.


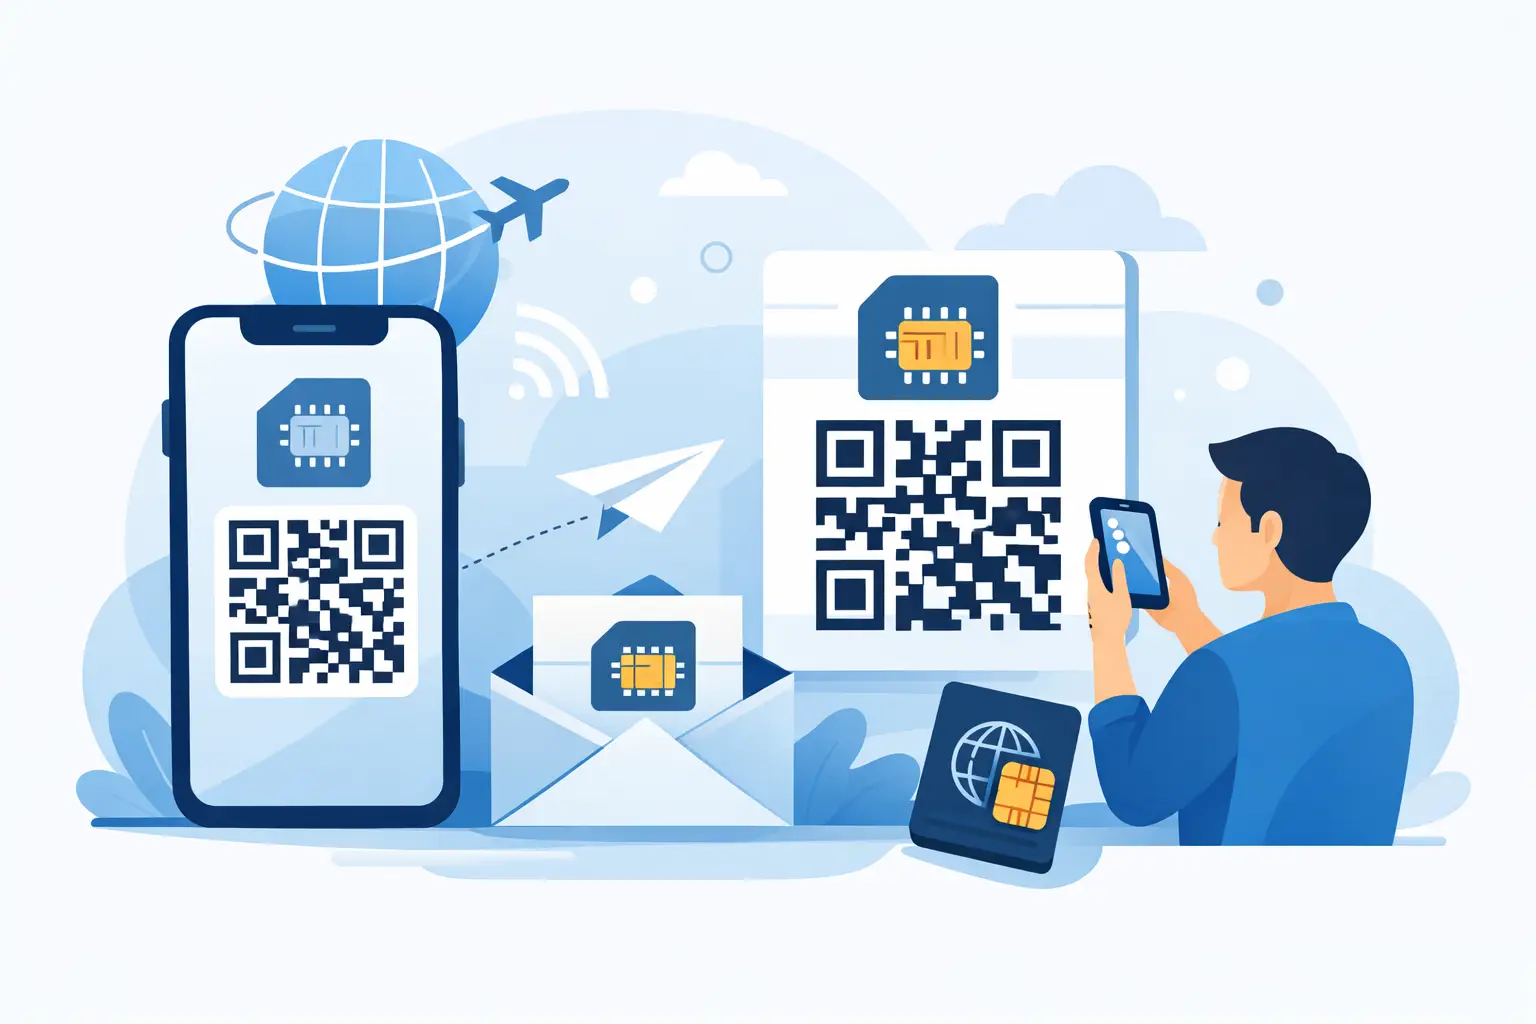
Ever landed in a new country, activated your travel eSIM, and then… nothing? No internet. It’s a common frustration for travelers, and the culprit is often a tiny, overlooked setting called the Access Point Name (APN).
Think of the APN as a digital gateway. It’s the specific address your iPhone needs to connect to your travel eSIM provider’s data network, letting you get online to use maps, book a ride, or message home.
At its core, an Access Point Name is just a set of instructions. It creates the handshake between your phone and the mobile network that allows a data connection to happen.
Back home, your regular mobile provider handles this automatically. Your phone just works, and you have no reason to think about APN settings. But that seamless experience can disappear when you travel, which is why understanding APN settings on an iPhone is an essential skill for anyone using a travel eSIM.
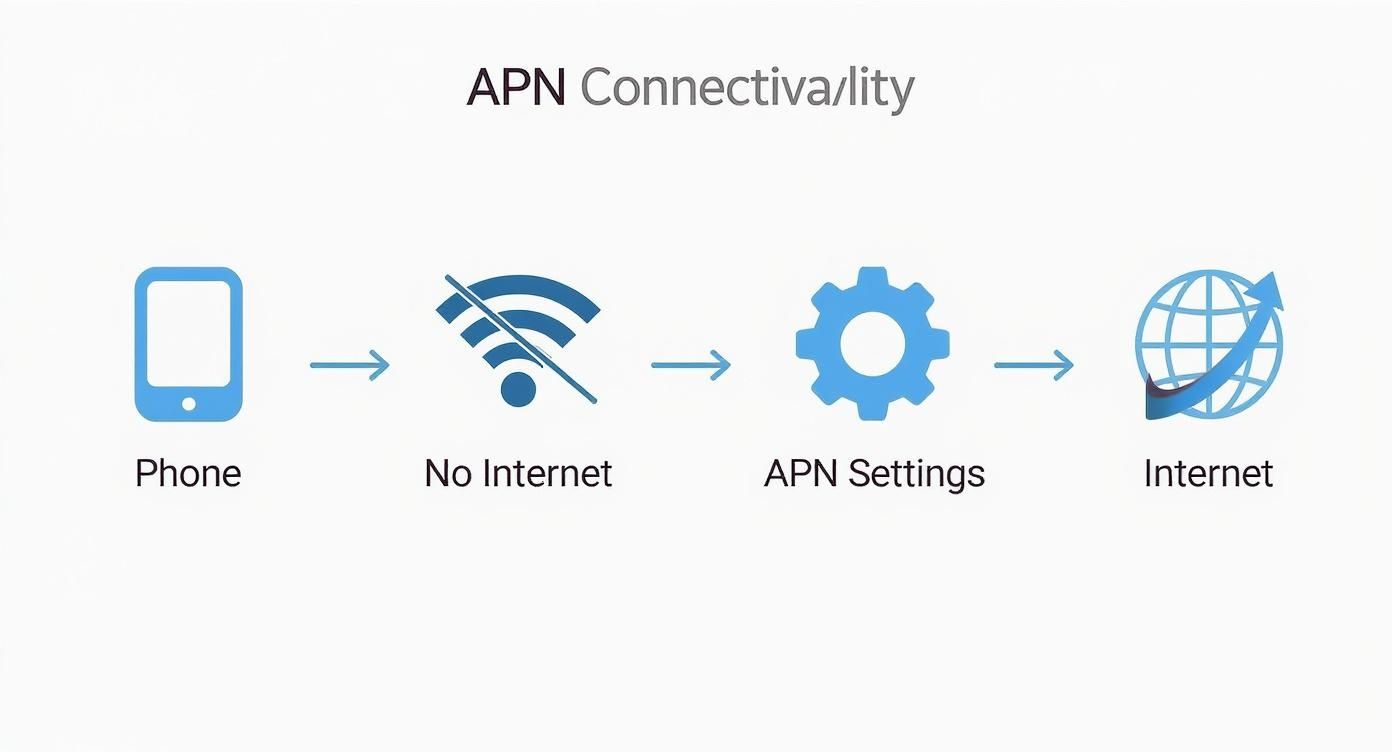
When you use a travel eSIM, you’re introducing your iPhone to an unfamiliar network. It doesn’t always know how to connect on its own, and many global networks require you to enter their APN details manually.
Without this crucial step, your iPhone can’t get an IP address or find the right secure gateway. You might see full signal bars, but you’ll have no mobile data. It’s like having a key but not knowing which door it opens.
You’ll usually be given a few details to enter:
internet or global.data.Here’s a good way to think about it: The APN is the specific slip road your iPhone must take to get onto the internet motorway. Your home carrier paves this road for you automatically, but on a new network, you sometimes have to lay the first few meters yourself.
Manual configuration used to be the norm. Early iPhone users often had to dig around for these details just to get online. While Apple has since automated this for most major carriers, it’s still a common and necessary step for many travel eSIMs.
Knowing how to quickly find and edit these settings makes all the difference between a frustrating start to your trip and getting connected the moment you land. It’s not about being a tech wizard; it’s about understanding how your phone works when you’re away from home—a vital part of avoiding nasty surprises from expensive mobile data roaming.
So, where are these all-important APN settings hiding on your iPhone? It’s a question many travelers ask when trying to get a new eSIM up and running. Thankfully, Apple keeps the process fairly straightforward, assuming your home mobile provider hasn’t locked the option away.
First things first, let’s locate that menu. Grab your iPhone and follow this simple path:
Once you’re in, you should see fields for APN, Username, and Password. These are the credentials that grant your phone access to the internet. Your travel eSIM provider will give you these details, usually in a confirmation email or on a support page.
It’s this simple configuration that bridges the gap between your device and a working data connection.
Now for a common roadblock. What happens if you follow those steps and the Mobile Data Network option is nowhere to be seen? It’s a surprisingly frequent issue, especially when you’re standing in an airport arrivals hall desperate to get online.
More often than not, the culprit is your primary mobile carrier. They sometimes lock or hide this menu to prevent users from accidentally changing settings and losing their connection at home. This is well-intentioned for daily use, but it becomes a real headache when you’re trying to use a different network abroad.
If you hit this wall, don’t panic. You still have a couple of options.
Actionable Takeaway: Before you leave for your trip, check if you can see the Mobile Data Network option on your iPhone. If you can’t, your best bet is to choose a travel eSIM provider that offers a configuration profile. This preparation will save you a world of stress when you land.
Taking a moment to do this quick check ensures you’re ready to edit your APN settings on your iPhone manually or use a workaround. It’s a small step that guarantees you can connect to your travel eSIM without frustrating delays.
Knowing where to look for the correct APN information is half the battle. If the details weren’t in your welcome email, don’t worry. Here’s a quick reference guide on where to find the correct APN settings for your travel eSIM.
| Method | Description | Pro Tip for Travelers |
|---|---|---|
| Provider’s Website | Most eSIM providers have a dedicated support or FAQ section with APN details. Use search terms like “[Provider Name] APN settings”. | Bookmark this page before you fly so you have it ready, even without an internet connection. |
| Welcome Email | Your travel eSIM provider almost always includes the APN, username, and password in the initial setup email. | Search your inbox for “APN” or “setup instructions.” Star the email for easy access. |
| Contact Support | If you’re truly stuck, reaching out to the provider’s customer support via live chat is a reliable option. | Have your order number handy to speed up the process. |
| Configuration Profile | Some providers, especially travel eSIM companies, offer a downloadable file that sets up the APN automatically. | Always check if your eSIM provider offers this, as it’s the fastest and most foolproof method. |
Remember, using the wrong details simply won’t work, so always double-check what you’re entering against the information provided by your eSIM provider.
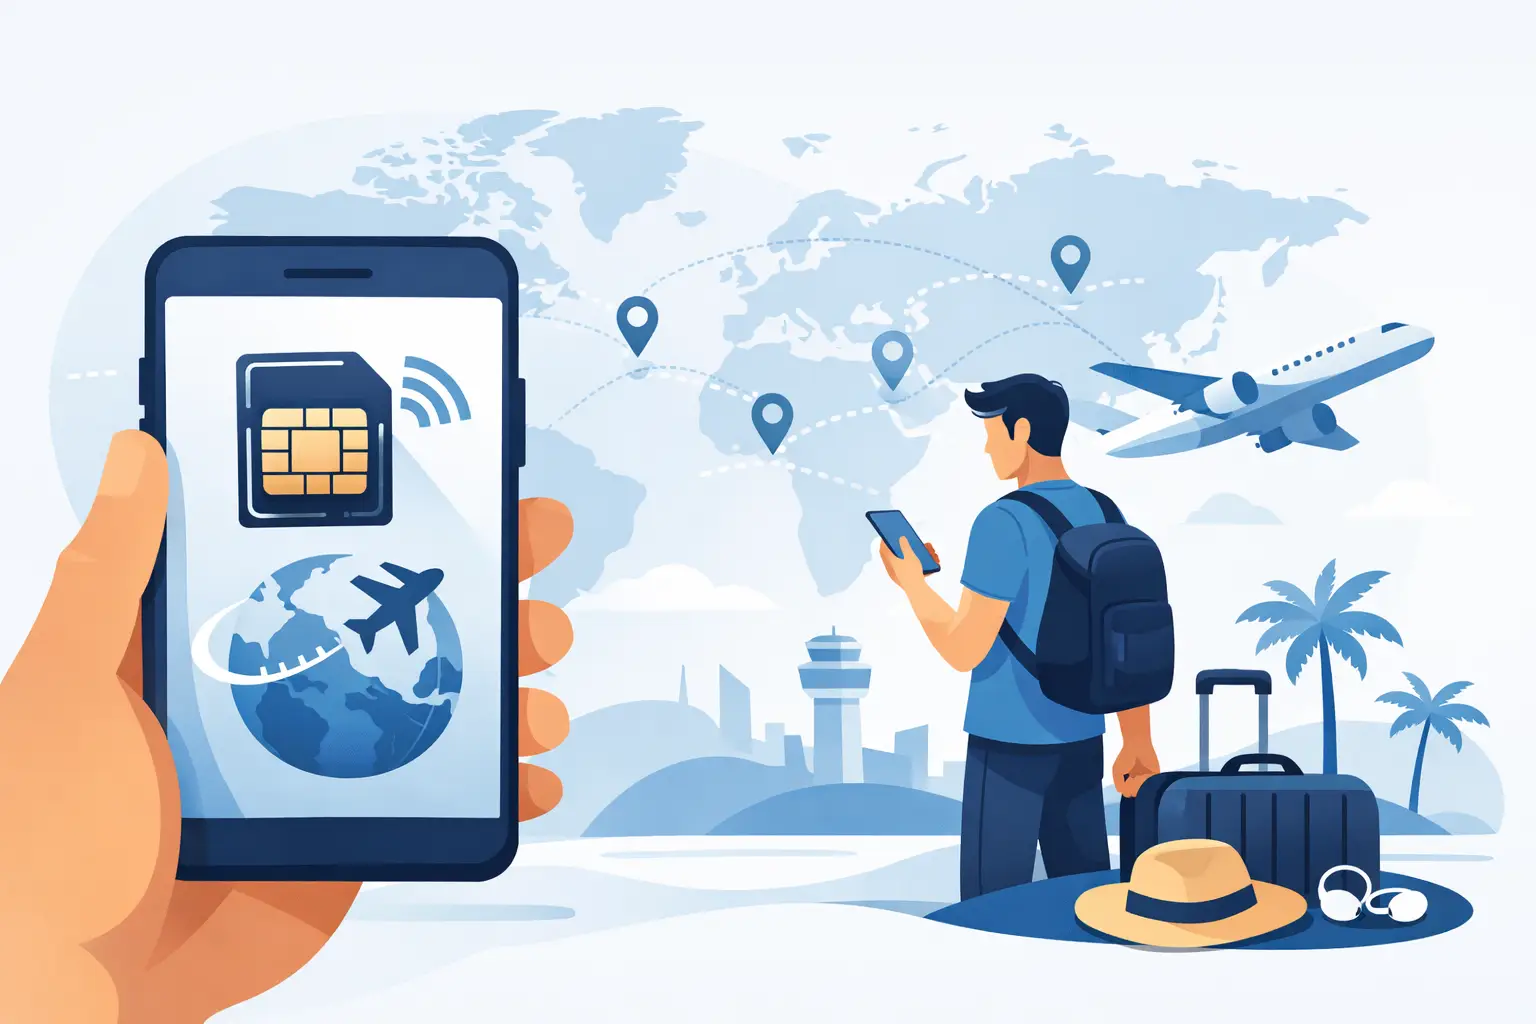
For any international traveler, getting your head around your iPhone’s APN settings is a game-changer. Your home network sorts this out automatically, but most travel eSIMs need a quick, one-time manual tweak to get you online abroad. It’s this small step that unlocks instant data the moment your plane touches down.
Picture this: you’ve just landed in Tokyo after a long flight. You already installed your travel eSIM at home, but you need data now to book a ride or find your hotel reservation. This is precisely when knowing how to configure your APN turns a potentially stressful moment into a smooth start to your trip.

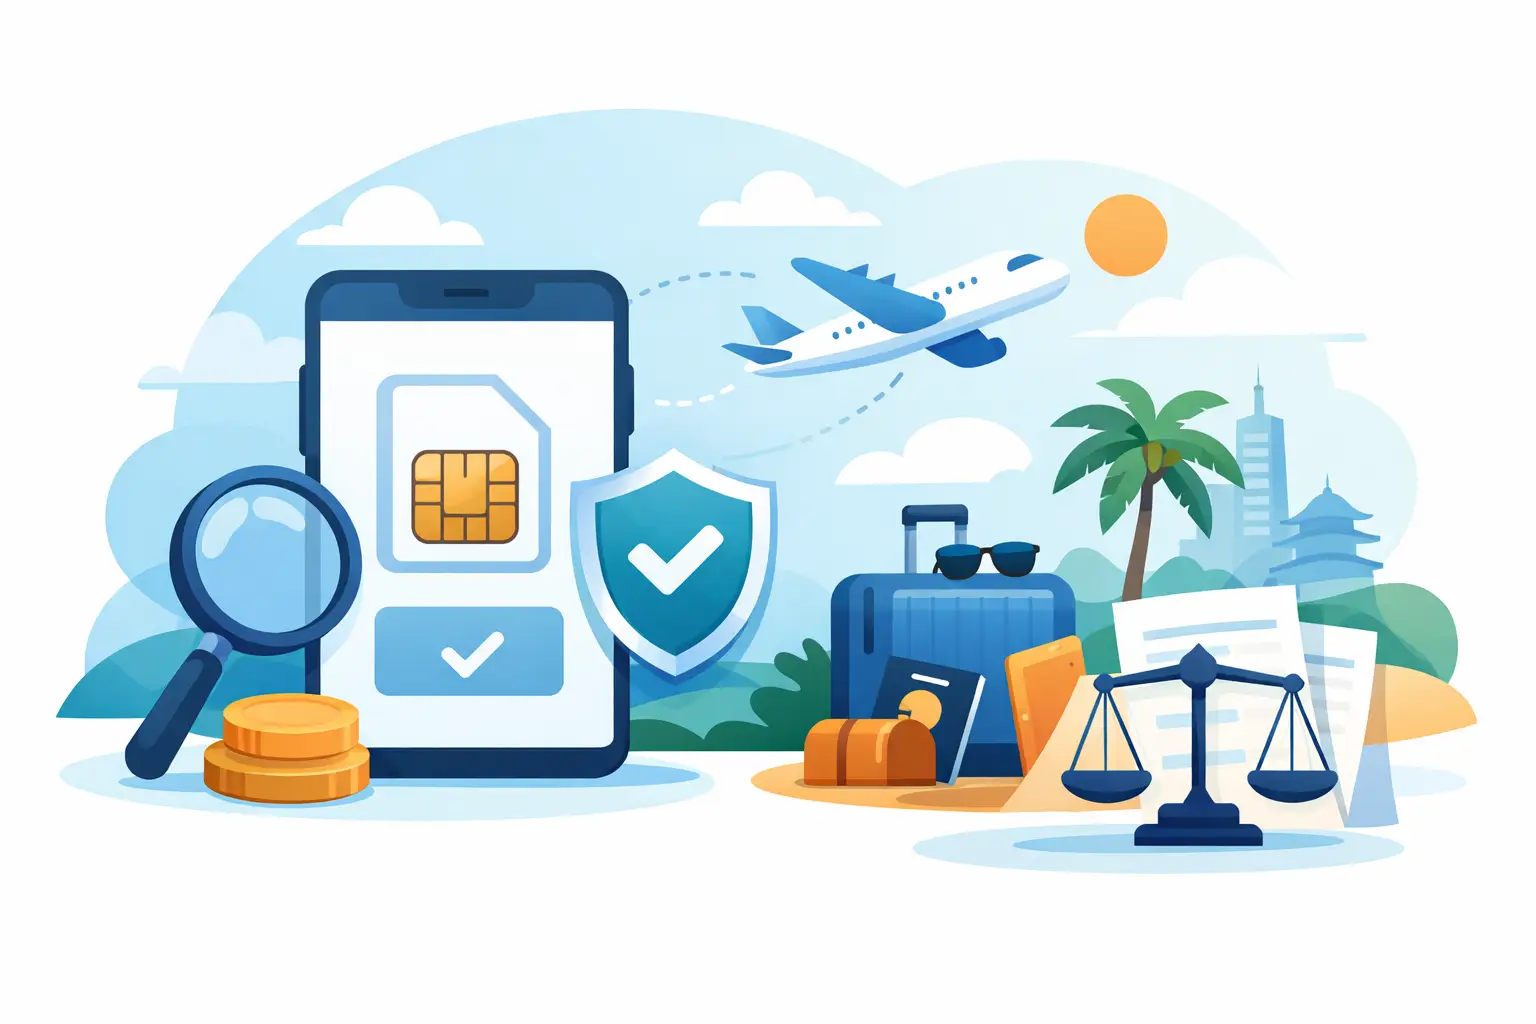
A hassle-free connection is all about preparation. Before you head to the airport, a few simple actions can make your eSIM activation completely seamless. It’s like packing your digital passport alongside your physical one.
These small preparations take just a few minutes but can save you time and frustration when you land.
Let’s run through a common scenario. You’ve just landed at an airport in Paris, ready for your European adventure. You switch your iPhone’s active data line to your new travel eSIM. You see full signal bars, but your apps won’t load. Here’s what to do:
globaldata). Unless you were given a username and password, you can leave those fields blank.Within moments, you should see the 4G or 5G symbol appear next to your signal bars. That’s it! You’re now connected and ready to navigate the Paris Métro, find the best local croissant, or message your family back home.
Pro Tip: If your data doesn’t connect immediately after entering the APN, try toggling Airplane Mode on for 30 seconds, then off again. This simple trick forces your iPhone to re-establish its connection with the local network and often resolves minor glitches.
As high-speed networks become the norm, correct APN configuration is more important than ever. In the UK, for instance, over 95% of mobile users are now on 4G or 5G, and having the right settings is essential for getting those top speeds. In 2024, one major UK operator even reported that 12% of new iPhone activations required a manual APN adjustment to get full 5G access.
So, you’ve landed, your travel eSIM is installed, and you’ve entered the APN details, but your iPhone stubbornly refuses to connect to the internet. It’s a frustrating moment—especially when you’re staring at a full set of signal bars. Don’t worry; this is a common hiccup and nearly always fixable with a few simple checks. Let’s walk through them, starting with the easiest fixes first.
Often, the culprit is something incredibly small. A single typo in the APN field is enough to stop the whole process. Before you do anything else, head back to Settings > Mobile Data > Mobile Data Network and meticulously double-check every character you’ve entered against the details your eSIM provider gave you.
Even a misplaced dot or a single wrong letter will prevent the connection from being established.
If you’ve confirmed the APN details are correct, it’s time to run through a few proven fixes. Following this order helps you rule out the most common issues. Think of it as a quick reset for your phone’s connection to the local network.
If you’ve tried these steps and are still without a connection, don’t give up. For a deeper dive into other potential issues, our guide on troubleshooting mobile data for travellers covers more advanced tips and scenarios.
Still no luck? The problem might be a bit more stubborn, but before considering a full network reset, there’s one more thing to verify.
Make sure the travel eSIM you want to use is actually enabled for mobile data. Go to Settings > Mobile Data and check that your travel eSIM is the one selected under the “Mobile Data” heading. It’s an easy setting to overlook, particularly if you’re juggling multiple eSIMs from previous trips.
As a last resort, the final option is to reset your network settings. This powerful tool wipes all your saved Wi-Fi passwords and cellular settings, giving your iPhone a completely clean slate. We’ll cover exactly when and how to do this in the next section.
By working through this checklist, you can systematically solve the most common APN settings issues on your iPhone. A quick toggle or a simple restart is usually all it takes to get you back online and ready to enjoy your trip.
Sometimes, you’ve tried everything—toggling Airplane Mode, restarting your phone—and your data connection still refuses to cooperate. That’s when it’s time to use the ‘Reset Network Settings’ option. It might sound drastic, but it’s often the quickest fix for deep-seated connectivity problems.
This reset gives your iPhone’s network connections a clean slate.
https://www.youtube.com/embed/ihyBEAIGvrc
Once you tap that button, your iPhone forgets every Wi-Fi network and password it’s ever saved. It also removes all paired Bluetooth devices and, most importantly, erases all existing cellular settings, including any custom APN details you’ve configured. The whole configuration goes right back to factory defaults.
So, when is it a good idea to take this step? It’s most effective in a few specific scenarios:
First, a word of warning. You’ll have to re-enter all your Wi-Fi passwords after this, so make sure you have them written down or stored somewhere safe before you begin.
Ready? Head over to Settings > General > Transfer or Reset iPhone > Reset. A menu will pop up—from there, just tap Reset Network Settings. You’ll need to enter your passcode, and then your iPhone will restart itself.
Think of it this way: if your mobile data is a car stuck in a massive traffic jam, a network reset doesn’t just switch lanes. It clears the entire motorway, giving you an open road to forge a new, stable connection.
This is especially useful for sorting out deep-rooted APN conflicts. Getting your APN configuration right is absolutely critical for decent data speeds. The average monthly data usage for a UK smartphone user has skyrocketed from just 200MB to over 12GB between 2010 and 2025.
And it’s not just about volume. A 2025 report from UK operator TalkMobile found that their users with correctly configured APN settings saw up to 30% faster downloads and experienced 25% fewer dropped connections. You can learn more about the impact of mobile data growth from recent studies.
Once your iPhone reboots, it’s as if it’s connecting to everything for the first time. You’ll need to rejoin your home Wi-Fi network and, crucially, re-enter the APN details for your travel eSIM from scratch.
It might feel like a hassle, but for those frustrating connectivity issues that just won’t go away, this reset is often the most reliable way to get your mobile data back on track. It ensures your APN settings on your iPhone are built on a solid, clean foundation.
Even after walking through the steps, you might still have a few questions about how this all works in the real world. Here are quick, practical answers to the most common questions from travelers.
This is the number one frustration travelers run into. You go to your mobile data settings, but the Mobile Data Network option is missing. Don’t worry, your phone isn’t broken.
Some mobile carriers lock this feature to prevent customers from accidentally changing the settings and losing their data connection at home. For travelers, this is a real headache. If you’re in this situation, your best move is to use a travel eSIM provider that offers a configuration profile. It’s a small file that automatically sets up the right APN for you, completely bypassing that locked menu. With TapSim, travelers can activate data instantly, even if settings are locked.
Not always, but it depends on your SIM. If you’re using your home carrier’s roaming plan, your APN settings will stay the same.
However, the moment you install a travel eSIM for a specific country or region, you’ll almost certainly need to update the APN. Think of the APN as a unique address for each network’s internet gateway. An eSIM for Europe will have a different APN from one you’d use in Japan, and your iPhone needs the right one to get online.
Rule of Thumb: A new SIM or eSIM means a new network. A new network almost always requires new APN details. It’s the one small step that activates your entire data plan.
Don’t panic—entering the wrong APN details won’t harm your iPhone. The worst thing that can happen is your mobile data simply won’t work.
Even with full signal bars, your phone won’t be able to find the correct path to the internet, leaving you offline. The fix is simple: just go back into the settings, clear out the wrong information, and carefully type in the correct details your provider gave you. Once you save the right settings, your data connection should kick in within a few seconds.
Ready to travel without hunting for Wi-Fi or dreading your next mobile bill? TapSim offers instant, affordable eSIMs for over 150 destinations, so you’re connected the second you land.
Check available eSIMs on TapSim.net and make your next trip smoother.