eSIM for Business Travel: What to Know
Learn how esim for business travel cuts roaming costs, speeds arrival setup, and keeps teams connected with clear data limits and fewer surprises.

Getting your iPhone unlocked for any network is a straightforward process, but it starts with a few key checks. The only reliable and safe way to do it is by going directly through your mobile carrier. This means you’ll need to meet their requirements, like finishing your contract or making sure your account is in good standing.
Let’s walk through everything you need to know to get your iPhone ready for travel.
Before contacting your carrier, it’s wise to run a quick pre-flight check. Spending a few minutes getting your information in order will save you a massive headache later and help ensure your request goes through smoothly.
You wouldn’t show up at the airport without your passport, right? The same logic applies here. Don’t start an unlock request without these key details ready to go.
To make it even easier, here’s a quick summary of the essential checks every iPhone user should run through before starting the unlock process. Ticking these boxes first is your best bet for a smooth experience.
| Check | Why It Matters | How to Verify |
|---|---|---|
| IMEI Number | This 15-digit number is your phone’s unique ID. Your carrier needs it to find and unlock your specific device. | Dial *#06# on your phone, or find it in Settings > General > About. |
| Device Is Paid Off | Carriers won’t unlock a phone that still has an outstanding balance on a payment plan. | Log in to your carrier’s online account or check your latest bill for device payment details. |
| Not Lost or Stolen | If a phone is on a shared network blacklist, it can’t be unlocked. This is a security measure. | This is usually fine if you bought it new. If you bought it second-hand, a third-party IMEI checker can be useful. |
| Carrier Eligibility | Your account must meet specific criteria, like being active for a certain time and having no overdue bills. | Visit your carrier’s official website and search for their “device unlocking policy.” |
Getting these four things confirmed is half the battle won. Once you’ve got the green light on all of them, you’re ready to move forward with the actual request.
Every phone has a unique 15-digit identifier called an IMEI (International Mobile Equipment Identity). Think of it as your phone’s fingerprint. Your network provider will ask for this to identify your exact device in their system and authorise the unlock.
Luckily, finding it is simple. You have two options:
Jot this number down somewhere handy. You’ll need it very soon.
Carriers are strict about which devices they’ll agree to unlock, and it all comes down to the phone having a clean record. This boils down to two main points.
First, the phone has to be fully paid off. If you got your iPhone on a monthly payment plan, you’ll need to settle the full balance before your carrier will consider your request. This is one of the most common reasons unlock requests are denied.
Second, the iPhone can’t be reported as lost or stolen. Carriers share a central database of blacklisted devices to combat theft. If your phone’s IMEI is on that list, no network will touch it. It’s a security measure that protects everyone.
This is where the details really matter. Every mobile network has its own set of rules for unlocking a device. While the specifics might differ between providers, they generally focus on your contract status and account history.
Before you do anything else, find the official unlocking policy on your carrier’s website. A quick search for their policy will tell you exactly what you need to qualify, saving you from a potentially long and frustrating call.
You’ll usually find requirements like these:
Nailing down these prerequisites is the key to a hassle-free unlock. Once you’ve confirmed your iPhone and account tick all the boxes, you’re ready. While you’re at it, it’s also a great time to check if your phone model supports modern connectivity options like eSIM. Knowing this opens up a world of flexible data solutions when you travel.
Right, you’ve done your homework and confirmed your iPhone is eligible. Now for the main event: asking your carrier to unlock it. This is the only legitimate, safe, and permanent way to free your phone from its network.
Every provider has its own process, but thankfully, most have made it easy to submit a request online. The goal is to get your request into their system so they can release the software lock.
Most carriers have realised we all want a straightforward, self-service option.
Here’s how you’ll typically get it done:
This flowchart breaks down the journey into three simple stages. You start by finding your IMEI, then check your eligibility, and only then do you move on to the actual request.

Following this order prevents frustrating delays. There’s nothing worse than getting halfway through the process only to realise you’re missing a key piece of information.
Whether you’re with a carrier in Europe, the Americas, or Asia, the core process looks surprisingly similar. The web pages might have different branding, but the information they need is universal.
Be prepared to provide the following:
Once you hit “submit,” their system gets to work verifying everything. If it all matches up, your request moves into the queue.
And now, you wait. The time it takes can vary. Some networks have automated systems that can process an unlock in 24 to 48 hours. Others rely on manual checks, which could stretch the wait out to 7-10 working days.
Traveler’s Tip: Don’t leave this to the last minute! Kick off the unlock request well before you travel. An unexpected delay could leave you stuck at your destination with a phone that won’t accept a local SIM.
Your carrier will let you know once it’s done, usually with an email or a text. That confirmation is your green light, but you’re not quite finished yet. You’ll still need to test that the unlock actually worked—a crucial final check before you head to the airport.
Stick with your carrier. It’s the only way to get a permanent, legitimate unlock that won’t mess with your warranty or phone’s security. Shady third-party services often use unreliable methods that can be wiped out by the next iOS update, leaving you high and dry. The official process registers the unlock with Apple’s own activation servers, so it’s for good.
Globally, consumer protection laws are giving users more freedom. For example, some regulations require carriers to provide clear and timely unlocking policies, as seen in places like the UK. You can read more about how UK mobile policies have evolved on MacRumors.com.
This global shift towards more consumer freedom is great for travelers. By going through your carrier, you’re making sure your iPhone is truly yours to use with any network, anywhere. That freedom is exactly what makes travel easier with solutions like TapSim, where you can install a data eSIM and get connected instantly on your newly unlocked phone.
You’ve got the email. Your carrier says the phone is unlocked. That’s a huge relief, but it’s always best to double-check. For any traveler, this isn’t just a suggestion—it’s essential. The last thing you want is to land in a new country, excited to explore, only to find your new local SIM card is useless.
Taking a few moments to verify the unlock gives you total peace of mind. Thankfully, there are a couple of simple ways to be absolutely certain your iPhone is ready for global adventures.
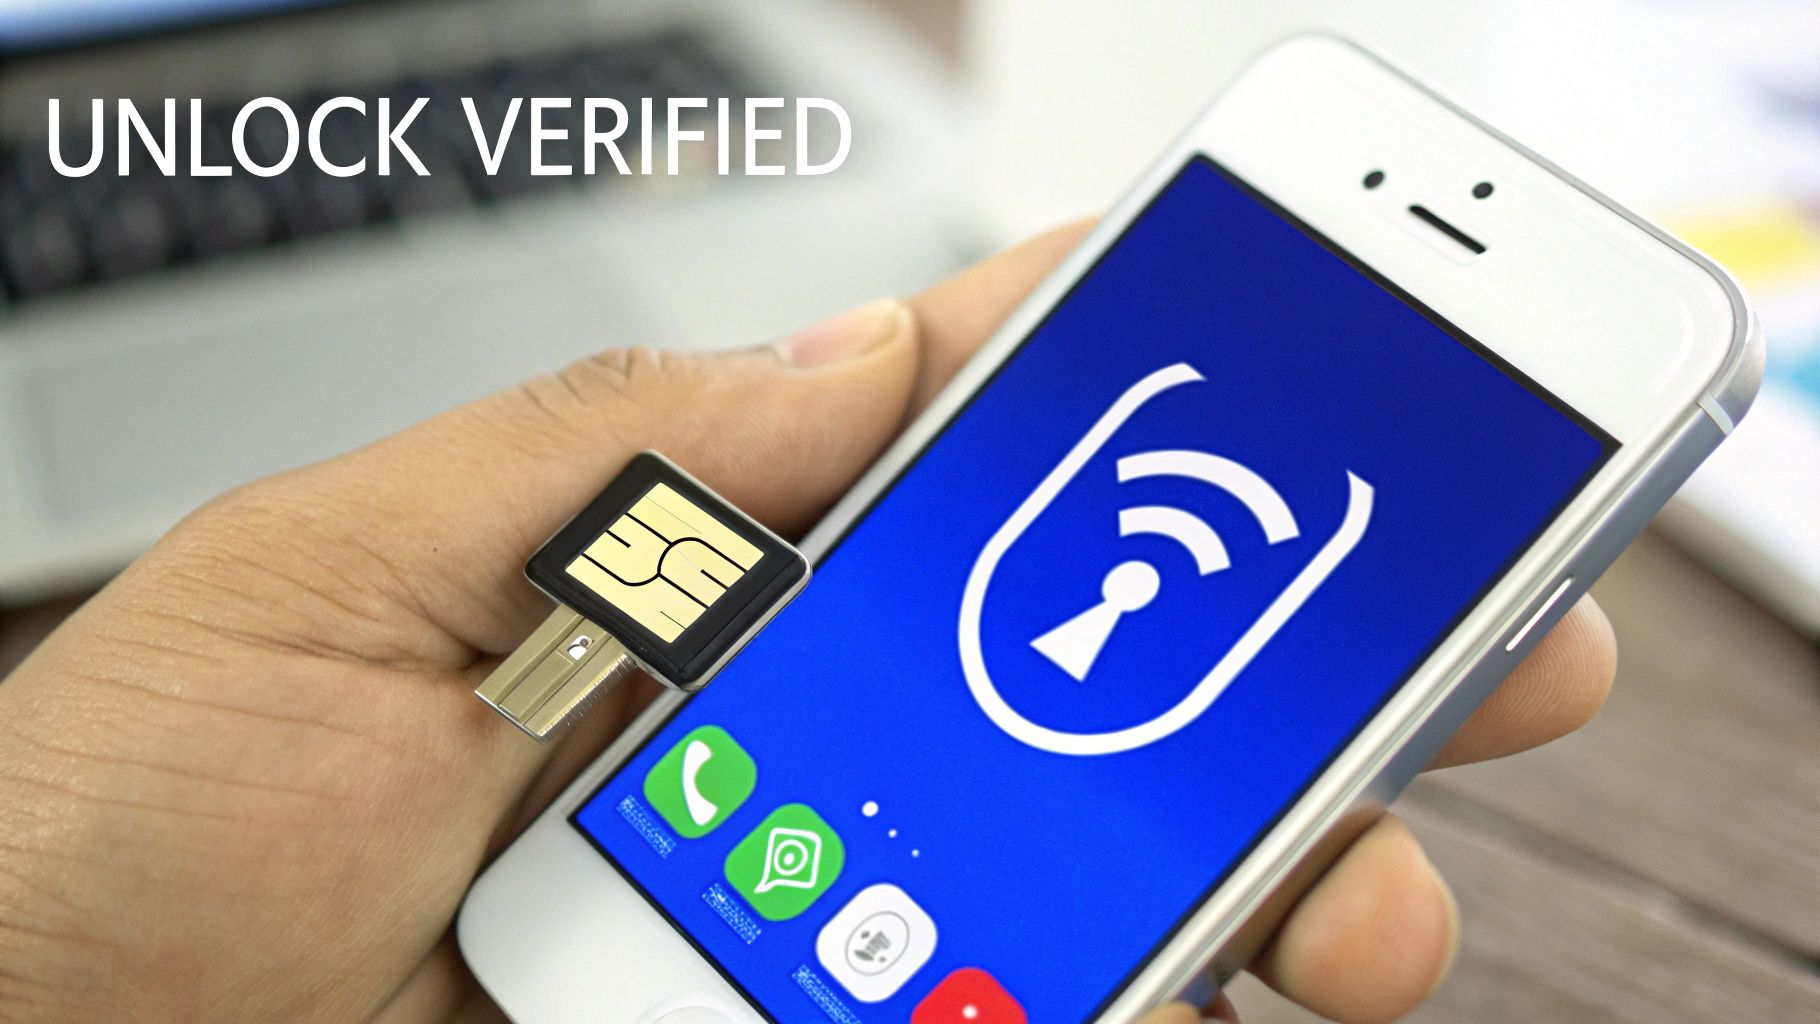
Want the most definitive proof? The best way is to pop in a SIM card from a different network. This is a real-world test that leaves no room for doubt.
It’s easy to do. All you need is a SIM from a friend or family member who uses a different carrier.
Here’s the plan:
If it boots up, connects to the new network, and you see signal bars with the new carrier’s name at the top of the screen, you’re golden. Your iPhone is officially unlocked. If you get a “SIM Not Supported” error, the unlock didn’t go through properly, and you’ll need to contact your carrier.
Apple also built a quick status check right into iOS. While it’s not as conclusive as a physical SIM swap, it’s an excellent first step and takes only a few seconds.
Just head over to: Settings > General > About.
Scroll down until you find the Carrier Lock field. If your phone is truly unlocked, you’ll see a beautiful sight: “No SIM restrictions”. That’s the digital confirmation you’ve been waiting for.
For travelers, seeing “No SIM restrictions” is the green light. It’s your confirmation that the device is ready for international SIMs or convenient travel eSIMs without any fuss.
This simple check can save you a world of frustration down the road.
Once you’ve confirmed your iPhone is unlocked, you’re almost there. An unlocked phone is a traveler’s best friend, but one final check can ensure you hit the ground running.
When you insert a new SIM, your iPhone usually configures itself for mobile data automatically. But sometimes, it needs a little nudge. This is where knowing about APN (Access Point Name) settings can be a lifesaver. If you’re curious about how to make sure your data works flawlessly wherever you go, you can learn how to manage your APN settings on your iPhone.
By running through these final checks, you’re setting yourself up for a smooth, connected trip. An unlocked iPhone, properly confirmed and ready, means you can land, activate a TapSim eSIM in minutes, and start exploring without missing a beat.
You’re getting ready for a trip, only to discover your iPhone is locked to your carrier. It’s a frustrating moment, and the temptation to find a quick, cheap fix online is strong. A quick search will throw up dozens of third-party services promising instant unlocks, but this is a massive gamble.
These services operate in a legal gray area, and you’re essentially handing over sensitive device information to an unknown party. That promise of a fast, easy solution often comes with hidden risks that can jeopardise your security, your phone’s functionality, and your travel plans. The only way to guarantee a safe and permanent result is by sticking with your carrier’s official process.
To attempt an unlock, these unofficial services need your iPhone’s IMEI number. Think of this 15-digit code as your phone’s unique digital identity. Giving it to an unverified third party is a serious security risk.
In the wrong hands, your IMEI could be cloned, used for fraudulent activities, or even reported as stolen and added to a global blacklist. This would not only expose your personal data but could also turn your expensive iPhone into a useless brick. Your carrier, on the other hand, already has this information and is bound by strict data protection laws.
One of the most immediate casualties of using an unauthorised service is your Apple warranty. It will almost certainly be voided. Apple and its authorised service partners have ways of knowing when a device has been tampered with.
If something goes wrong down the line—a hardware failure, a battery problem—you’re on your own. Apple will likely refuse to service the device, leaving you facing a hefty repair bill. The small amount you might save on an unofficial unlock simply isn’t worth losing that crucial safety net.
Perhaps the most frustrating risk for a traveler is that these unofficial unlocks are often temporary. Many of them rely on software loopholes to trick the phone into thinking it’s unlocked.
The real problem arises when you update your iOS. Apple’s software updates are designed to patch these exact kinds of vulnerabilities. The next time you update, the software will likely detect the unauthorised change and your iPhone will re-lock itself to the original carrier.
This can happen at the worst possible moment—like right after you’ve landed in a new country. You’ll be left stranded without a connection, facing sky-high roaming fees. It completely defeats the purpose of unlocking your phone in the first place.
Only an official unlock from your carrier is permanent because it’s registered directly with Apple’s activation servers. It’s the only method that gives you the peace of mind and reliability you need when traveling.
What if your iPhone is still locked, you’re stuck in a contract, or you just don’t have time to deal with your carrier before your trip? This is a common headache for travelers, but there’s a modern solution that sidesteps the issue: eSIM technology.
Even if you can’t get your iPhone unlocked right now, you might still have a powerful tool at your disposal. Most modern iPhones are Dual SIM devices, which means they have both a physical SIM slot and a digital eSIM. Crucially, a network lock often only applies to the physical slot, leaving the eSIM functionality open and ready for a new plan.
This is where eSIMs are a real game-changer for anyone traveling abroad. You can keep your primary SIM card in your phone—locked or not—to receive calls and texts on your usual number. At the same time, you can install a data-only eSIM for your destination, giving you affordable, high-speed internet without getting hit by expensive roaming charges.
This dual-SIM approach gives you the best of both worlds:
With a provider like TapSim, the process couldn’t be simpler. You just choose your destination, buy a plan, and get a QR code to activate it on the spot. It’s a completely stress-free way to guarantee you have data the moment your plane touches down. For a detailed walkthrough, check out our guide on how to activate an eSIM on your iPhone.
Let’s be realistic—dealing with mobile contracts and unlocking policies can be a hassle. Even in regions where the process has improved, it can still take time. For example, some regulators require operators to complete unlocks within 10 working days, which has helped, but that’s a long time to wait.
Waiting up to two weeks just isn’t an option when your flight leaves in a few days. This is exactly the kind of scenario where an eSIM becomes an invaluable travel partner.
An eSIM is your plan B that often works like a plan A. It bypasses the need for an unlocked physical SIM slot for data, offering a fast, reliable, and affordable connection in hundreds of destinations worldwide.
It’s the perfect workaround when you’re short on time or your phone is still tied to a contract. You get all the benefits of local data without the administrative headache. For the modern traveler, this kind of flexibility isn’t just a nice-to-have—it’s essential. It means less time worrying about connectivity and more time actually enjoying your trip.
Thinking about unlocking your iPhone, especially with a trip coming up, can feel a bit daunting. You’ve probably got a few questions. Let’s get them sorted so you can plan your travels with confidence.
This is the big one, and the honest answer is: it depends entirely on your mobile network. Some providers have automated systems that can get your phone unlocked in as little as 24 to 48 hours after you submit an eligible request.
However, it’s more common for networks to give themselves a window of 7-10 working days. This often comes down to manual checks on their end or waiting for the request to process through Apple’s global servers.
My advice? Kick off the unlock process at least two weeks before you fly. Building in that buffer time will save you from the stress of finding out there’s a delay right before you’re supposed to leave.
No, not at all. Unlocking your iPhone is a completely separate process from your service contract. Your agreement with your provider stays exactly as it is, and you’ll need to keep up with your monthly payments until the contract term is up.
Think of it this way: unlocking just frees the device from the network. Your service plan is a separate agreement. If you want to cancel your service, you’ll need to go through that specific process with your carrier, which might include early termination fees.
This is a fantastic question, and the answer can be a real game-changer for travelers. Even if your phone is locked, it’s often just the physical SIM slot that’s restricted. The eSIM inside your iPhone might be completely open and ready to use.
This means you could install a travel eSIM for affordable data abroad while your main SIM from home stays in the phone.
Here’s how to find out if this will work for you:
Running this simple check could open up a world of connectivity, even if your phone is still technically locked to your home network.
An unlocked iPhone gives you the ultimate freedom to connect anywhere. For a simple, honest data solution on your unlocked device, TapSim offers instant eSIMs for over 150 destinations. Get your plan before you fly and land connected. Check available eSIMs on the official TapSim website.