Best eSIM for Europe Trip: What to Pick
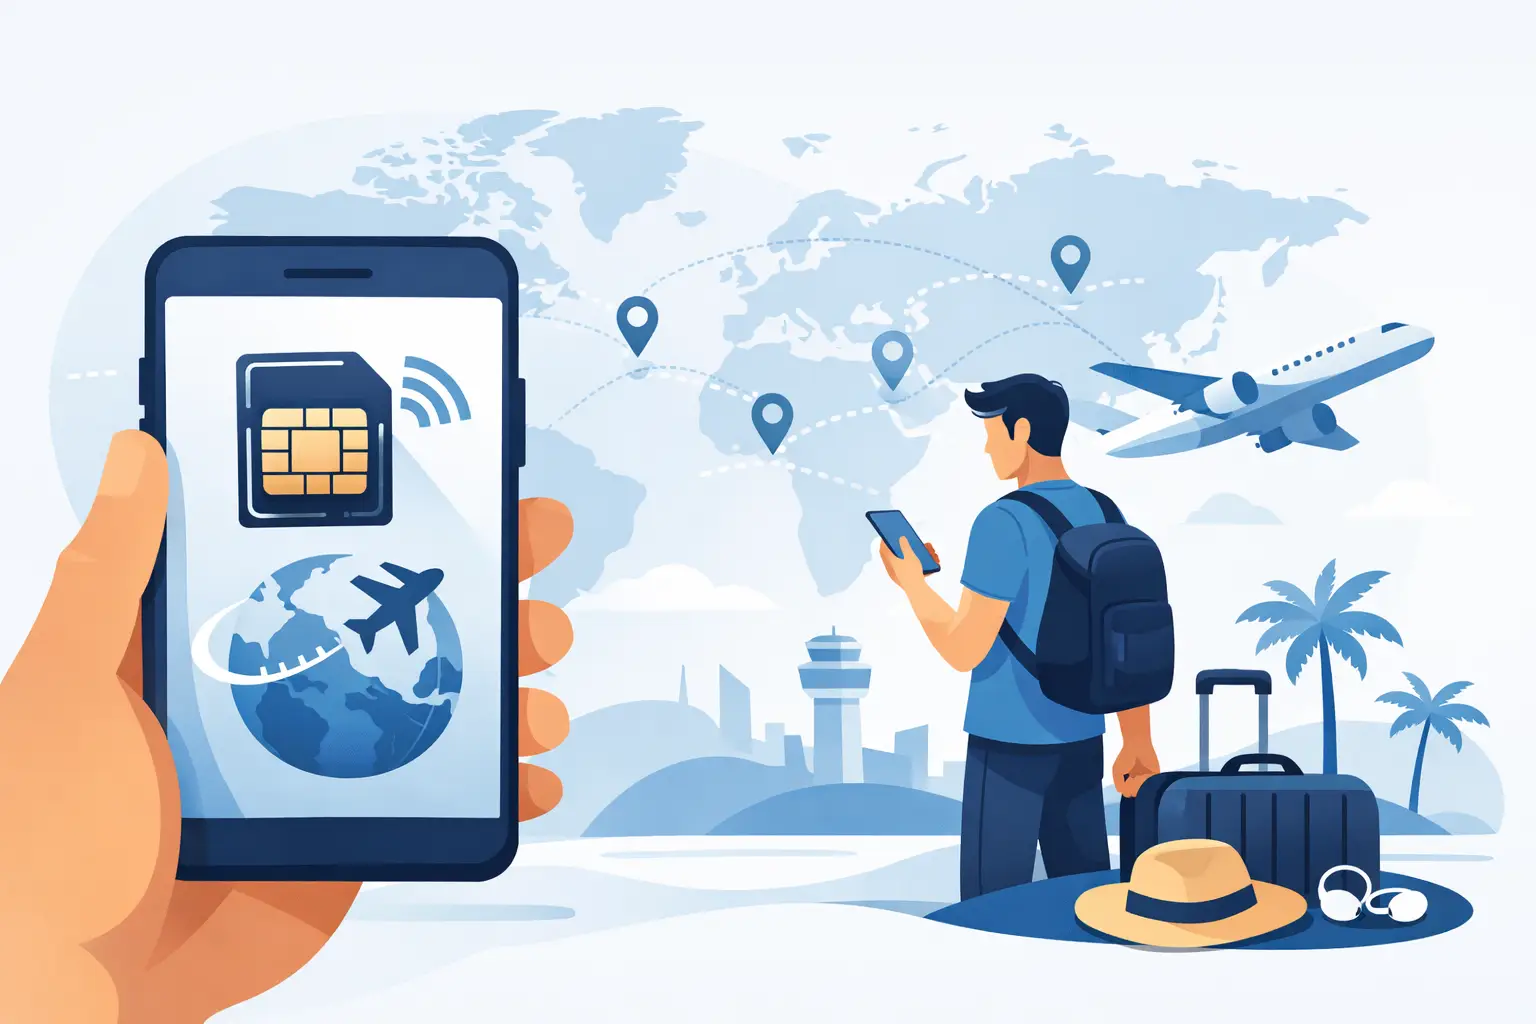
Looking for the best esim for europe trip plans? Compare coverage, speed caps, hotspot rules, and pricing to avoid roaming fees and surprises.

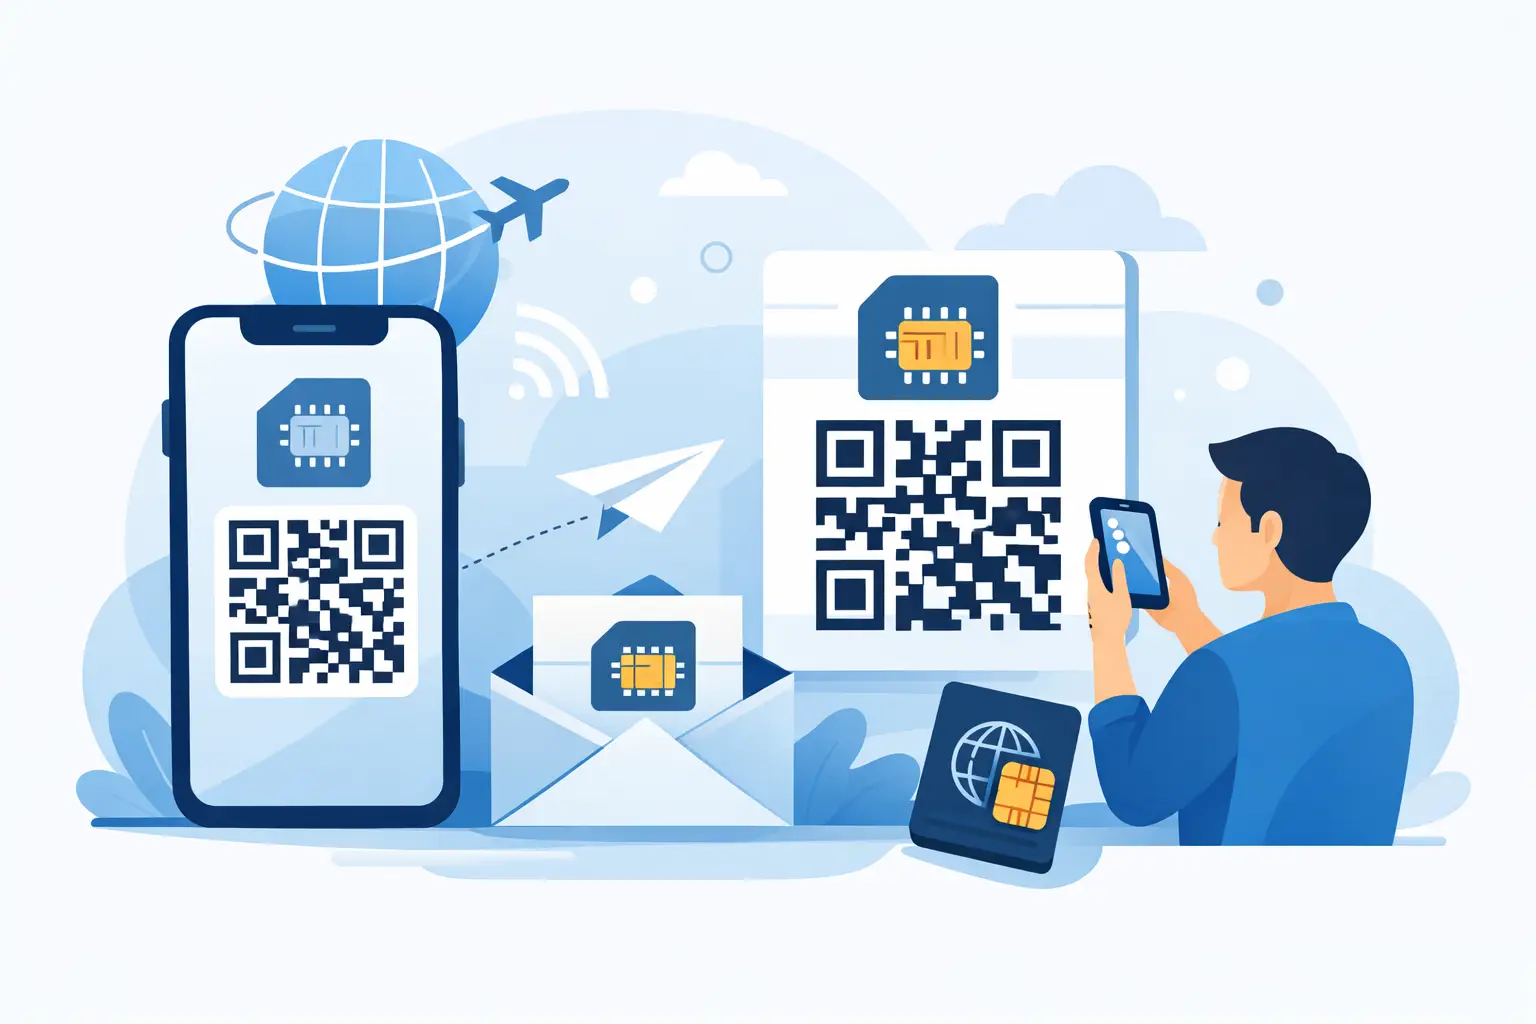
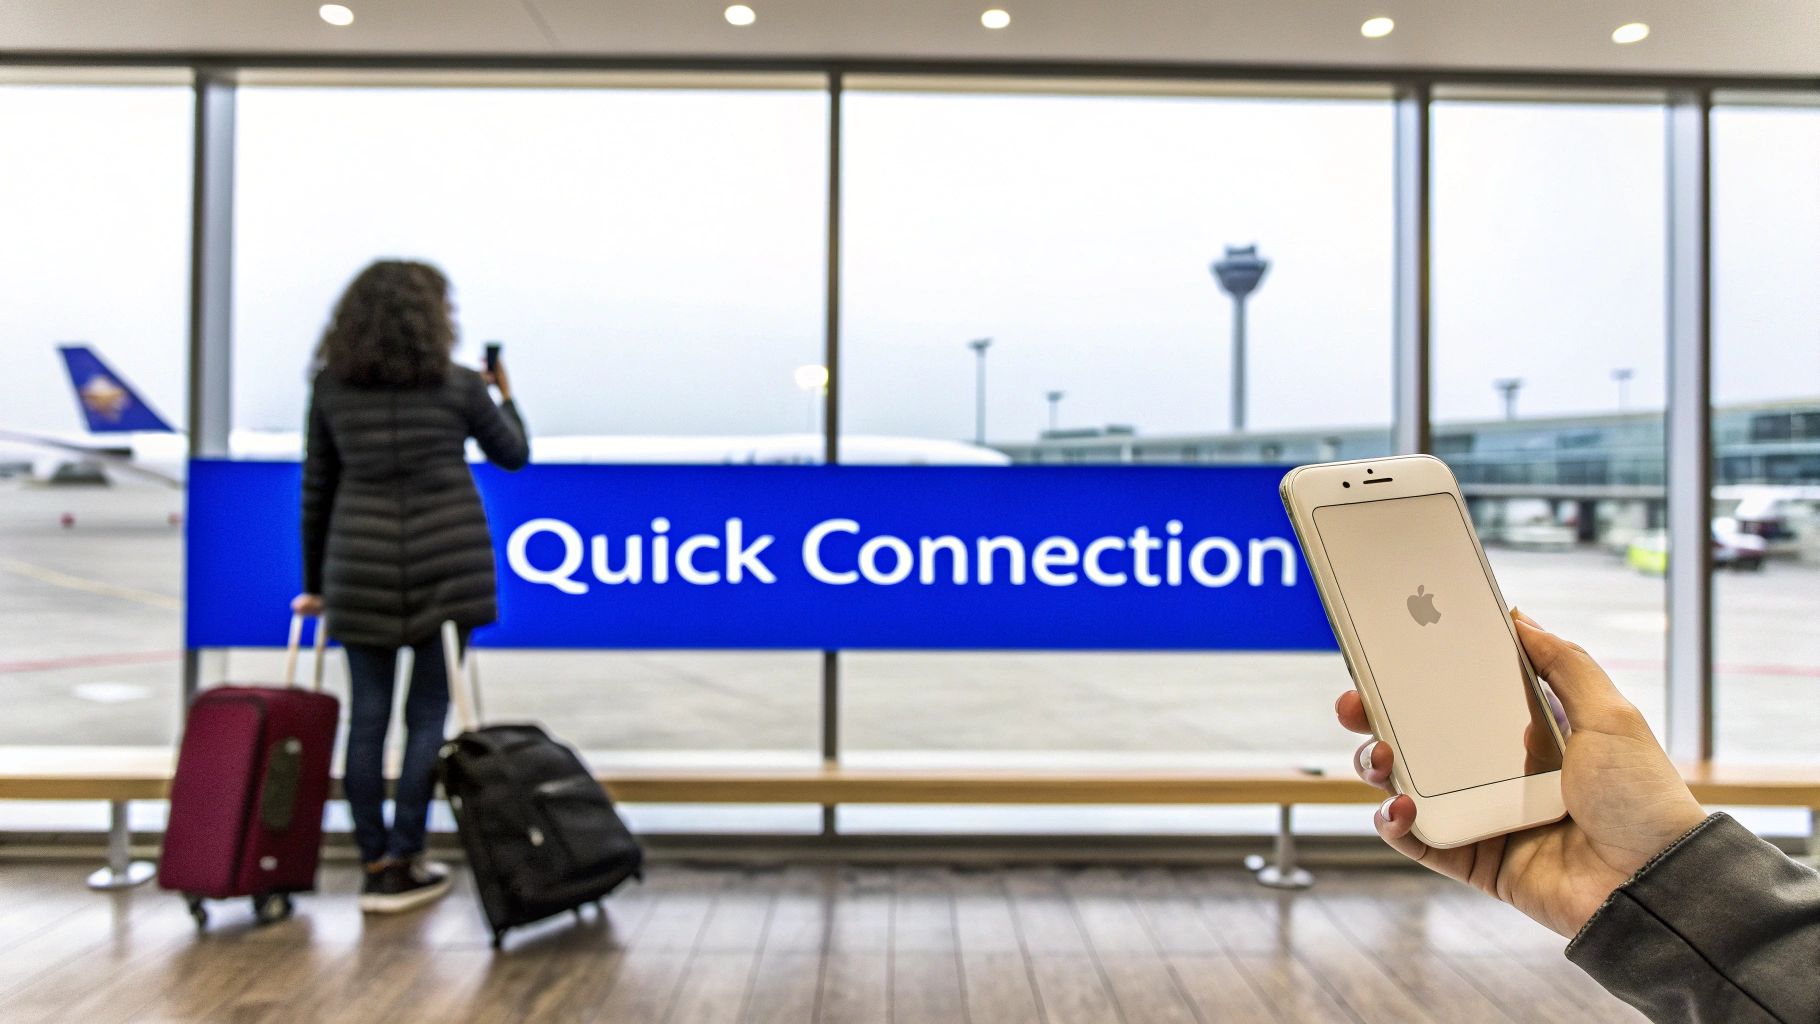
Picture this: you’ve just stepped off the plane in a new country, ready for adventure. You activate your travel eSIM, but then… nothing. No internet. It’s a frustratingly common scenario for travelers, and the fix is often surprisingly simple: a quick tweak to your iPhone’s APN settings.
The Access Point Name, or APN, is essentially the gateway between your iPhone and the local mobile data network. It’s a crucial little detail that tells your phone exactly how to get online when you’re abroad.
Back home, your regular mobile provider configures these settings automatically. But when you’re using a travel eSIM in a new country, sometimes it needs a little manual nudge to connect to a new network. Think of the APN as a specific address your phone needs to find the local internet provider. Without it, your phone might connect for calls and texts, but you won’t get any data for Google Maps, WhatsApp, or browsing the web.
Getting this right gives you full control over your connection, ensuring your travel eSIM works perfectly from the moment you land. What seems like a technical task is actually a simple, empowering skill for any savvy traveler.
So, what does an APN actually do? It provides all the necessary details for your device to establish a connection with the mobile network. For travelers using a new eSIM, this is especially important. It allows you to:
This is a familiar step for many globetrotters. iPhones are incredibly popular worldwide, which means millions of people may need to adjust these settings when traveling. While recent iOS versions are pretty good at automatically configuring APNs, travel eSIMs often benefit from a quick manual entry to get things moving.
Key Takeaway: Think of the APN setting as your iPhone’s “password” to access a mobile data network. While it’s usually automatic, knowing how to enter it manually for a travel eSIM can be the difference between frustration and instant connectivity abroad.
This guide will walk you through the process, showing you how a one-minute check of your iPhone’s APN settings can unlock a smooth, seamless connection. If you want to dive a bit deeper into the technology first, check out our guide on what an eSIM is and how it works. A little knowledge here goes a long way, letting you navigate, share, and explore from the moment you arrive.
Alright, let’s get you connected. Finding the APN settings on your iPhone is actually quite simple once you know where to look. For most travelers, a quick dive into the settings menu is all it takes to get your data working.
The path you need is usually Settings > Cellular > Cellular Data Network.
On some iPhones, depending on your iOS version or where you bought the phone, you might find it under Settings > Mobile Data > Mobile Data Options > Mobile Data Network instead. Either way, once you’re in, you’ll see the fields for APN, Username, and Password.

This is the screen where you’ll also manage data roaming. Remember, for a travel eSIM to work, you need data roaming switched on and the correct APN details filled in.
With most travel eSIMs, like those from TapSim, you’ll probably only need to fill in the APN field itself. The Username and Password fields can usually be left completely blank. Your eSIM provider will always give you the exact details you need—it’s often a simple word like “internet” or something specific to their network.
Now, you might notice the APN settings for your home SIM are grayed out or just not there. Don’t panic. This is often a deliberate block by your home provider. The good news is that when you add a new travel eSIM, the settings for that new line should appear, ready for you to edit.
If you’ve just installed an eSIM and still can’t see the options, try a quick restart of your iPhone. That little trick often does the job and makes the menu appear. For a full walkthrough on installation, check out our guide on how to activate an eSIM on your iPhone.
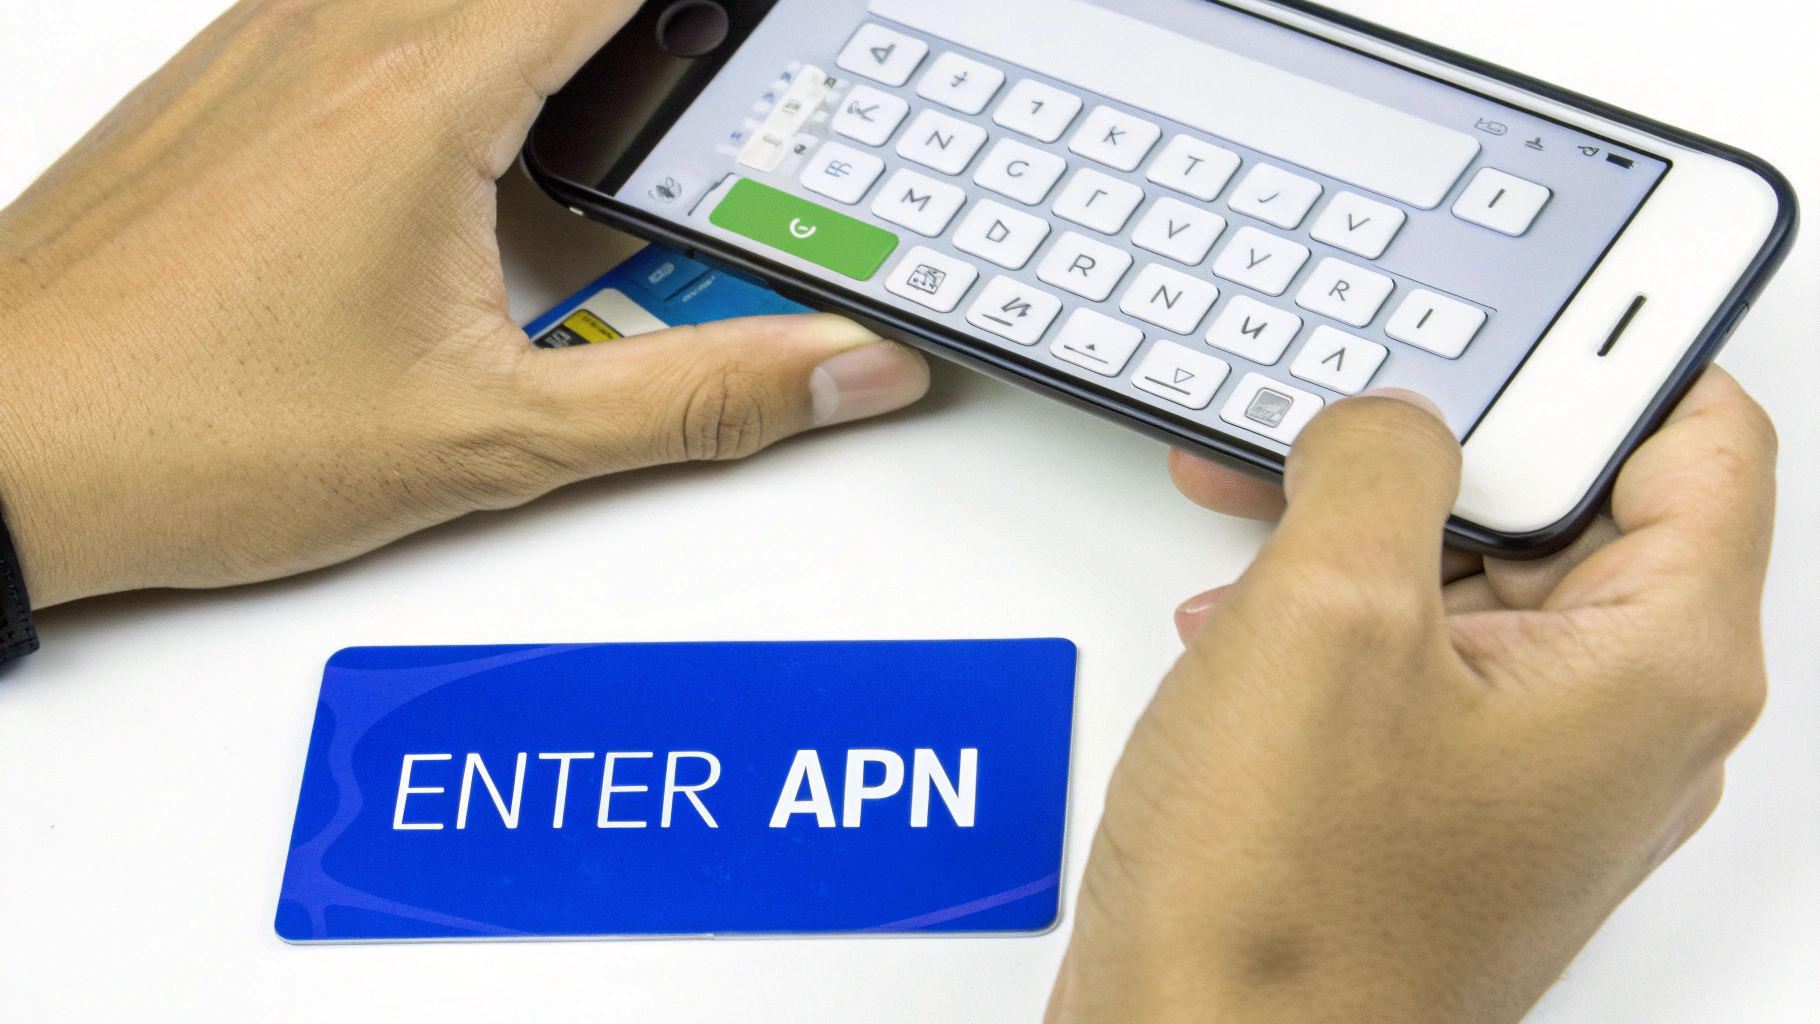
This is one of those times where precision is key. A tiny typo in the APN is one of the most common reasons travelers can’t get online. Many mobile networks worldwide point to manual APN entry as the go-to solution for connection problems. For example, some carriers require users to manually input a specific APN just to get their data flowing, which shows how critical it is to get these details spot on.
A Traveler’s Pro Tip: Whenever you can, copy and paste the APN information directly from your eSIM provider’s email or app. This completely removes the risk of a typo and ensures you’re using the exact settings needed to connect to the local network.
The phrase ‘manual configuration’ can sound technical and a little intimidating. But when we’re talking about travel eSIMs, it’s almost always just a quick copy-and-paste job.
Your eSIM provider, like TapSim, will give you the exact APN details you need. Often, it’s just a single word like ‘internet’ or ‘data’. The key is to enter this information exactly as it’s provided. A tiny typo or even an accidental space can be the one thing that stops your iPhone from connecting to the local network. It’s a simple step, but one where accuracy is everything.
Once you have the right details popped in, you can get connected in seconds, no matter where you are in the world. This is a game-changer for the millions of iPhone users who need reliable data while traveling.
To give you an idea of what to expect, let’s look at some typical APN settings for iPhone that you might come across on your adventures. The table below is just for illustration—you should always use the APN from your specific eSIM provider—but it shows the common patterns you’ll see.
It’s a good reference to see how different carriers structure their settings.
| Country | Carrier | APN | Username | Password |
|---|---|---|---|---|
| United States | AT&T | internet |
(leave blank) | (leave blank) |
| United Kingdom | Vodafone UK | wap.vodafone.co.uk |
wap |
wap |
| Japan | NTT Docomo | mpr.ex-dti.ne.jp |
(leave blank) | (leave blank) |
| France | Orange | orange |
orange |
orange |
| Germany | T-Mobile (DE) | internet.telekom |
(leave blank) | (leave blank) |
As you can see, the APN is usually a simple, lowercase string. Your eSIM provider’s instructions will make it perfectly clear what you need to enter. It’s also worth noting that the Username and Password fields are almost always left blank for travel eSIMs.
This need for precise APN details isn’t just a travel thing; it’s a universal rule for mobile connectivity. Many local providers deal with APN-related issues.
For instance, some networks mandate specific APN settings for Apple devices. They often see cases where calls and texts work perfectly, but mobile data is completely dead—a frustrating scenario that affects a surprising number of users.
A Quick Traveler’s Checklist for APN Entry
Before you start typing, just double-check you have:
- The exact APN name from your eSIM provider.
- Confirmed if a username or password is required (it’s rare, but best to check).
- Selected the correct eSIM line in your iPhone’s Cellular settings to edit.
By following the simple instructions from your provider and entering the details carefully, you’ll ensure your travel eSIM connects without a hitch. That way, you can focus on your trip instead of fiddling with your phone settings.
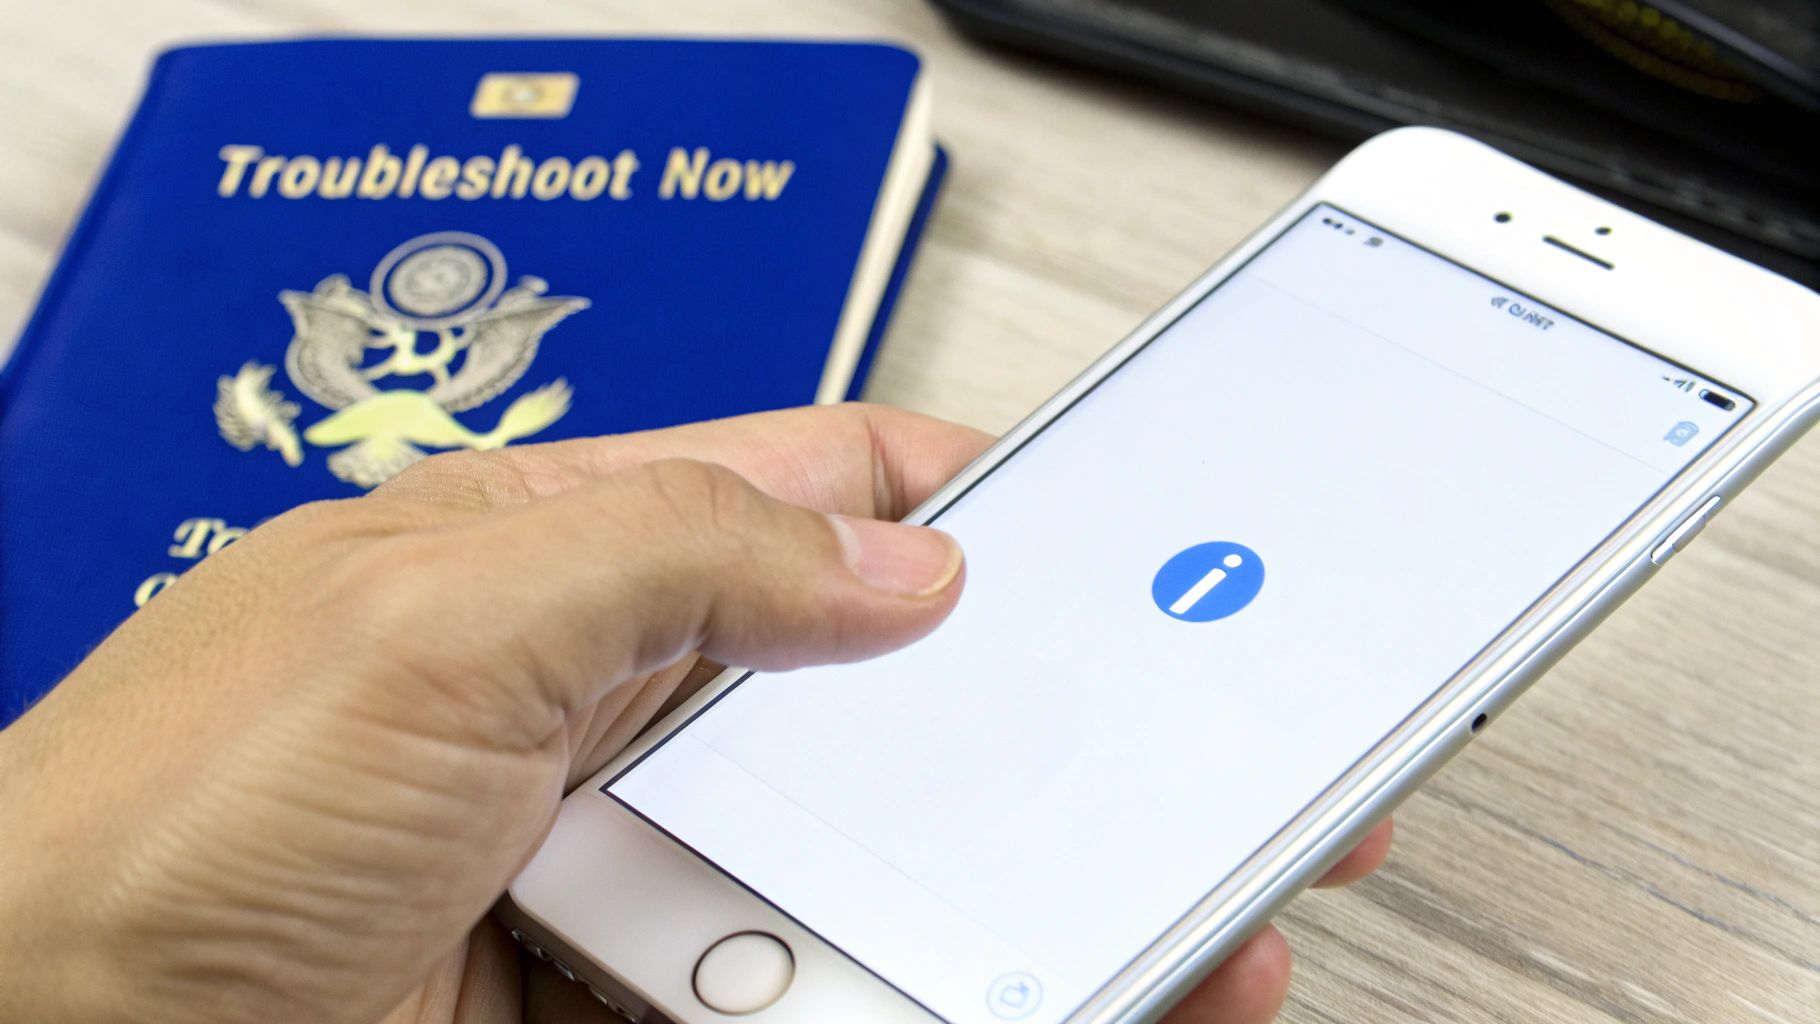
So, you’ve meticulously entered the APN details for your travel eSIM, but your iPhone is stubbornly refusing to connect to the internet. It’s a moment of frustration every traveler dreads, but don’t panic—the solution is usually simpler than you think.
Before you start getting worried, let’s run through a quick checklist designed for travelers. These calm, methodical steps will get you back online, turning a stressful situation into a solved problem in no time.
More often than not, the easiest fix is the one that works. Your iPhone’s connection just needs a gentle nudge to recognize the new APN settings.
The first thing to try is toggling Airplane Mode. Switch it on for about 30 seconds, then flick it back off. This simple action forces your phone to completely disconnect and then re-establish its link to the local mobile network. If that doesn’t do the trick, a full restart of your iPhone is the next logical step.
If a quick reset didn’t help, it’s time to dive into your iPhone’s Cellular settings menu. It’s surprisingly easy to overlook a small detail here, especially when you’re juggling your home SIM and a new travel eSIM.
Make sure these two settings are correctly configured:
Settings > Cellular, tap on your travel eSIM line, and check that the “Data Roaming” toggle is green.Settings > Cellular > Cellular Data.If you’re new to using two lines on one phone, it might be helpful to brush up on the basics. A better grasp of understanding dual SIM and eSIM technology can make the whole process feel much more intuitive.
Still no connection? The ‘Reset Network Settings’ option is your powerful last-ditch effort for fixing stubborn connectivity problems. It sounds more dramatic than it is.
This reset will not erase any of your personal data. Your photos, apps, and contacts are all safe. What it does is wipe all saved network configurations—that means Wi-Fi passwords, VPN settings, and cellular settings get cleared out. This often fixes any underlying software glitch that’s blocking your eSIM.
You can find this option by going to Settings > General > Transfer or Reset iPhone > Reset > Reset Network Settings.
By working through these troubleshooting steps methodically, you can almost always sort out the issue yourself. You’ll be back to navigating maps and posting photos from your trip in no time.
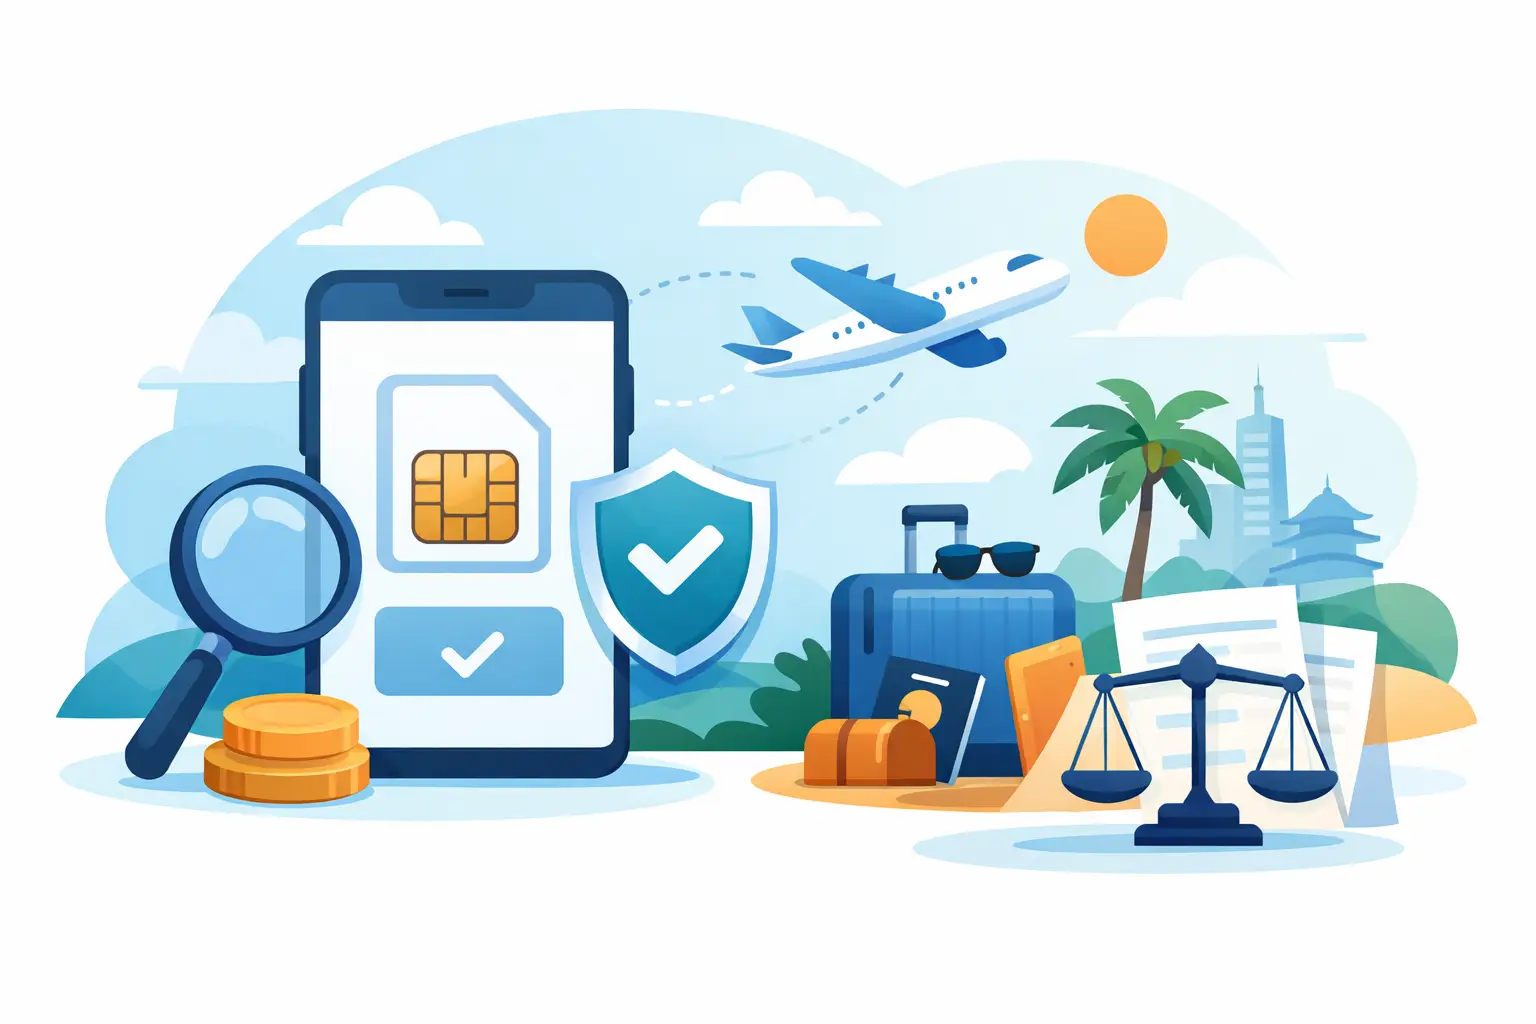
At TapSim, we’re all about making travel connectivity simple and honest. Getting online in a new country shouldn’t feel like a technical chore, and our goal is to get you connected without any fuss.
That’s why we send clear, easy-to-follow APN instructions with every eSIM you buy. In most situations, your iPhone should automatically find the local network and connect the moment you activate your plan. It’s designed to just work, letting you focus on your trip instead of fiddling with phone settings.
Of course, technology can sometimes need a little nudge. If your data doesn’t start working right away, don’t worry. The specific APN you need is right there in your installation instructions, and it usually takes less than a minute to sort out.
Think of the APN as the password that grants your phone access to the local mobile internet. When your APN settings for iPhone are correctly configured, you get the stable connection and fast speeds you paid for, which is essential for a stress-free trip.
A solid connection lets you:
Without the right APN, your eSIM might show signal bars, but you won’t actually get any data. It’s like being connected to a Wi-Fi network that has no internet access—frustrating, especially when you need it most.
Getting the APN right is the final, crucial step in ensuring your travel data works flawlessly. It tells your iPhone exactly which digital ‘door’ to use to access the internet in a foreign country, guaranteeing a secure and efficient connection.
We’ve designed our entire process to give you both independence and solid support. The vast majority of travelers get online automatically without touching a single setting. But by giving you the APN details upfront, we’re empowering you to handle any small hiccup on your own, right away. It’s all part of our commitment to an honest, user-friendly service.
With TapSim, you get the freedom to explore with the peace of mind that comes from knowing you have the tools to stay connected. By making sure your APN settings for iPhone are correct, you’re guaranteeing your travel eSIM delivers exactly what we promise: fast, reliable data, wherever your journey takes you.
Let’s clear up some of the most common questions travelers have about fiddling with their iPhone’s APN settings. Getting this right means a smooth, stress-free connection abroad, so let’s dive in.
Not at all. Think of APN settings as being tied directly to a specific SIM or eSIM profile on your iPhone. When you tweak the settings for your travel eSIM, your home SIM’s configuration is left completely untouched.
When you get back home and switch your mobile data back over to your primary line, your iPhone just picks up right where it left off, using its original settings. It’s designed to keep everything separate and simple.
This is a classic one. If you can’t see the option to edit the APN, it’s almost always because your home carrier has locked those settings on their SIM card to prevent changes. Don’t panic, though—this lock doesn’t apply to a new travel eSIM you install.
Once you add a new eSIM for your trip, the option to edit its specific APN profile should pop right up. If it doesn’t appear immediately, a quick restart of your iPhone usually sorts it out. For anyone with an unlocked iPhone, this is rarely an issue.
It’s good housekeeping, but you don’t actually have to do it manually. The APN settings are part of the eSIM profile itself.
So, when your trip is over and you remove the travel eSIM from your iPhone (in Settings > Cellular), its APN settings get deleted right along with it. This keeps your device’s network settings neat and tidy, preventing any odd conflicts down the line.
A Quick Word of Advice: Only ever use the APN information given to you directly by your eSIM provider, like TapSim. Grabbing settings from a random website might not work, or worse, could pose a security risk. Stick to the official source.
It’s a risky move. Your APN settings are essentially the address that tells your phone how to connect to the internet. Using the wrong ones means you either won’t get online at all, or in a worst-case scenario, you could be routing your data through an unsecured gateway.
For your own peace of mind and a reliable connection, always use the APN details your provider includes with your purchase instructions. It’s the only way to be sure.
Ready to travel without connectivity headaches? TapSim offers fair, fast, and honest travel eSIMs for over 150 destinations, getting you online in minutes. Check available eSIMs on our website and connect the moment you land.