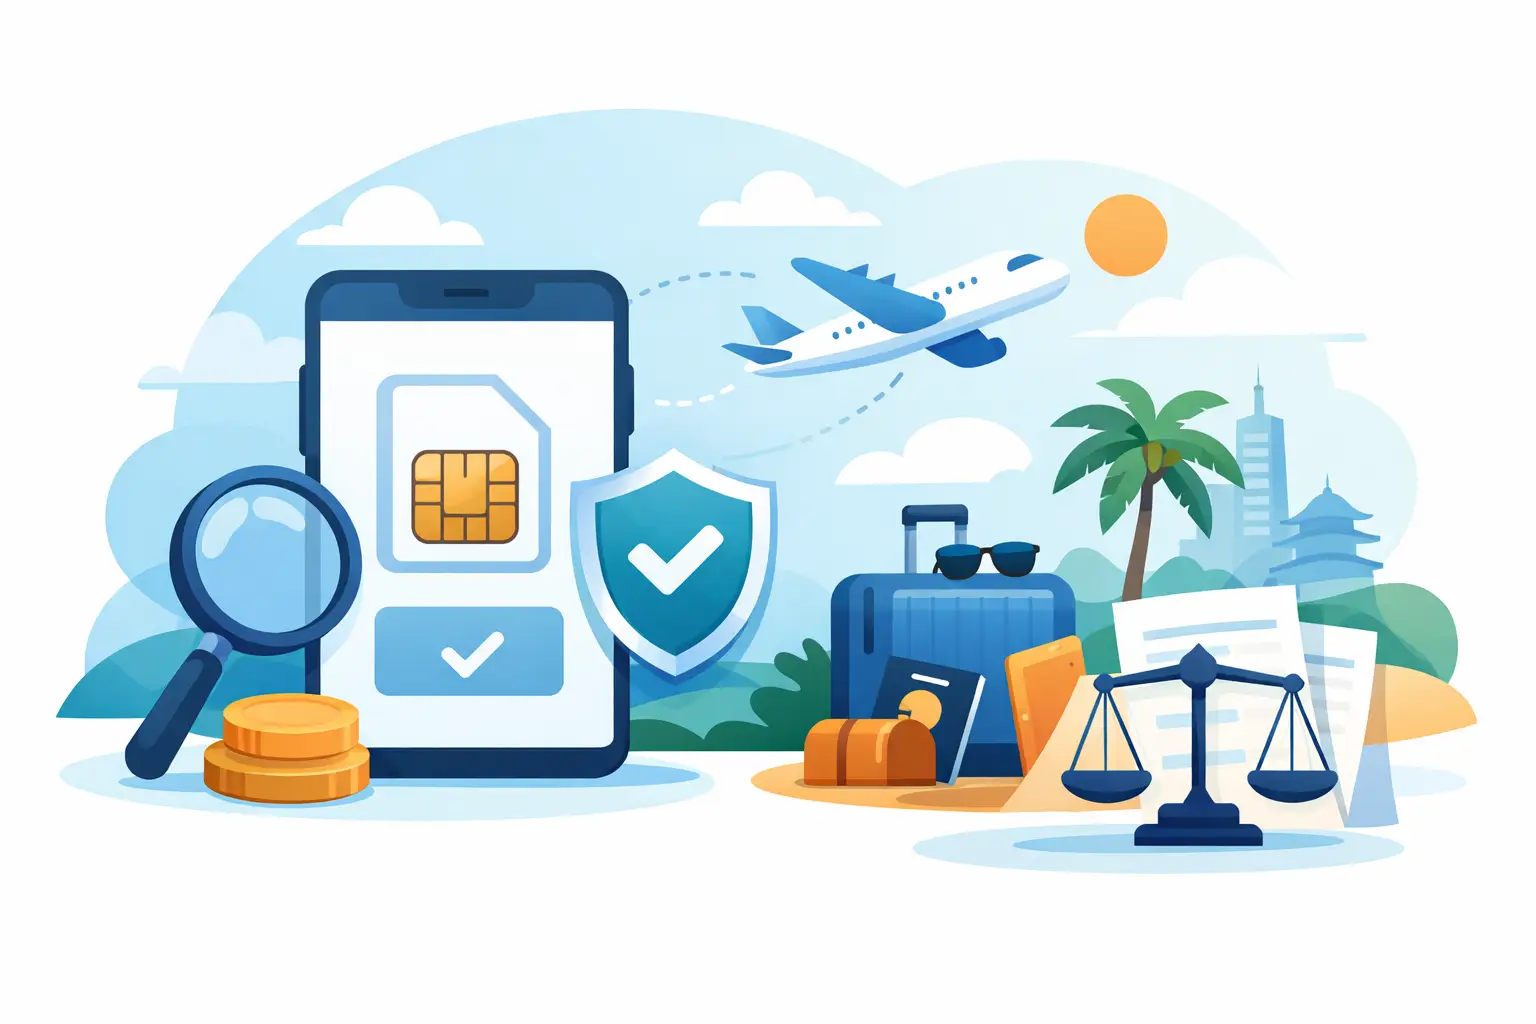
How to Avoid Roaming Charges Overseas
Learn how to avoid roaming charges overseas with simple setup tips, smarter data choices, and travel-ready options before you land abroad.

Worried about racking up a massive phone bill on your next trip? It’s a common fear for any traveler. Figuring out how to use your phone internationally can seem like a minefield of hidden charges and technical jargon, but it’s actually much simpler than you think. The trick is a little prep work before you fly – checking your phone is ready and picking a smart data option, like an eSIM, to sidestep those dreaded roaming fees.
We’ve all heard the horror stories – returning from a brilliant holiday only to be hit with a mobile bill that costs more than the flights. For years, just letting your phone roam on your home network was the default, but it’s often a costly mistake. This is especially true if you’re traveling from the UK, as most major networks have brought back roaming charges for trips to Europe since Brexit.
You could be looking at daily fees of around £2 to £2.29, and some providers hit you with charges as high as £6 per megabyte in certain destinations. The problem has become so widespread that over 22% of people in the UK have thought about switching mobile providers just to get away from these new charges.
This guide is your no-nonsense checklist for getting connected abroad without the stress or the surprise costs. We’ll skip the confusion and show you exactly what you need to do.
I’ve written this from a traveler’s perspective, focusing on practical steps that actually work. Forget the overly technical stuff. We’re going to walk through the essentials so you can use your phone for maps, messaging, and sharing your trip without a second thought.
Here’s what we’ll get into:
Think of this as your personal roadmap to using your phone abroad like a pro. With just a bit of planning, you can land, get online instantly, and get straight to enjoying your adventure.
Before you even start packing your bags, there are a couple of crucial checks to perform on your phone. Getting these sorted now, from the comfort of your own home, can save you a world of stress later. Trust me, you don’t want to be figuring this stuff out in the arrivals hall.
First things first, you absolutely need to make sure your phone is unlocked. An unlocked phone is simply one that isn’t tied to a specific mobile network provider. This is the key that lets you pop in a SIM card from a different company – whether that’s a physical one or a digital eSIM – which is precisely what you need for staying connected abroad without the hefty price tag.
Most phones bought directly from manufacturers like Apple or Samsung come unlocked. However, if you got your phone as part of a contract with a network provider, there’s a chance it might be locked to them.
Traveler’s Tip: Good news for those in the UK – networks are now generally required to sell unlocked handsets. But if your phone is a few years old or from a previous contract, it’s always best to double-check.
The easiest way to test this? Just borrow a SIM card from a friend who’s on a different network. Switch off your phone, swap the SIMs, and turn it back on. If you get signal bars and can make a call, congratulations, your phone is unlocked.
If you’re greeted with a message like “SIM Not Supported” or “SIM Not Valid,” it’s almost certainly locked. You’ll need to contact your network to ask them to unlock it. Be warned, this isn’t always instant and can sometimes take a few days, so don’t leave it until the last minute!
Next up is checking for eSIM compatibility. Think of an eSIM as a digital SIM card that’s built right into your phone. It’s a real game-changer for travel, as it lets you buy and install a data plan for your destination before you even leave home.
Most flagship phones from the last few years have this feature, but it’s always wise to confirm. Luckily, it’s a simple check.
Nailing these two checks – unlocked and eSIM-ready – is your foundation for a hassle-free trip. It opens up a world of affordable and convenient data options. With TapSim, travelers can activate data instantly before takeoff, ensuring you’re online the second you land. Check available eSIMs on TapSim.
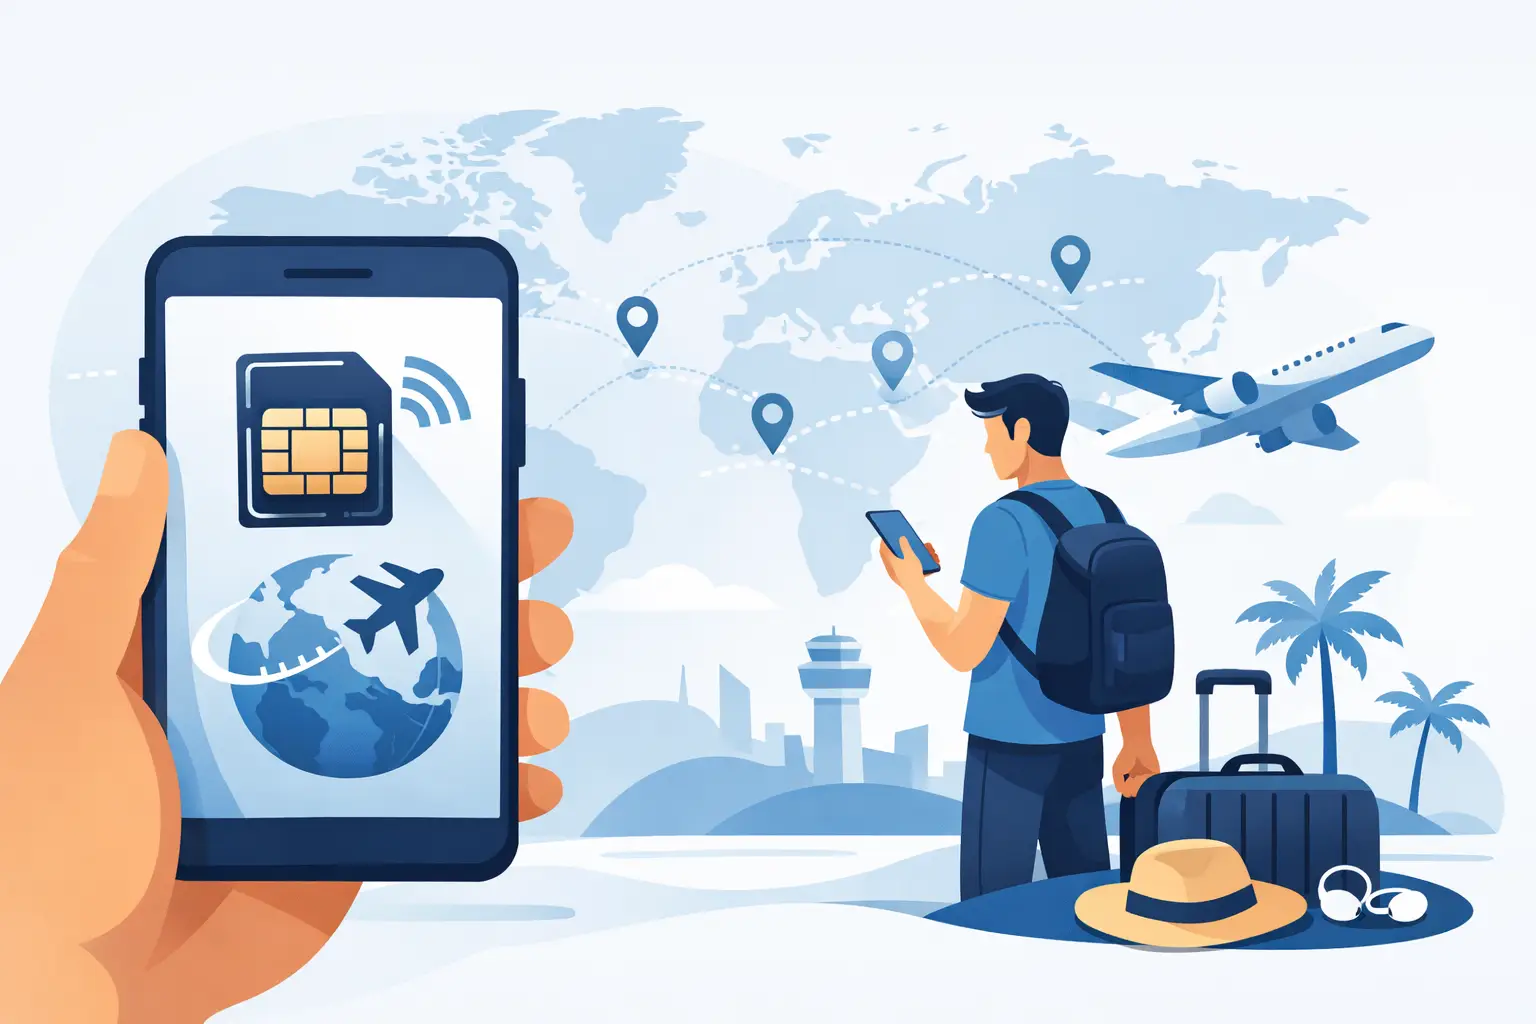
Alright, you’ve confirmed your phone is unlocked and ready for adventure. Now for the big question: how will you actually get online when you’re abroad? You’ve basically got three paths to choose from, and the right one really depends on where you’re going, for how long, and what your personal travel style is.
Let’s walk through them from a real-world, experienced traveler’s perspective.
Let’s be honest, using your home carrier’s roaming plan is the path of least resistance. You touch down, turn off airplane mode, and… it just works. Simple.
But that simplicity often carries a hefty price tag. The global mobile roaming market is massive for a reason. Projections show total retail roaming revenue climbing from £13.4 billion in 2025 to a staggering £20.9 billion by 2029. This isn’t just abstract economics; it’s fueled by things like daily charges that can be as high as £6 in over 100 countries. For a two-week holiday, you could be looking at an extra £50-£75 on your bill without even thinking about it. Convenience is great, but it’s worth knowing the cost.
This is the classic traveler’s move, especially for those on a budget. If you’re spending a good chunk of time in one country—say, a month backpacking through Thailand—grabbing a local SIM is often the cheapest way to get a local number and loads of data.
The trade-off? It’s a bit of a hassle. You have to navigate airport kiosks or find a phone shop in town, potentially dealing with language barriers. Then comes the fiddly part: ejecting your tiny home SIM card and trying not to lose it while you pop in the new one. It works, but it’s not exactly seamless.
This decision tree gives you a quick visual on getting your phone ready for these options.
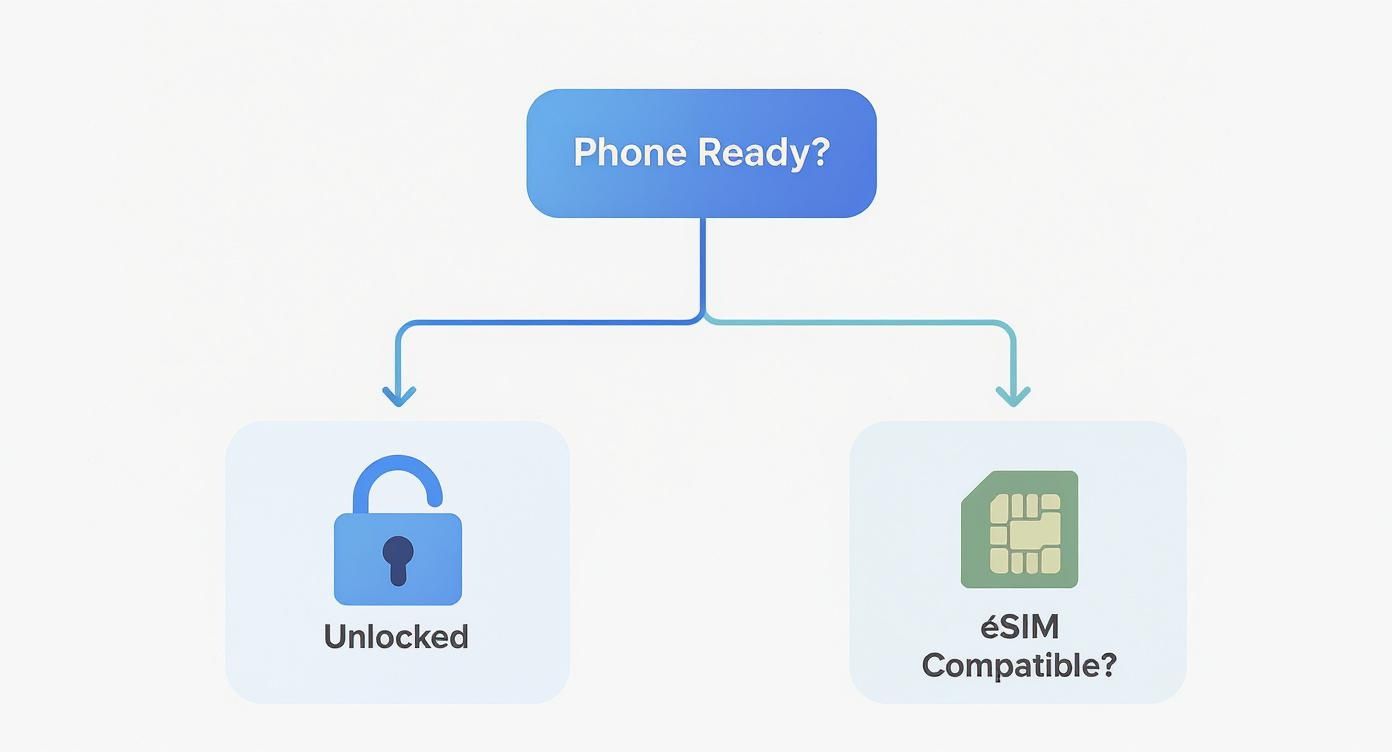
As you can see, making sure your phone is unlocked and eSIM-compatible from the start gives you the most modern and flexible ways to stay connected.
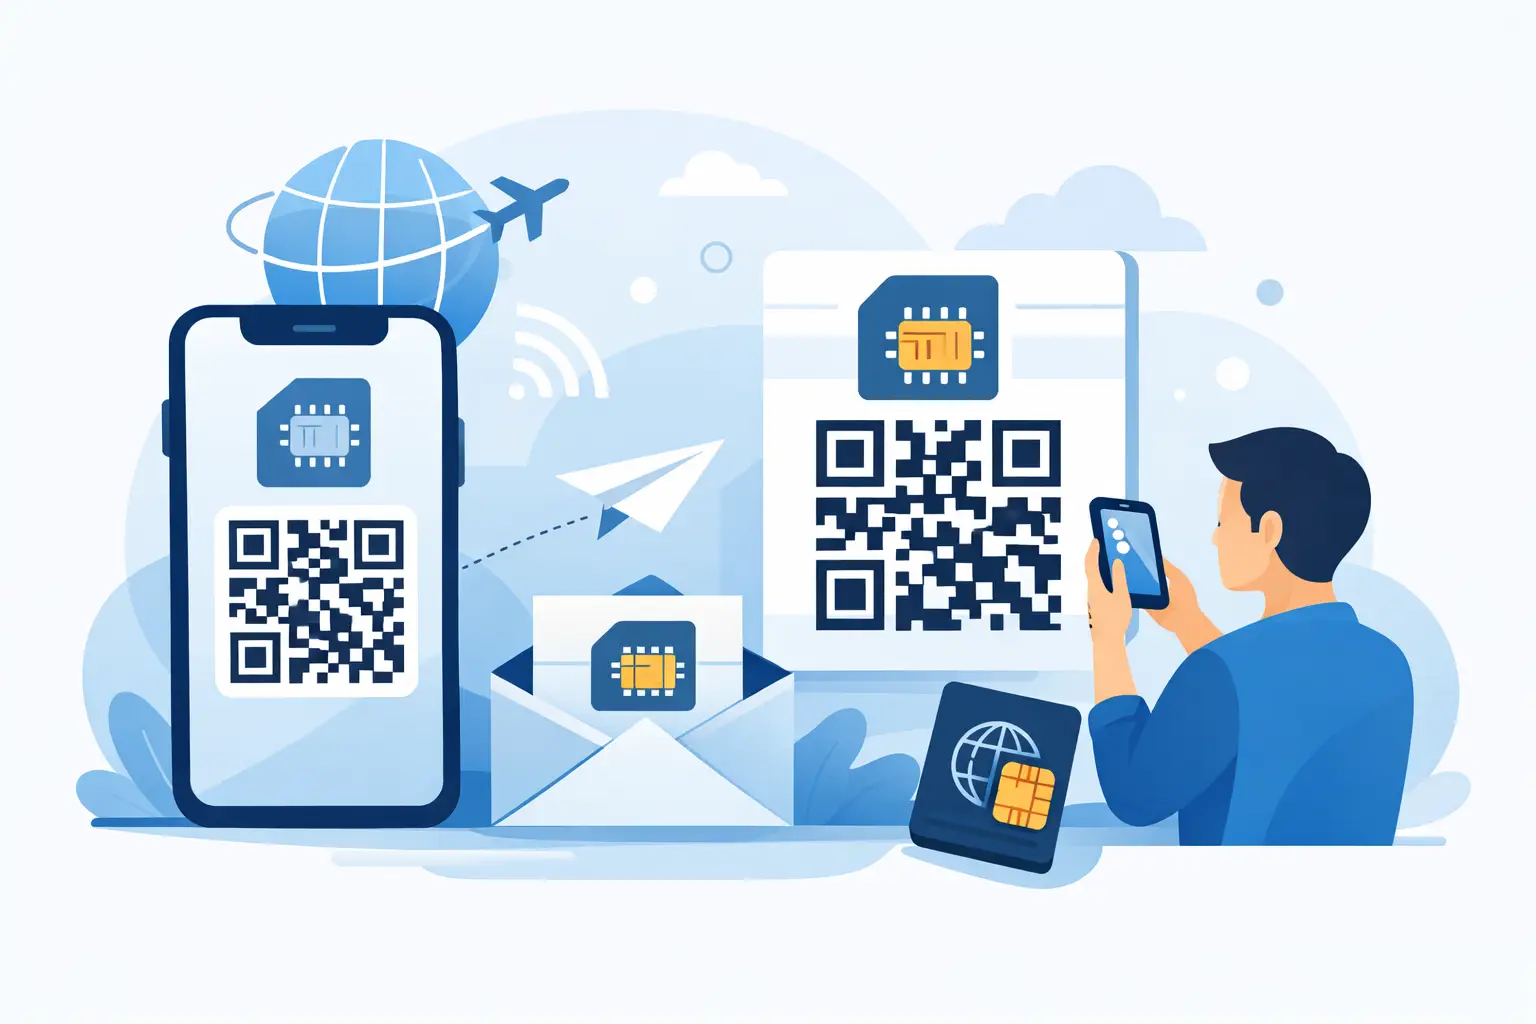
This is where things get really interesting. The travel eSIM, or embedded SIM, is a digital-only SIM that you download straight to your phone, giving you the best of both worlds: affordability and convenience.
An eSIM lets you buy and set up your international data plan from the comfort of your sofa before you even leave. The result? You’re connected the second the plane’s wheels touch the tarmac. No more airport SIM queues, no more fumbling with tiny bits of plastic.
With an eSIM provider, you just pick your destination, buy a data package online, and scan a QR code. Done. It’s a game-changer for any kind of trip, whether it’s a quick weekend in Rome or a multi-country tour of Southeast Asia. You can easily switch between plans without ever opening your phone’s SIM tray.
This blend of flexibility and upfront cost control is precisely why so many travelers have made the switch. You can see what’s out there by exploring the best eSIM for international travel to find a plan that fits your trip perfectly.
To help you decide, here’s an in-depth look at how these three options stack up against each other. Think about what matters most to you—cost, convenience, or control—as you look through the table.
| Feature | eSIM | Local Physical SIM | Home Carrier Roaming |
|---|---|---|---|
| Convenience | Very High. Buy and install from anywhere before you travel. Instant activation on arrival. | Low. Requires finding a store, dealing with potential language barriers, and physically swapping SIM cards. | Highest. Works automatically when you land, no setup required. |
| Cost | Low to Medium. Often much cheaper than roaming, with competitive data packages. No hidden fees. | Lowest. Typically the most budget-friendly option, especially for long stays in one country. | Very High. Can be extremely expensive, with daily charges or high per-MB rates that add up quickly. |
| Flexibility | Very High. Easily switch between multiple eSIM plans for different countries. Keep your home number active. | Low. Locked to one carrier and country. Swapping for a new destination means buying another SIM. | High. Usually works in many countries, but coverage and costs can vary wildly. |
| Activation Time | Instant. Ready to use as soon as you land and turn it on. | Slow. Can take time to purchase, register (sometimes requiring a passport), and install. | Instant. Works the moment your phone connects to a partner network abroad. |
| Getting a Local Number | Usually Data-Only. Some eSIM providers offer plans with a number, but most focus on mobile data. | Yes. You get a local phone number, which can be useful for local calls and services. | No. You keep your home number, which can result in high costs for making or receiving calls. |
| Best For | Short trips, multi-country tours, and travelers who prioritise convenience and cost-control. | Long stays in a single country, budget-conscious travelers, and those needing a local number. | Very short business trips or travelers who value ultimate simplicity and aren’t concerned with cost. |
Ultimately, the choice comes down to your priorities. For most modern travelers, the eSIM offers an unbeatable balance of price, convenience, and flexibility, taking one more piece of travel stress off your plate.
Right, this is where the rubber meets the road. Let’s dive into your phone’s settings to make sure you’re set up for a smooth trip, without any nasty surprise roaming bills waiting for you back home. Getting this right is the key to using your phone abroad like a pro. It’s all about telling your device which SIM to use for data and which one to keep in the background.
Whether you’re team iPhone or an Android fan, the logic is the same. We’ll walk through getting your travel eSIM installed, juggling your dual SIM settings, and a few extra tricks learned along the way.
One of the best things about an eSIM is that you can get it all sorted before your suitcase is even packed. After buying a plan from a provider like TapSim, you’ll get an email with a QR code. Getting it onto your phone is surprisingly straightforward.
Don’t worry, installing the eSIM doesn’t start the clock on your data plan. The validity period only begins once it connects to a network at your destination. So feel free to set it up days, or even weeks, ahead of your trip.
As soon as you touch down, this is the moment that counts. Your phone now has two active lines: your regular SIM from home and your shiny new travel eSIM. You need to tell it precisely how to use them.
The goal is simple: use the travel eSIM for all your mobile data, while keeping your home number active just for calls or texts (if you want to).
By doing this, you’ve created the perfect setup. Your phone will now use the cheap, local data from your eSIM for everything internet-related, while your home SIM is safely prevented from racking up any roaming charges.
Beyond that core setup, a couple of extra tweaks can make your life even easier.
Switch on Wi-Fi Calling
Before you even leave home, dig into your phone settings and enable Wi-Fi Calling. If your network provider supports it, this is a game-changer. It lets you make and receive calls and texts using your regular number over any Wi-Fi network, completely bypassing international roaming charges. It’s perfect for calling home from your hotel room or a coffee shop.
Use Airplane Mode Strategically
Airplane Mode is your ultimate kill switch for all connections. When you first land, I always recommend switching it on. From there, you can manually turn Wi-Fi and Bluetooth back on. This gives you a safe bubble to connect to the airport Wi-Fi and double-check your data roaming settings before you let your phone connect to any mobile networks. It’s also a fantastic way to save your battery on those long travel days.
Getting connected is the easy part. The real challenge is making your data allowance stretch for the whole trip without needing to top up. I’ve learned a few tricks over the years—small habits and savvy moves that help you stay online affordably, keep data usage down, and sidestep those eye-watering international call charges.

The single most effective change you can make is to shift your calls from your mobile network to the internet. Apps like WhatsApp, FaceTime, Skype, and Facebook Messenger use your mobile data or a Wi-Fi connection for calls. This completely bypasses your home provider’s expensive international rates and is a lifesaver for keeping in touch with everyone back home.
Travel Pro Tip: Before you even pack your bags, ping your key contacts. A quick message like, “Hey, I’m off to Spain next week, please call me on WhatsApp!” saves a lot of confusion and potential charges for both of you.
This move towards data-based communication is happening everywhere. As global travel bounces back, so does the need for on-the-go connectivity. Just look at the UK, where international visitor numbers jumped from 31.2 million in 2022 to an estimated 38 million in 2023. This boom feeds the global data roaming market, valued at a staggering $89.43 billion in 2024 and still climbing. It’s a massive industry, and you can see the trends in the latest data roaming market report.
Beyond just calls, a few simple tweaks to your phone habits can make a huge difference to how much data you get through. These are the little things that really add up.
Not all apps are created equal. While checking an email or sending a quick message barely makes a dent, other activities can burn through your data allowance in no time.
Video streaming is the biggest offender by far, followed closely by high-resolution video calls and non-stop music streaming. Just being aware of this helps you make smarter choices. Use your mobile data for the essentials—maps, messaging, and quick searches—and save the heavy-duty stuff for when you’re back on a solid Wi-Fi connection.
If you want to know which apps are best for staying in touch, we’ve got you covered in our guide to the best apps for international calls.
Even when you’ve done everything right, technology can have its moments. So, what do you do if you land at your destination and your eSIM just won’t connect? Don’t panic. More often than not, it’s a simple settings mix-up you can sort out yourself in just a couple of minutes.
The most common culprit I’ve seen is a classic data roaming mistake. Your new travel eSIM must have data roaming switched ON to connect to local partner networks. On the flip side, your primary SIM from back home needs data roaming turned firmly OFF to avoid a nasty surprise on your next bill. Check this first – it solves the problem 90% of the time.
Seeing that dreaded “No Service” message can be frustrating, but your phone might just need a little nudge to find its bearings. Before you dive into complex settings, try the oldest trick in the book: a simple restart. Powering your phone off and on again forces it to re-scan for all available carriers in the area, and it’s surprisingly effective.
If a restart doesn’t do the trick, it’s time to take manual control. Here’s how:
Another classic fix, especially for sluggish data speeds, involves the APN (Access Point Name) settings. Sometimes your phone needs these details manually entered to establish a proper connection. Your eSIM provider will always give you the correct APN info if it’s needed.
For a more detailed walkthrough, our complete troubleshooting mobile data travel guide covers more specific scenarios and will help get you online in no time.
Let’s tackle some of the most common questions travelers ask about using their phones overseas. These are the quick, no-nonsense answers you need.
Yes, you absolutely can! This is one of the best things about using an eSIM for your travel data. Your physical SIM card, the one linked to your everyday number, stays right there in your phone.
You just hop into your phone’s settings and tell it to use your main SIM for calls and texts, but switch to the eSIM for all mobile data. This is what’s known as a Dual SIM setup. It’s the perfect way to get affordable local data while still being reachable on your normal number, dodging those eye-watering roaming charges from your provider back home.
Running out of data mid-trip is a common worry, but with an eSIM, it’s not a problem. Providers like TapSim are built for this. If you burn through your data allowance, you can simply open the app and top up your plan or buy a new one in a few taps.
You’ll usually get a heads-up notification when you’re getting low, so it won’t come as a surprise. It’s super flexible and means you’re not locked into a massive plan you might not even need.
An eSIM gives you complete control over what you spend. Forget about surprise bills and scary overage fees; it’s just simple, prepaid data that you manage yourself.
You don’t have to switch it off entirely, but there’s one crucial step: make sure you turn off data roaming for that SIM. This is the key to avoiding any unexpected bills from your home network.
By keeping the line active (with data roaming off), you can still receive SMS messages and see who’s calling. Just be aware that answering calls might still cost you, depending on your provider’s international roaming policy.
If you want to be 100% certain you won’t get charged a penny, you can temporarily disable your primary SIM in your phone’s settings. You’d then rely on your eSIM for data and use apps like WhatsApp or FaceTime over Wi-Fi or your eSIM data for all your calls and messages.
Ready to travel without the roaming bill anxiety? TapSim makes it incredibly simple. Find the perfect eSIM for your destination on TapSim.net and get online the second you touch down.